Branch Creation
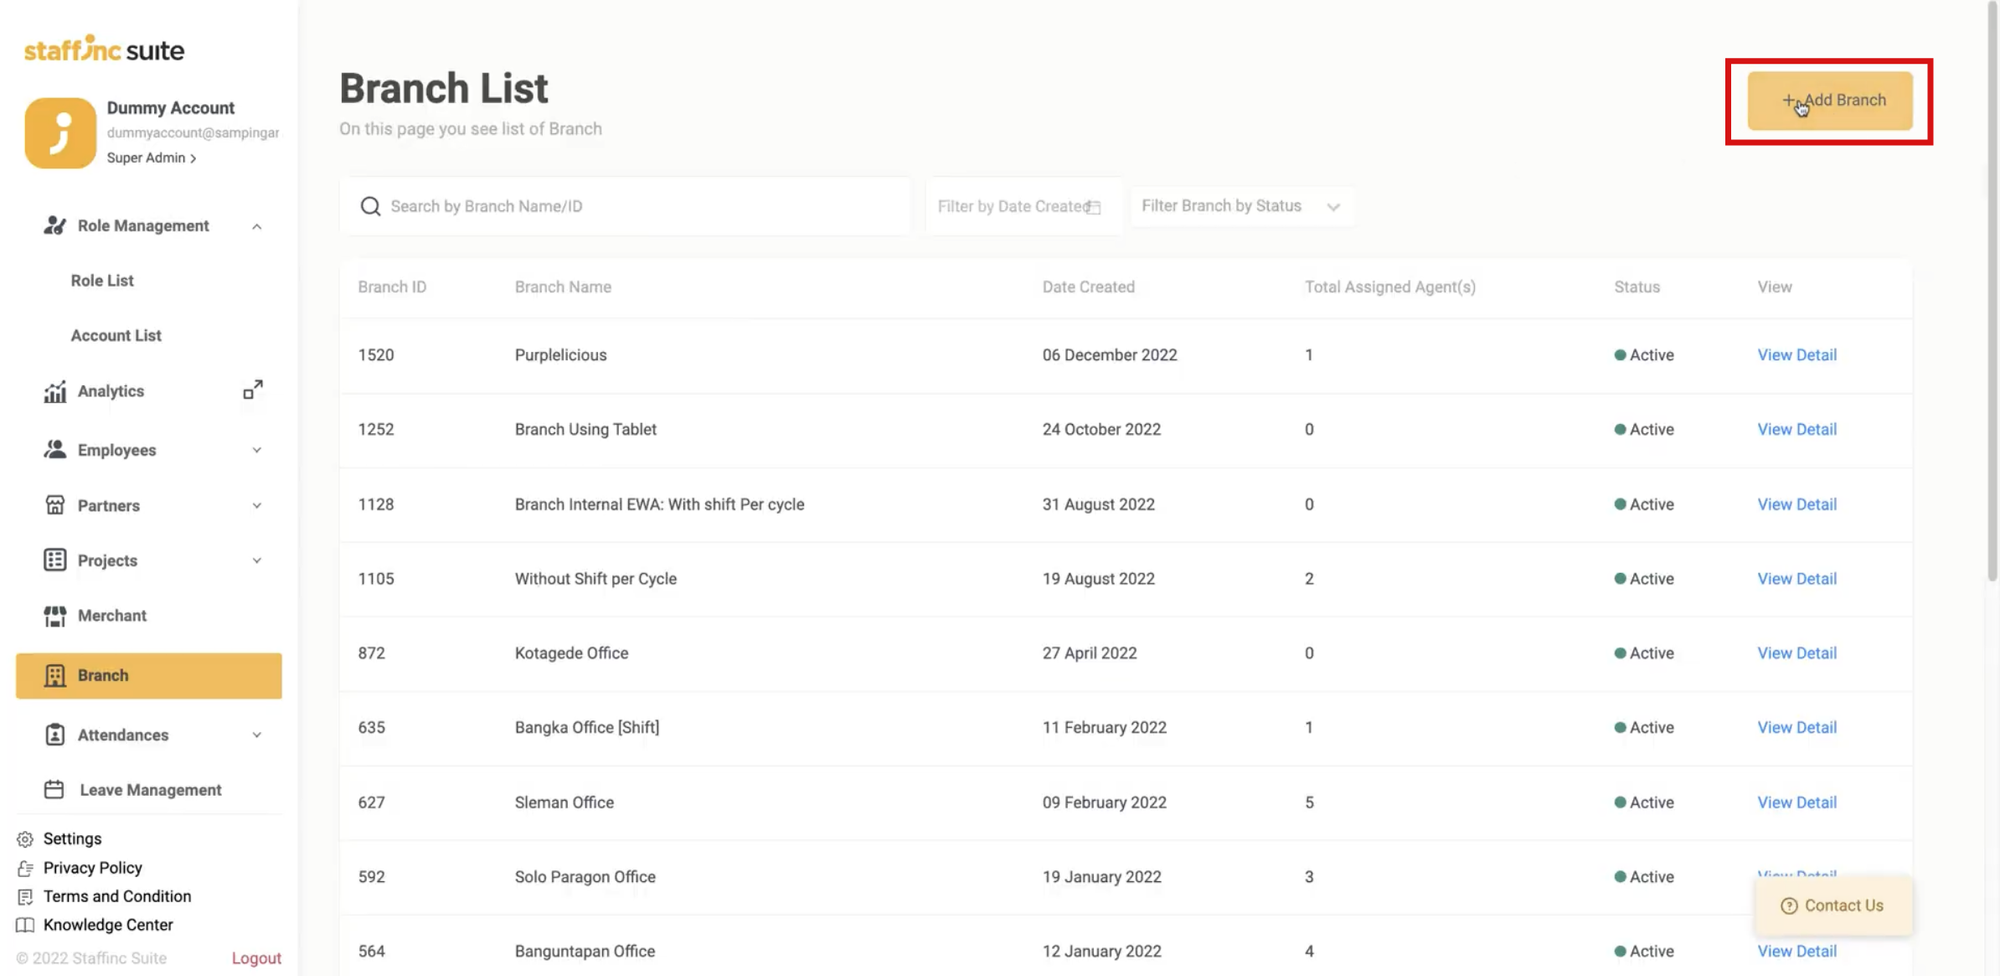
A Branch represents a workplace location. It is essential for configuring the necessary settings when employees check in using their application. The purpose of the branch list is to display the number of work locations that have been created.
Accessing and Navigating the Branch List:
-
1. Login to the Application
- Log in to your account on the application page.
- Log in to your account on the application page.
-
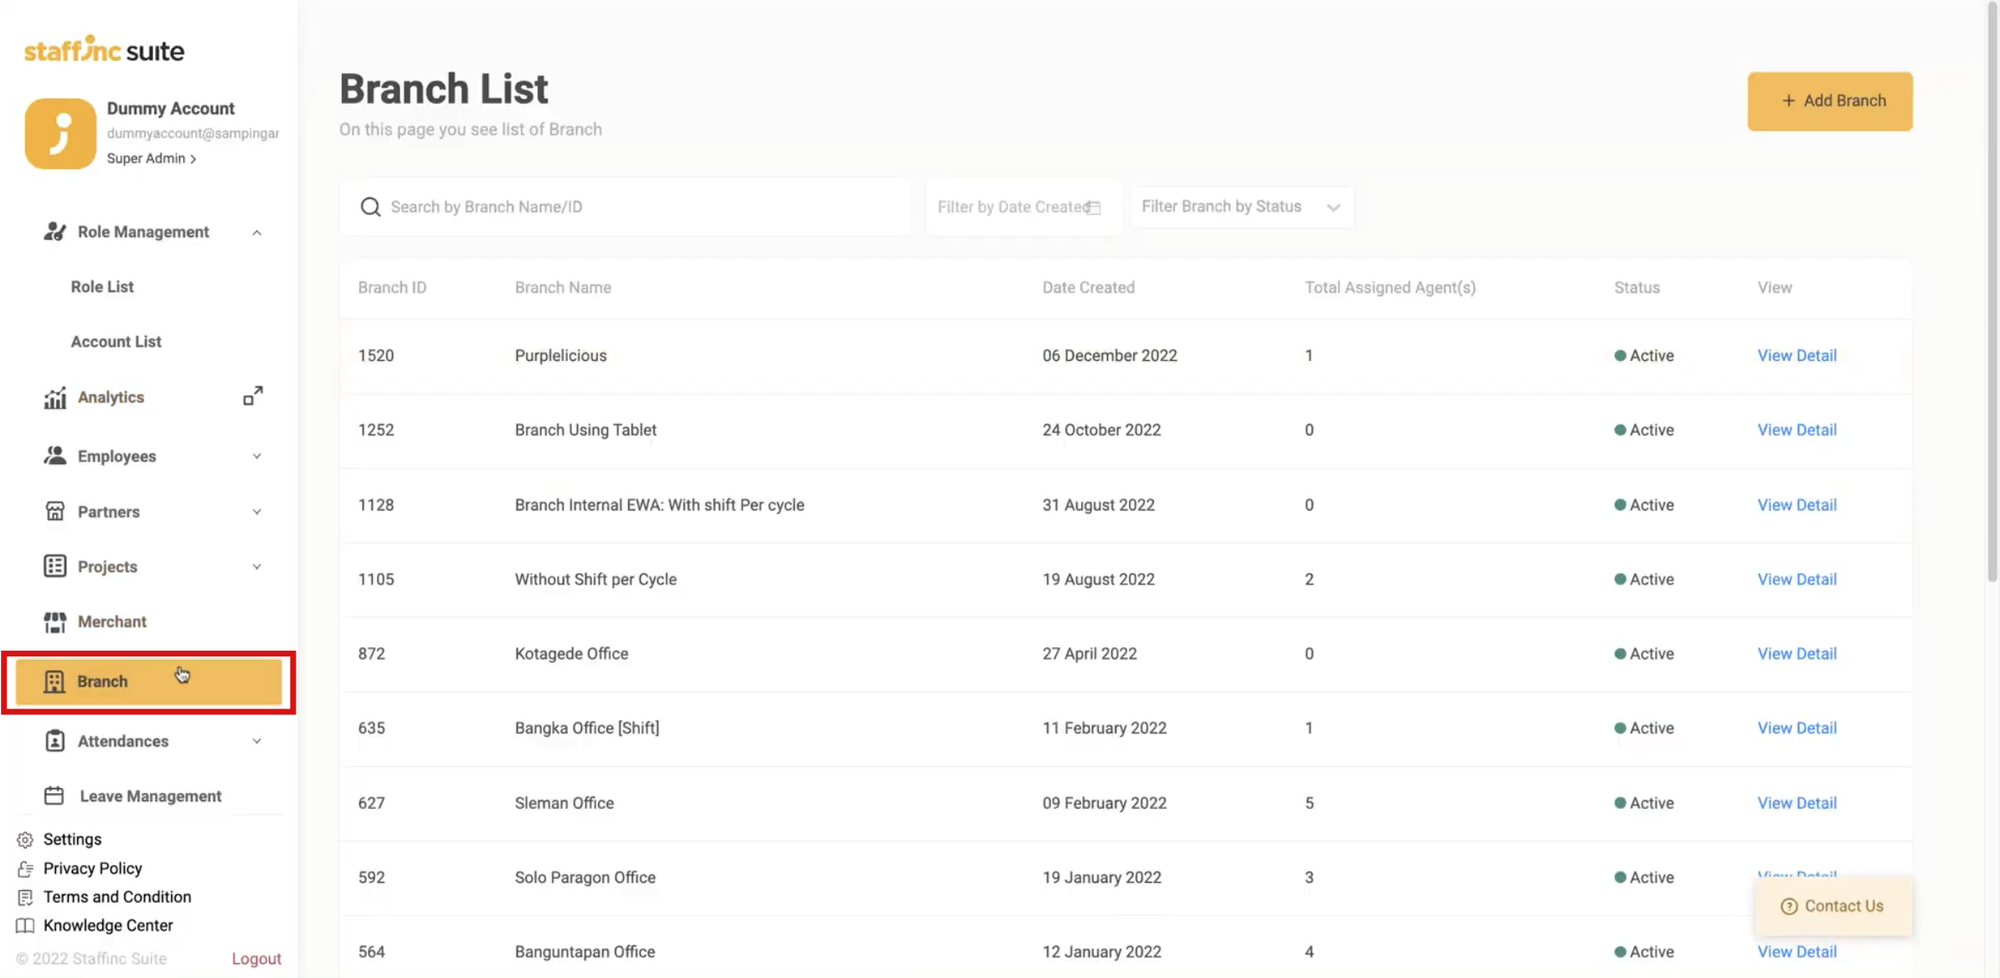
2. Access the Branch Menu
- Click on the Branch menu to access the Branch List page.
- Click on the Branch menu to access the Branch List page.
-
3.Search Branch
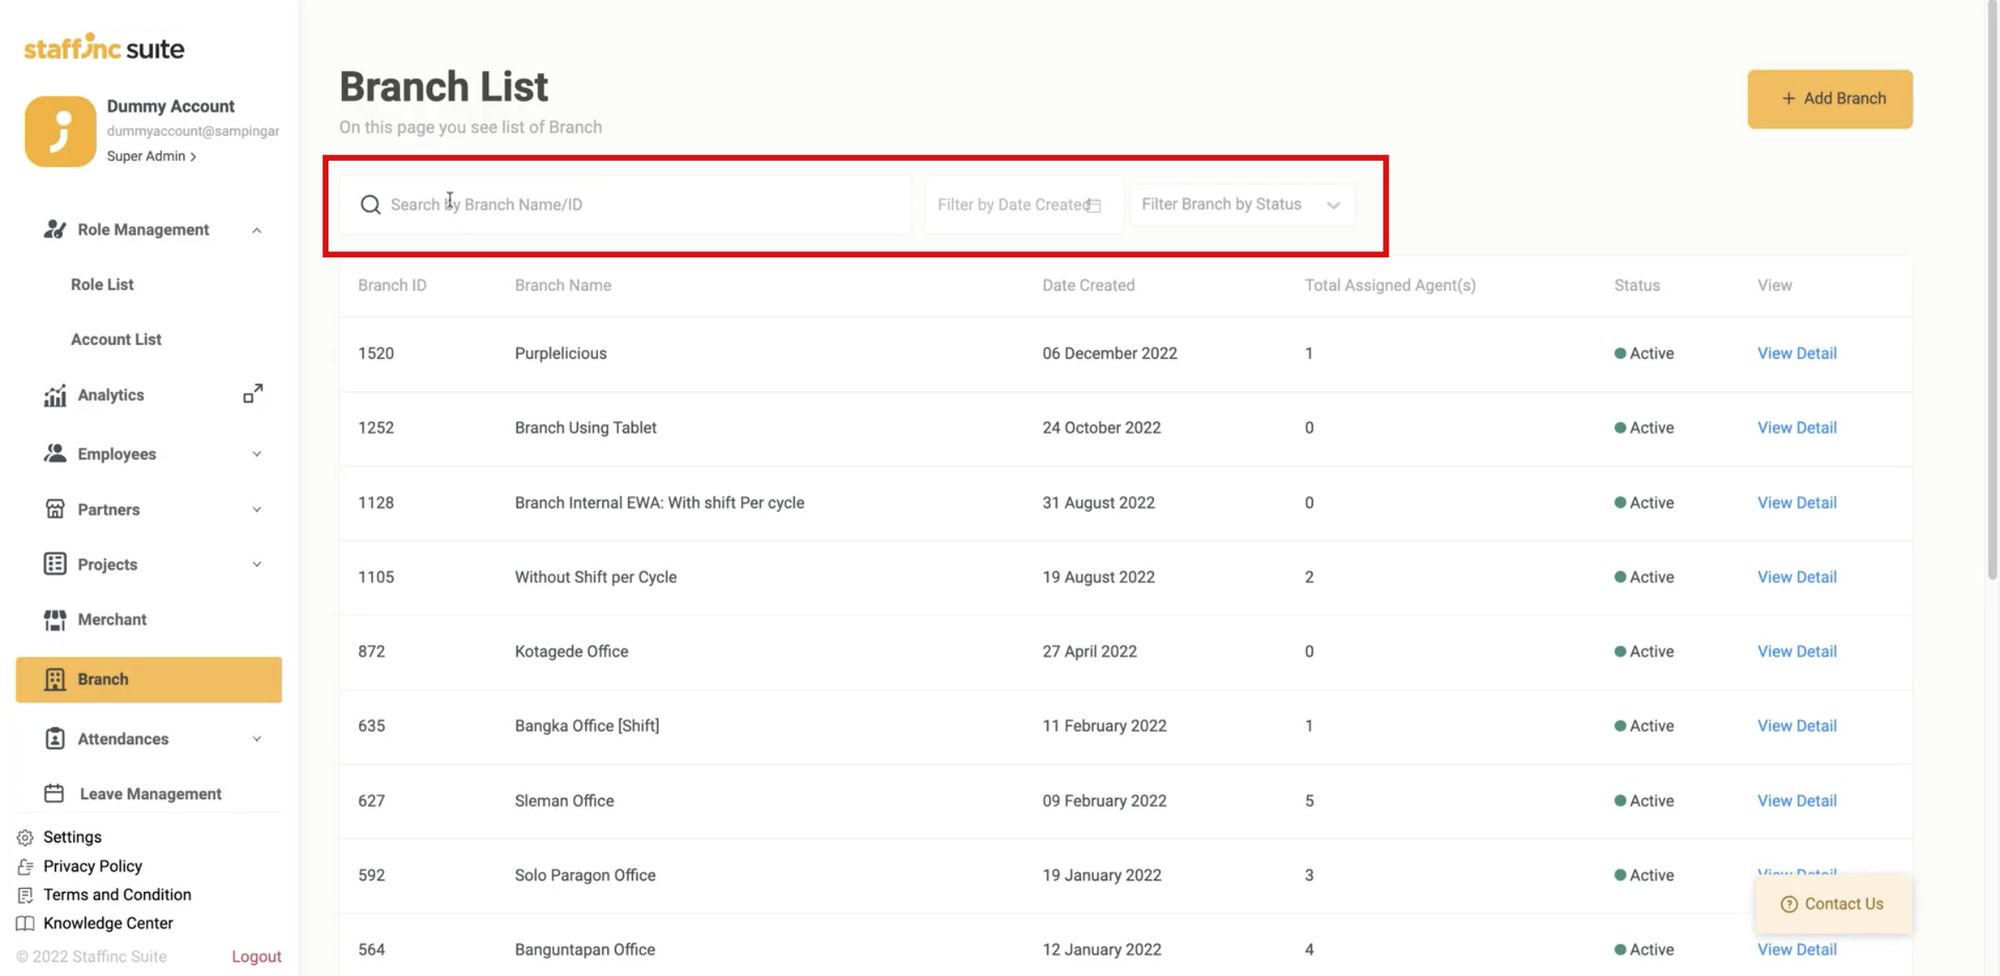
- Search by Branch Name/ID: Type the branch ID or name in the search bar to find a specific branch.
- Filter by Date Created: Select a date to search for branches based on their creation date.
- Filter by Status: Choose the branch status (active or inactive) to display data based on the status.
-
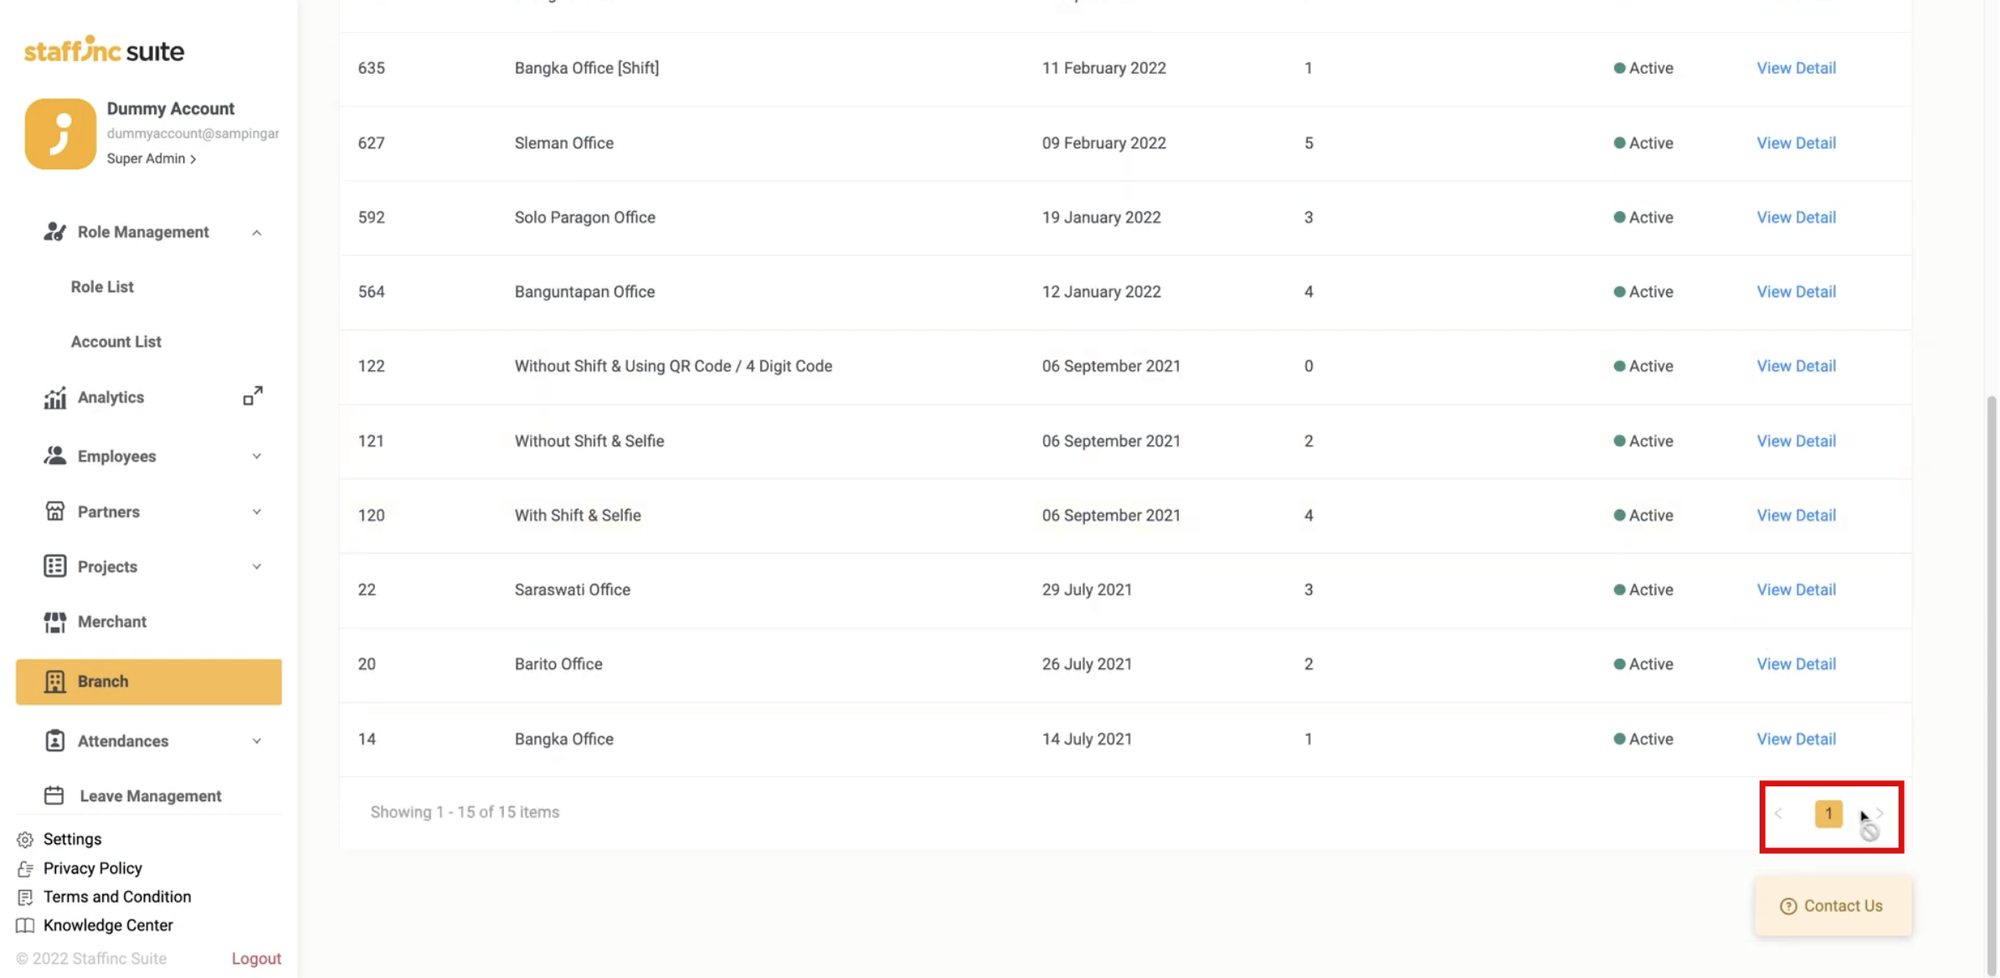
4. Page Navigation
- Use the page numbers or the next and previous arrow buttons to navigate between pages.
- Use the page numbers or the next and previous arrow buttons to navigate between pages.
Creating a New Branch:
In this section, you will learn how to create a new branch. Branches can only be created individually. Fields marked with a red asterisk (*) are mandatory.
-
1. Access the Branch Menu
- Click on the Branch menu, then select +Add Branch.
- Click on the Branch menu, then select +Add Branch.
-
2. Fill in Branch Information
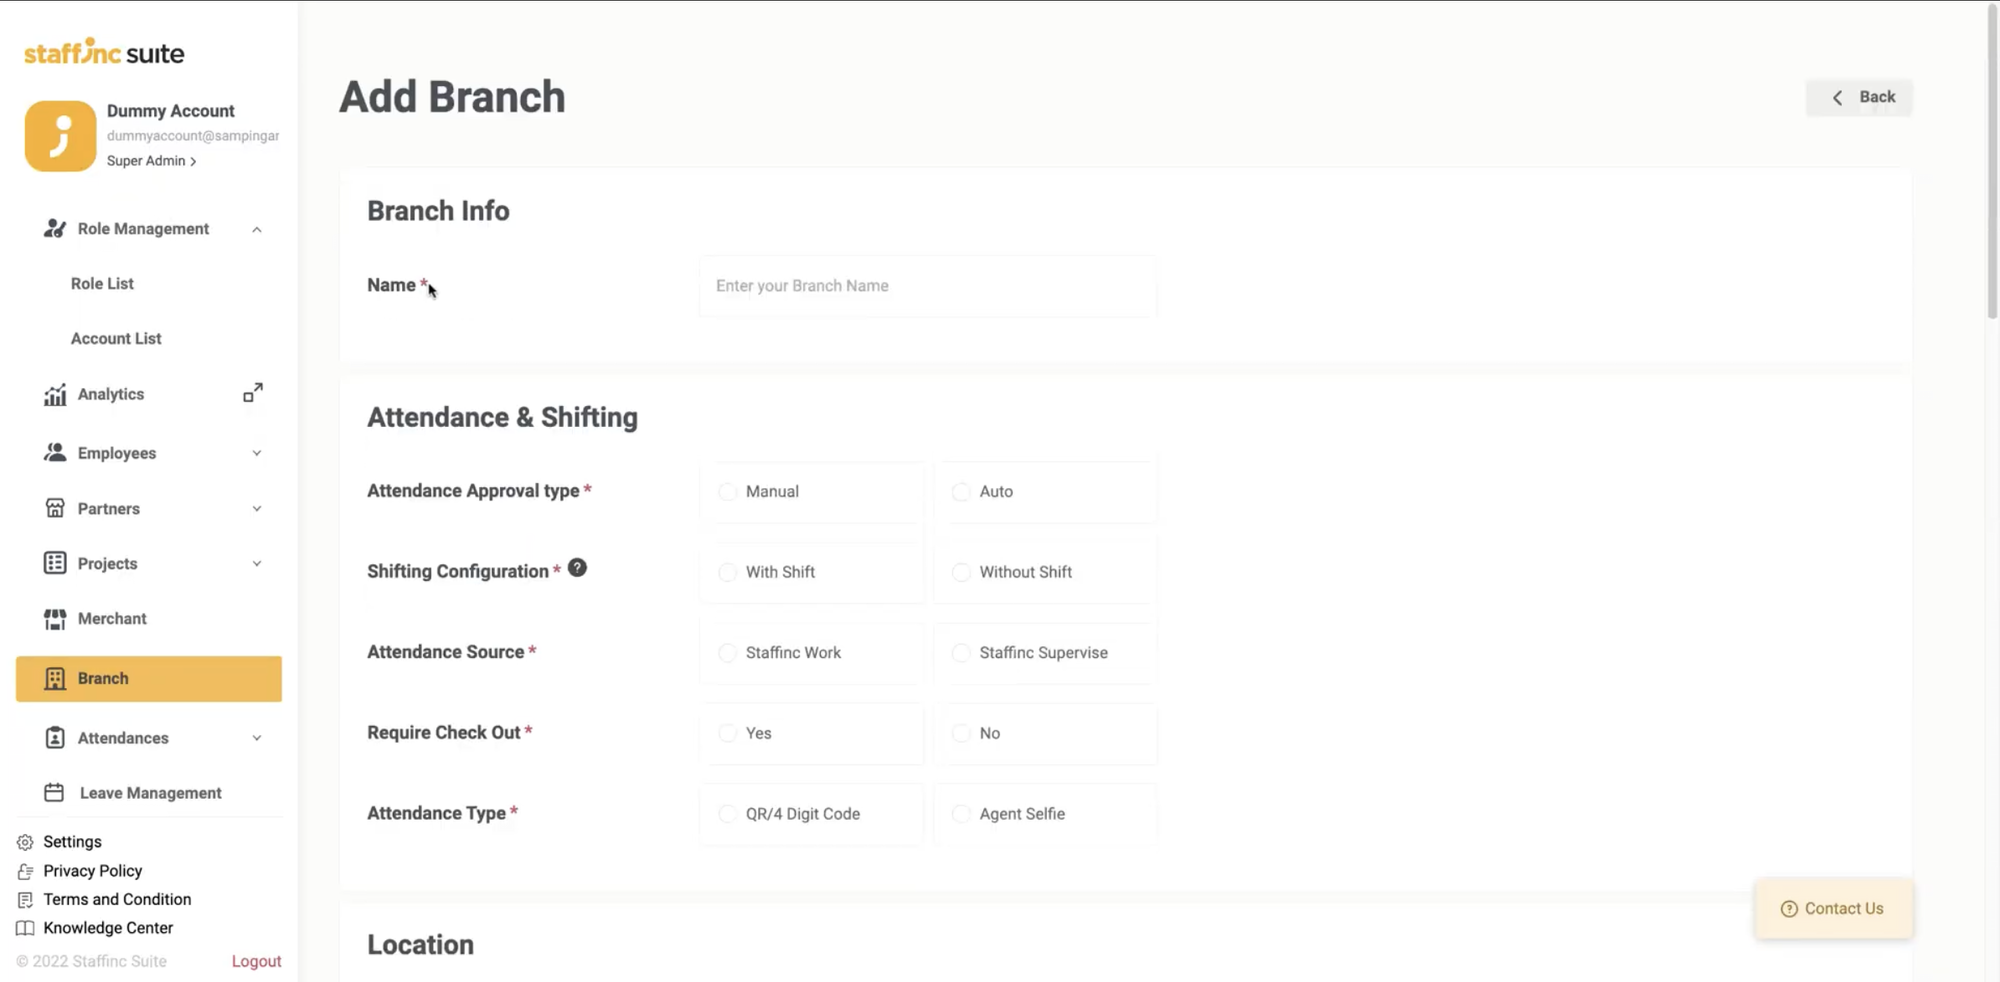
- Branch Info:
- Name: Enter the name of the hub or office.
- Attendance and Shifting:
- Attendance Approval Type: Select the type of attendance approval for employees (manual or automatic).
- Shifting Configuration: Set up the shift configuration (daily or without shift). If selecting Without Shift, choose the working days for your employees.
- Attendance Source: Choose the application used by employees to clock in.
- Require Check Out: Determine whether check-out is required at the hub.
- Attendance Type: Choose the type of attendance validation (QR Code or Face Validation).
- Branch Info:
-
3.Fill in Branch Location and Enable Geofence
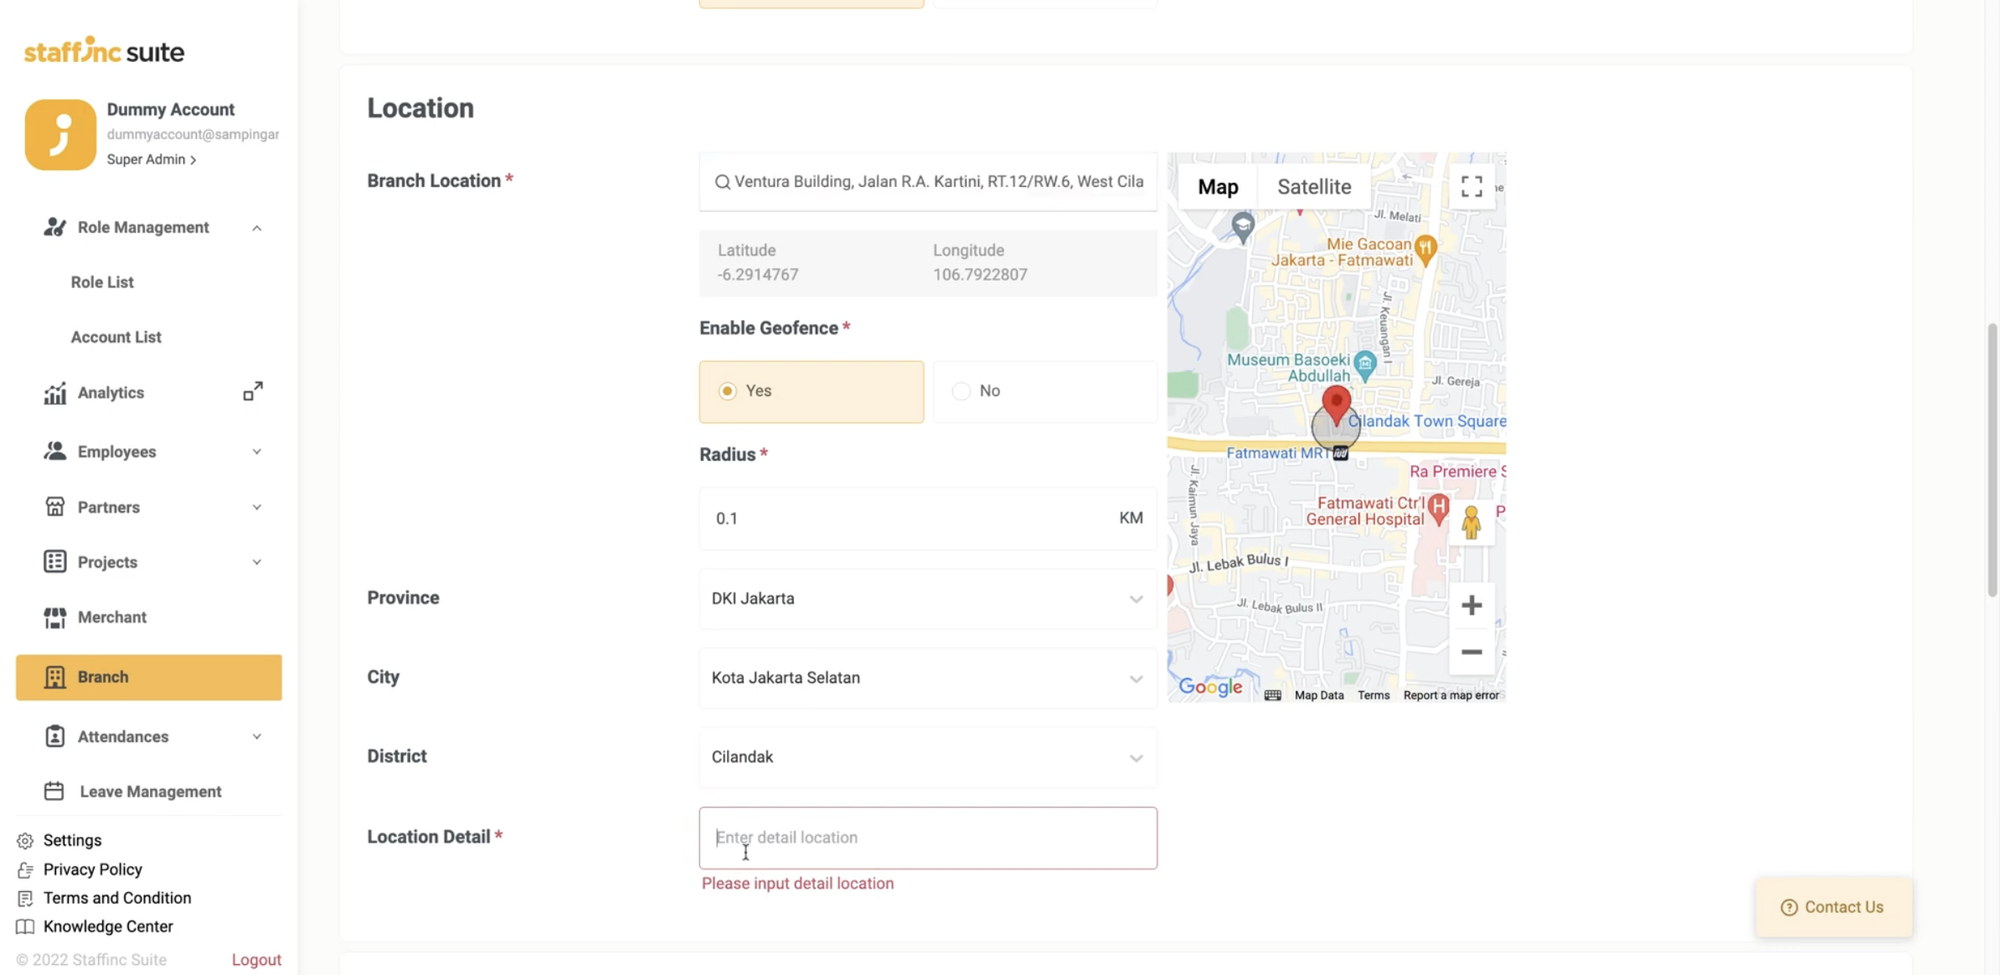
- Branch Location:
- Enter the location of your hub or office (use the name on Google Maps).
- Enable Geofence:
- Enable location settings for employee attendance.
- Radius: Specify the maximum attendance distance from the set point.
- Location Detail: Provide detailed information about the location.
- Adding Agents to a Group or Branch
- Branch Location:
-
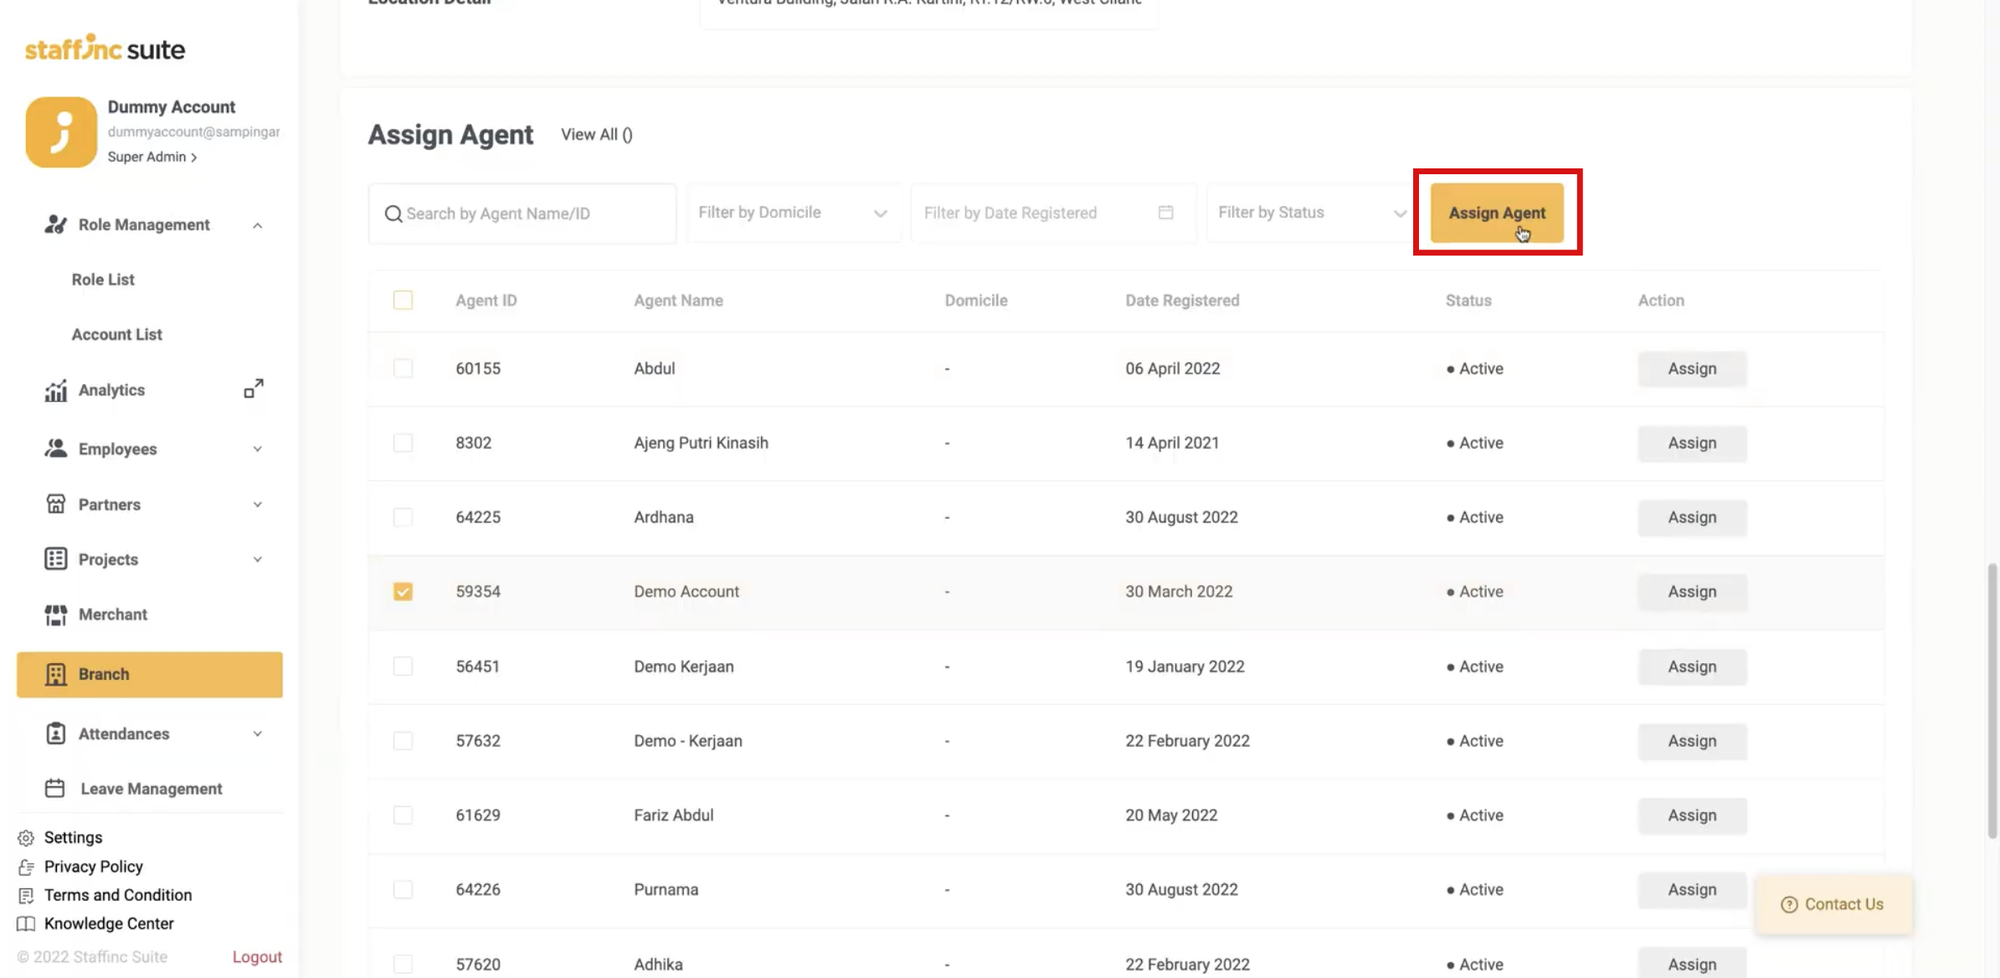
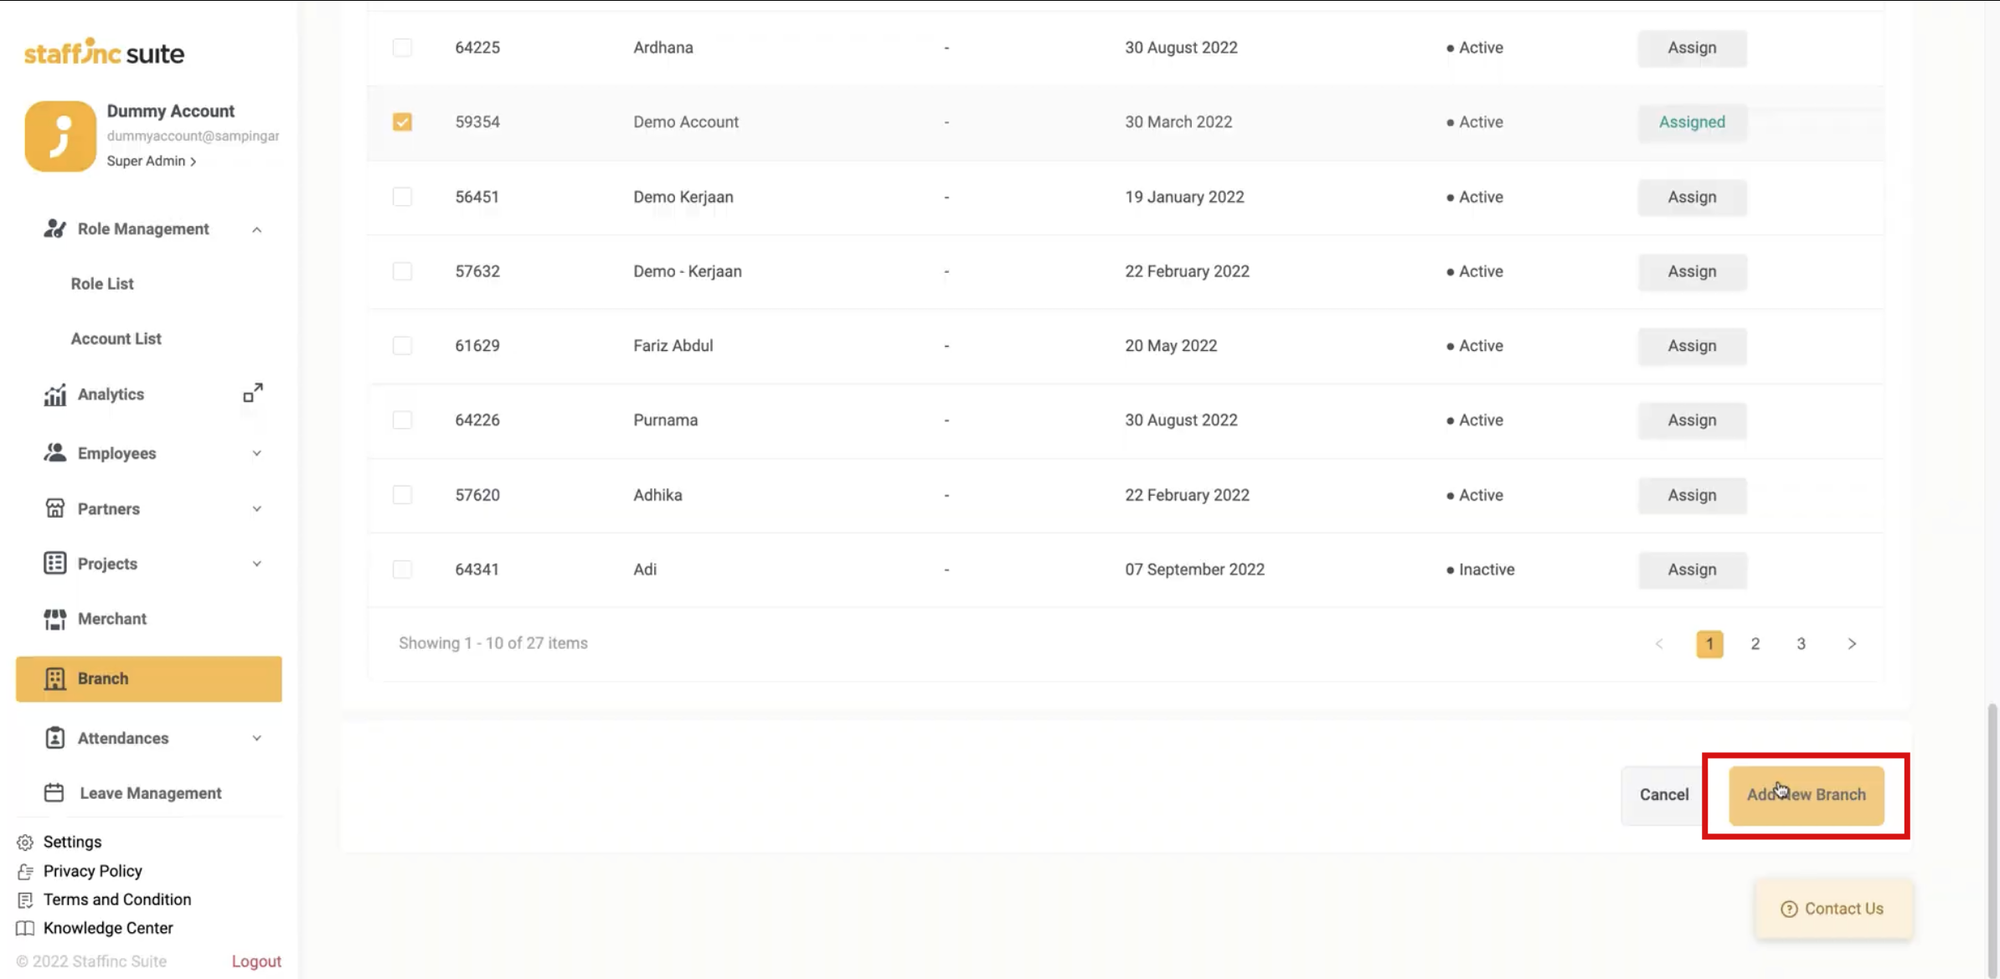
4. Adding an agent is optional and can be done either during the creation process or later. When you are on the creation page, there will be an option to add agents. Here are the steps to add agents to a group or branch:
- Click Select Agent > Click Assign Agent to add them to the group or branch.
- Click Select Agent > Click Assign Agent to add them to the group or branch.
-
5. Save the New Branch
- After filling in all the data, click the Add New Branch button.
- After filling in all the data, click the Add New Branch button.
By following these steps, you can create a new branch and configure all the necessary settings for employee check-in in the application.