Digital Forms Template
Digital Forms is a feature that allows for the collection and management of information through digital forms accessible via the Staffinc Work app. Here are the steps to access, create, and manage form templates:
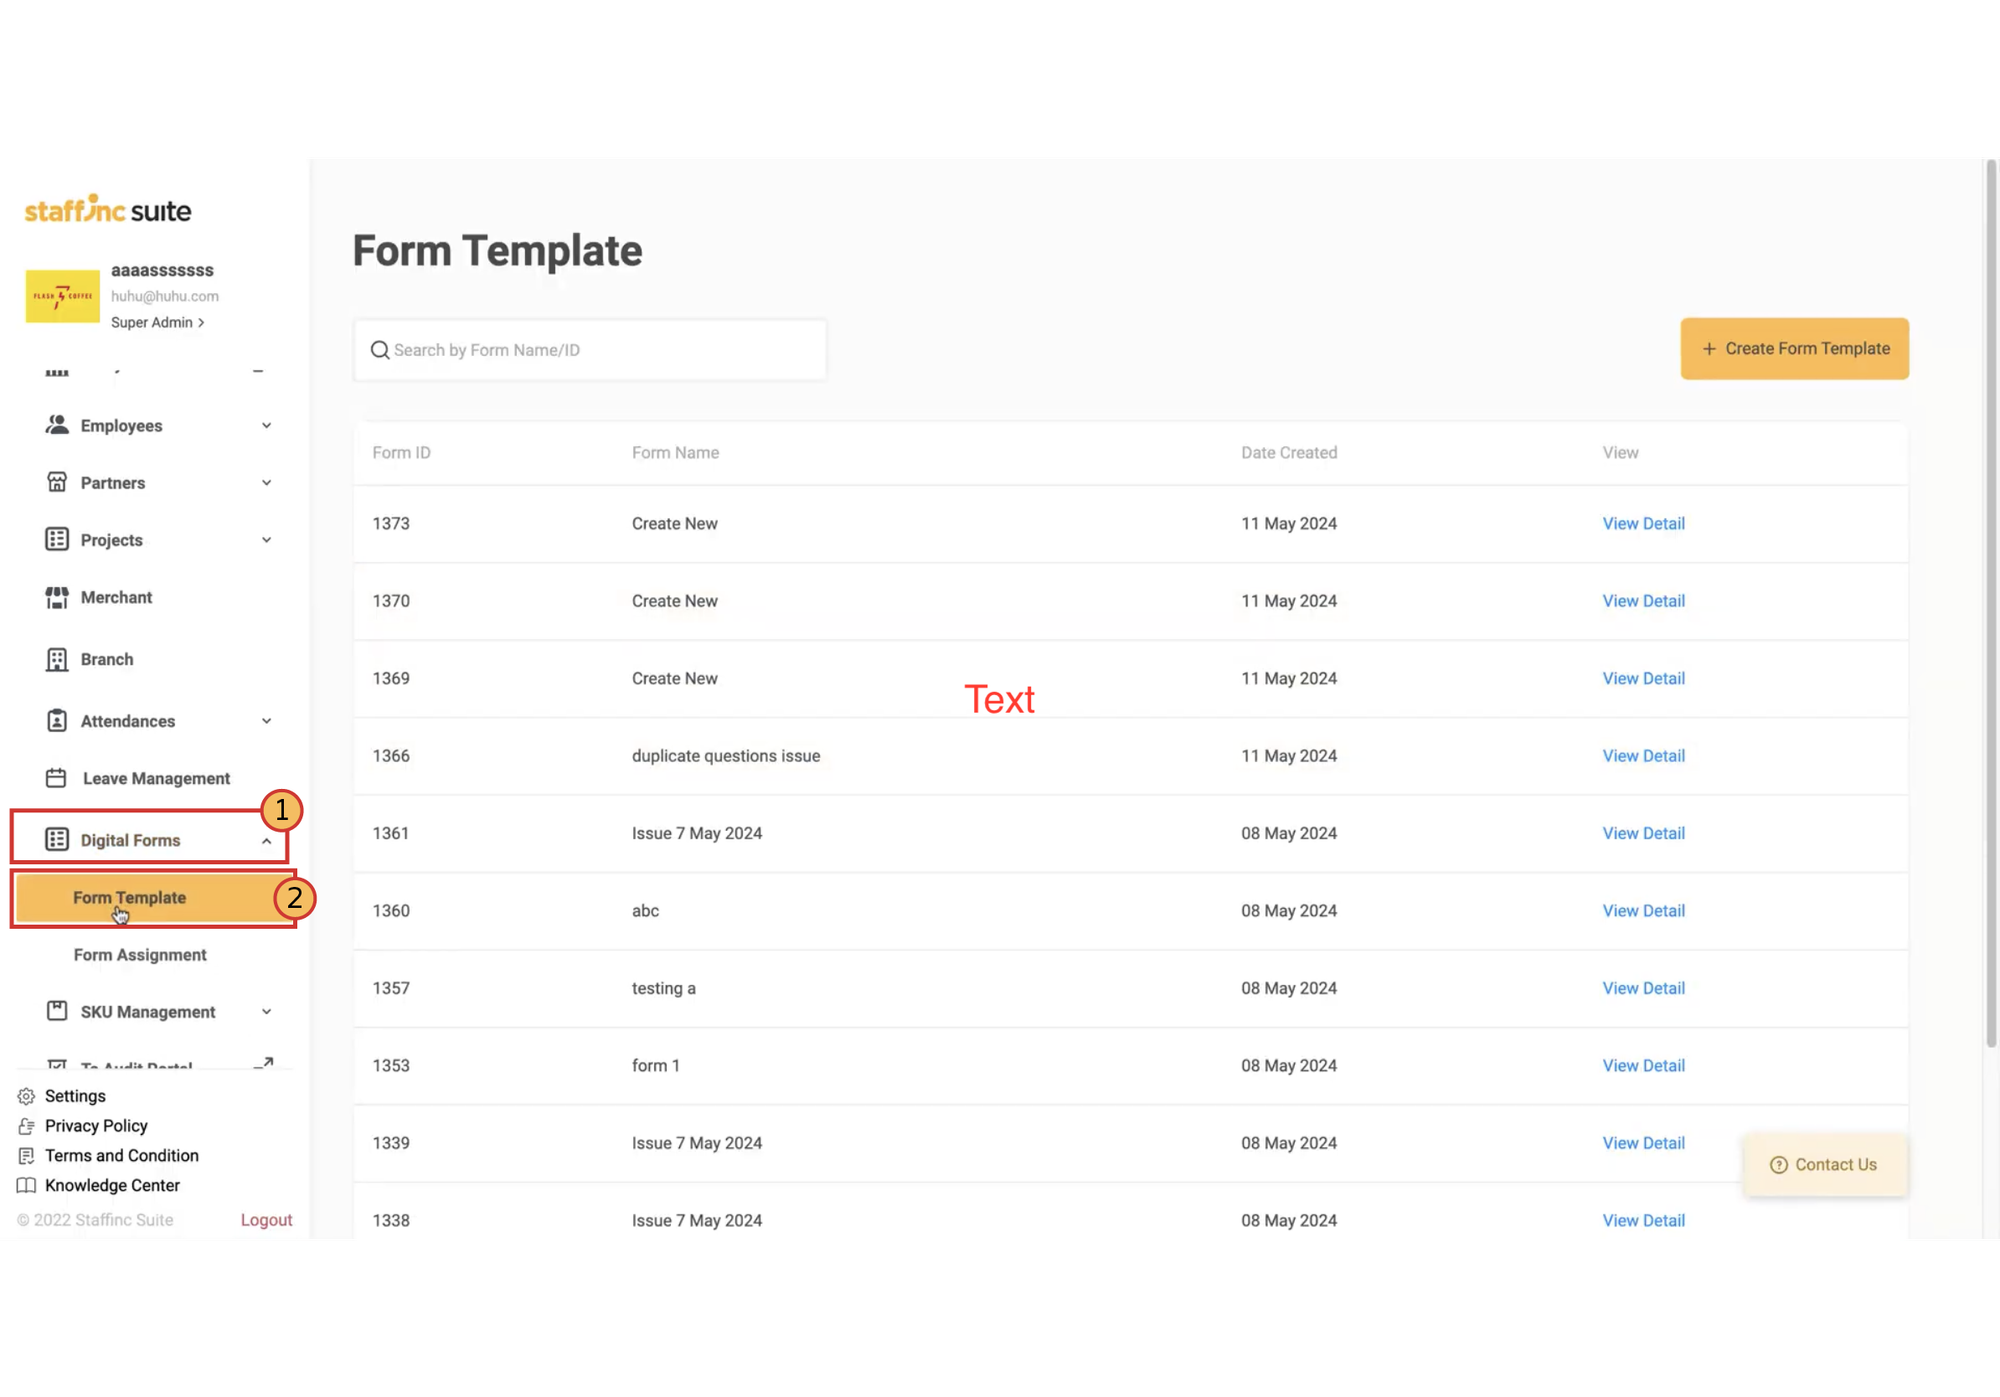
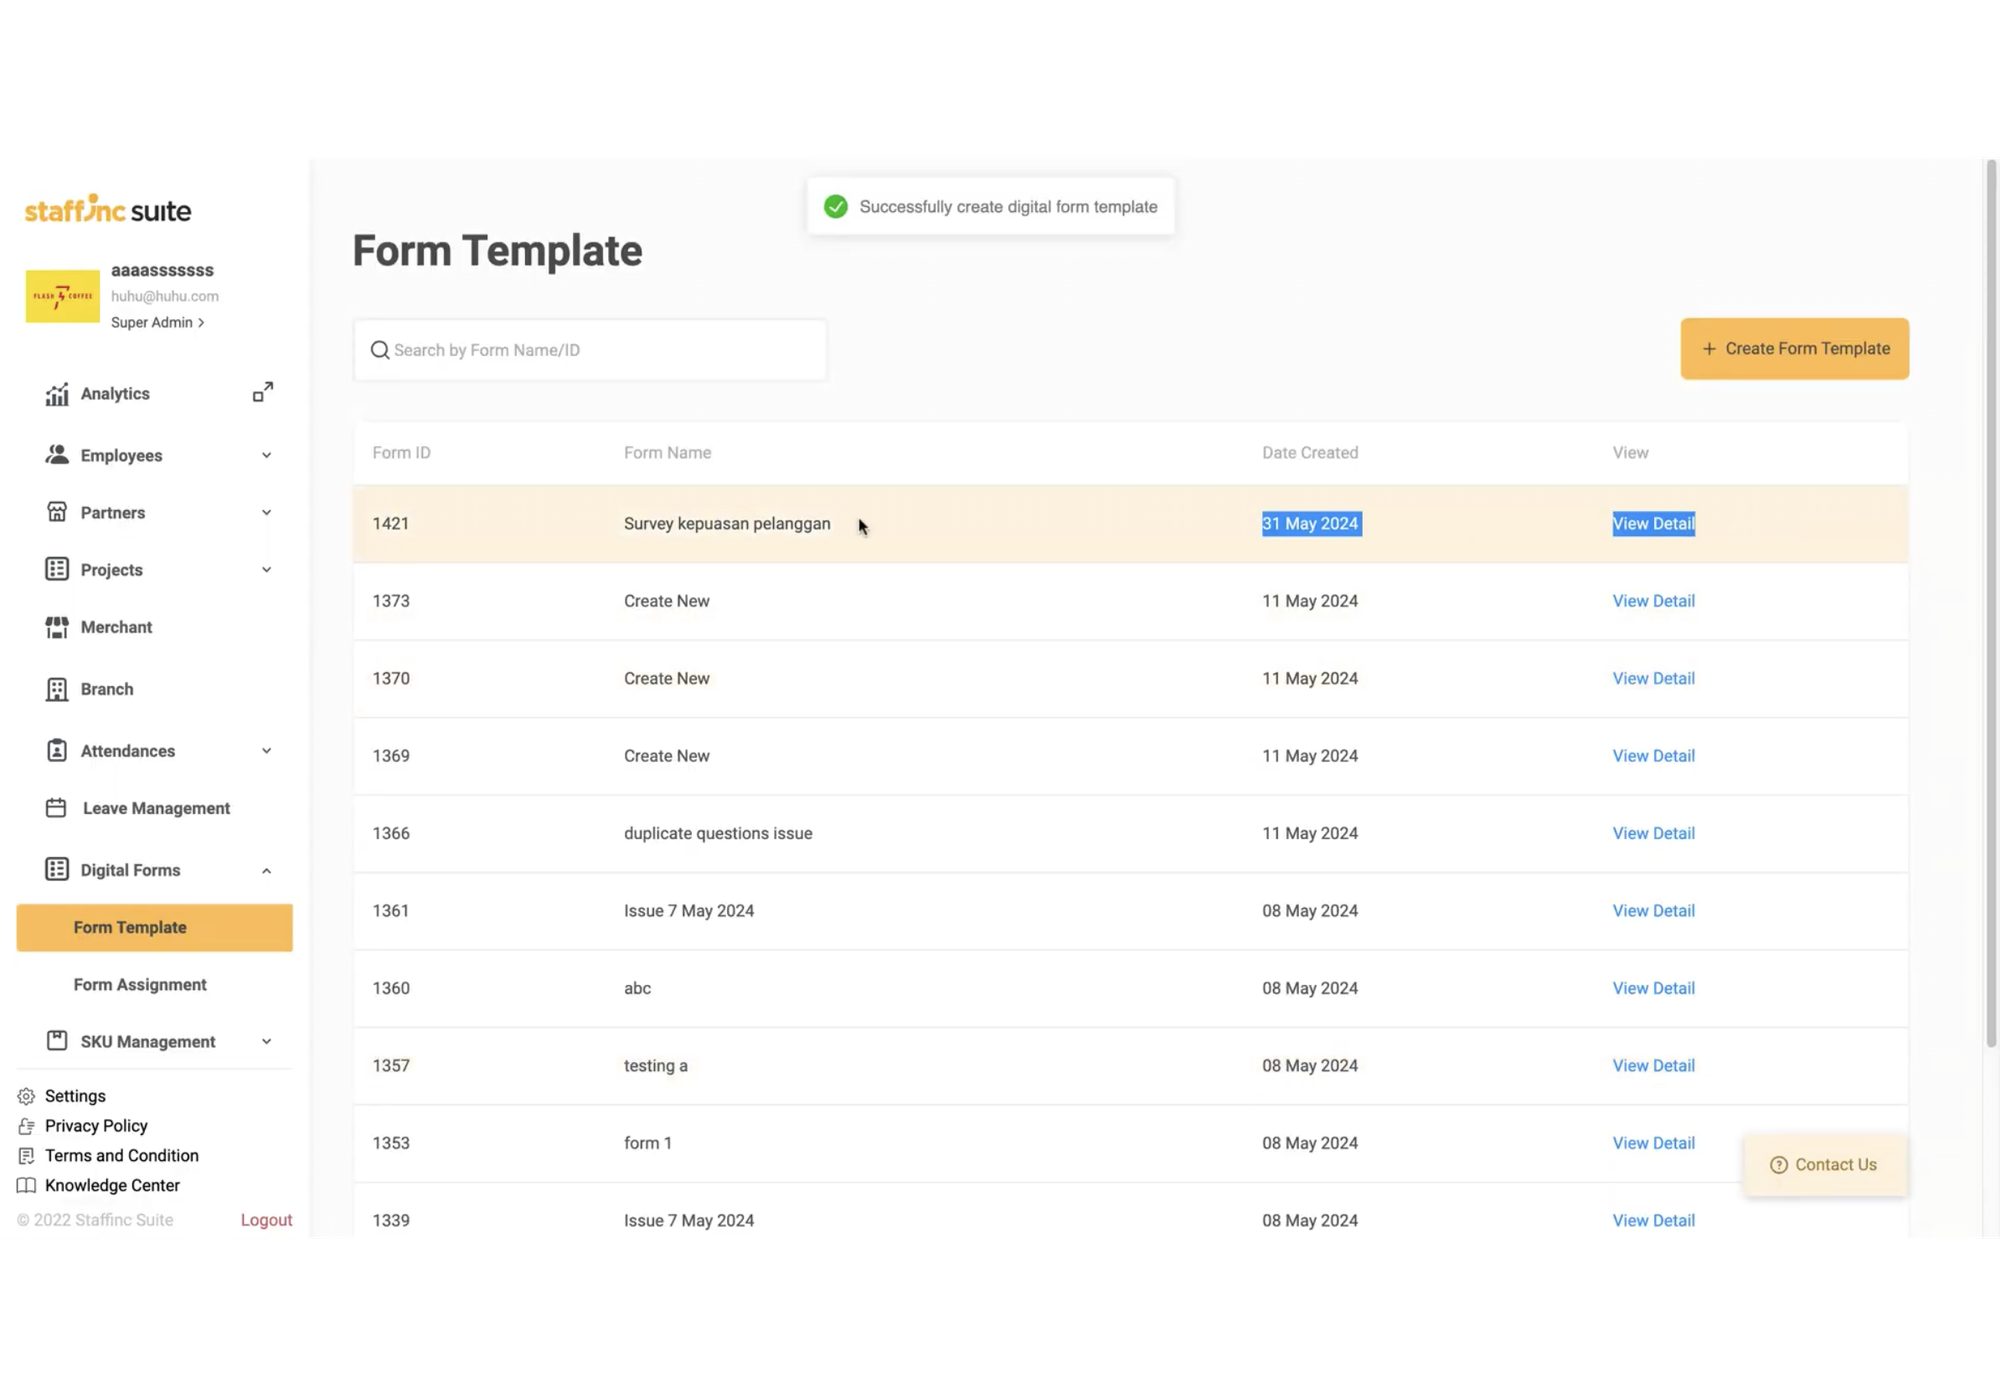
Accessing the Form Template Page
1. Navigate to Form Template
-
Open the application and log in to your account.
-
Click on Digital Forms > Form Template.
-
On the Form Template page, you will see a list of previously created forms.
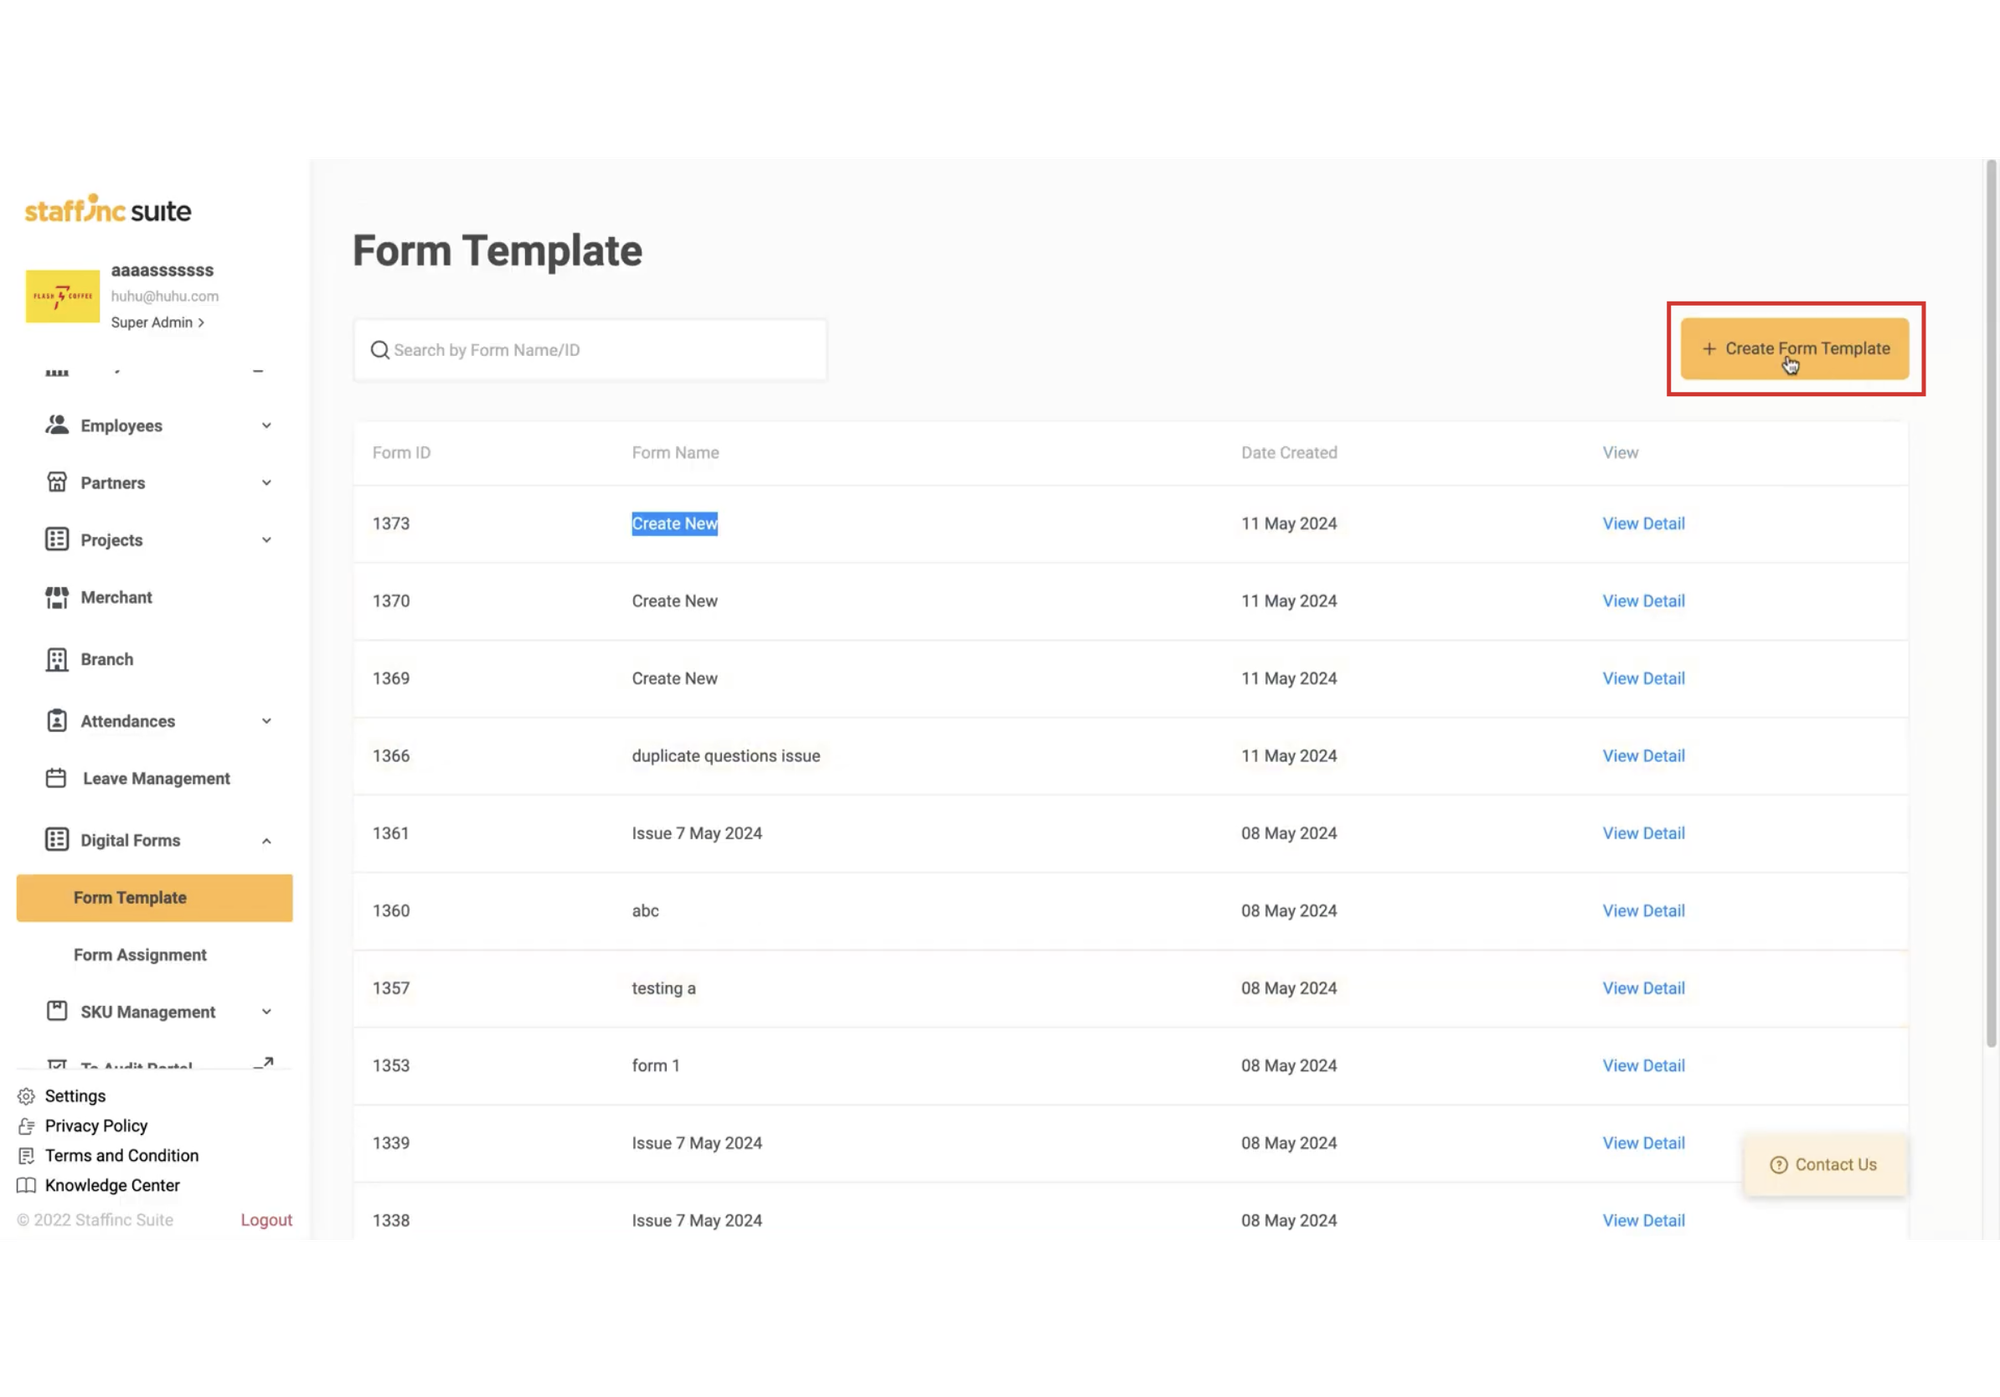
Creating a Form
1. Click Create Form Template
-
Click the Create Form Template button in the upper right corner.
-
You will be directed to the Create Form Template page.
2. Fill in Form Data
-
a. Basic Information Field
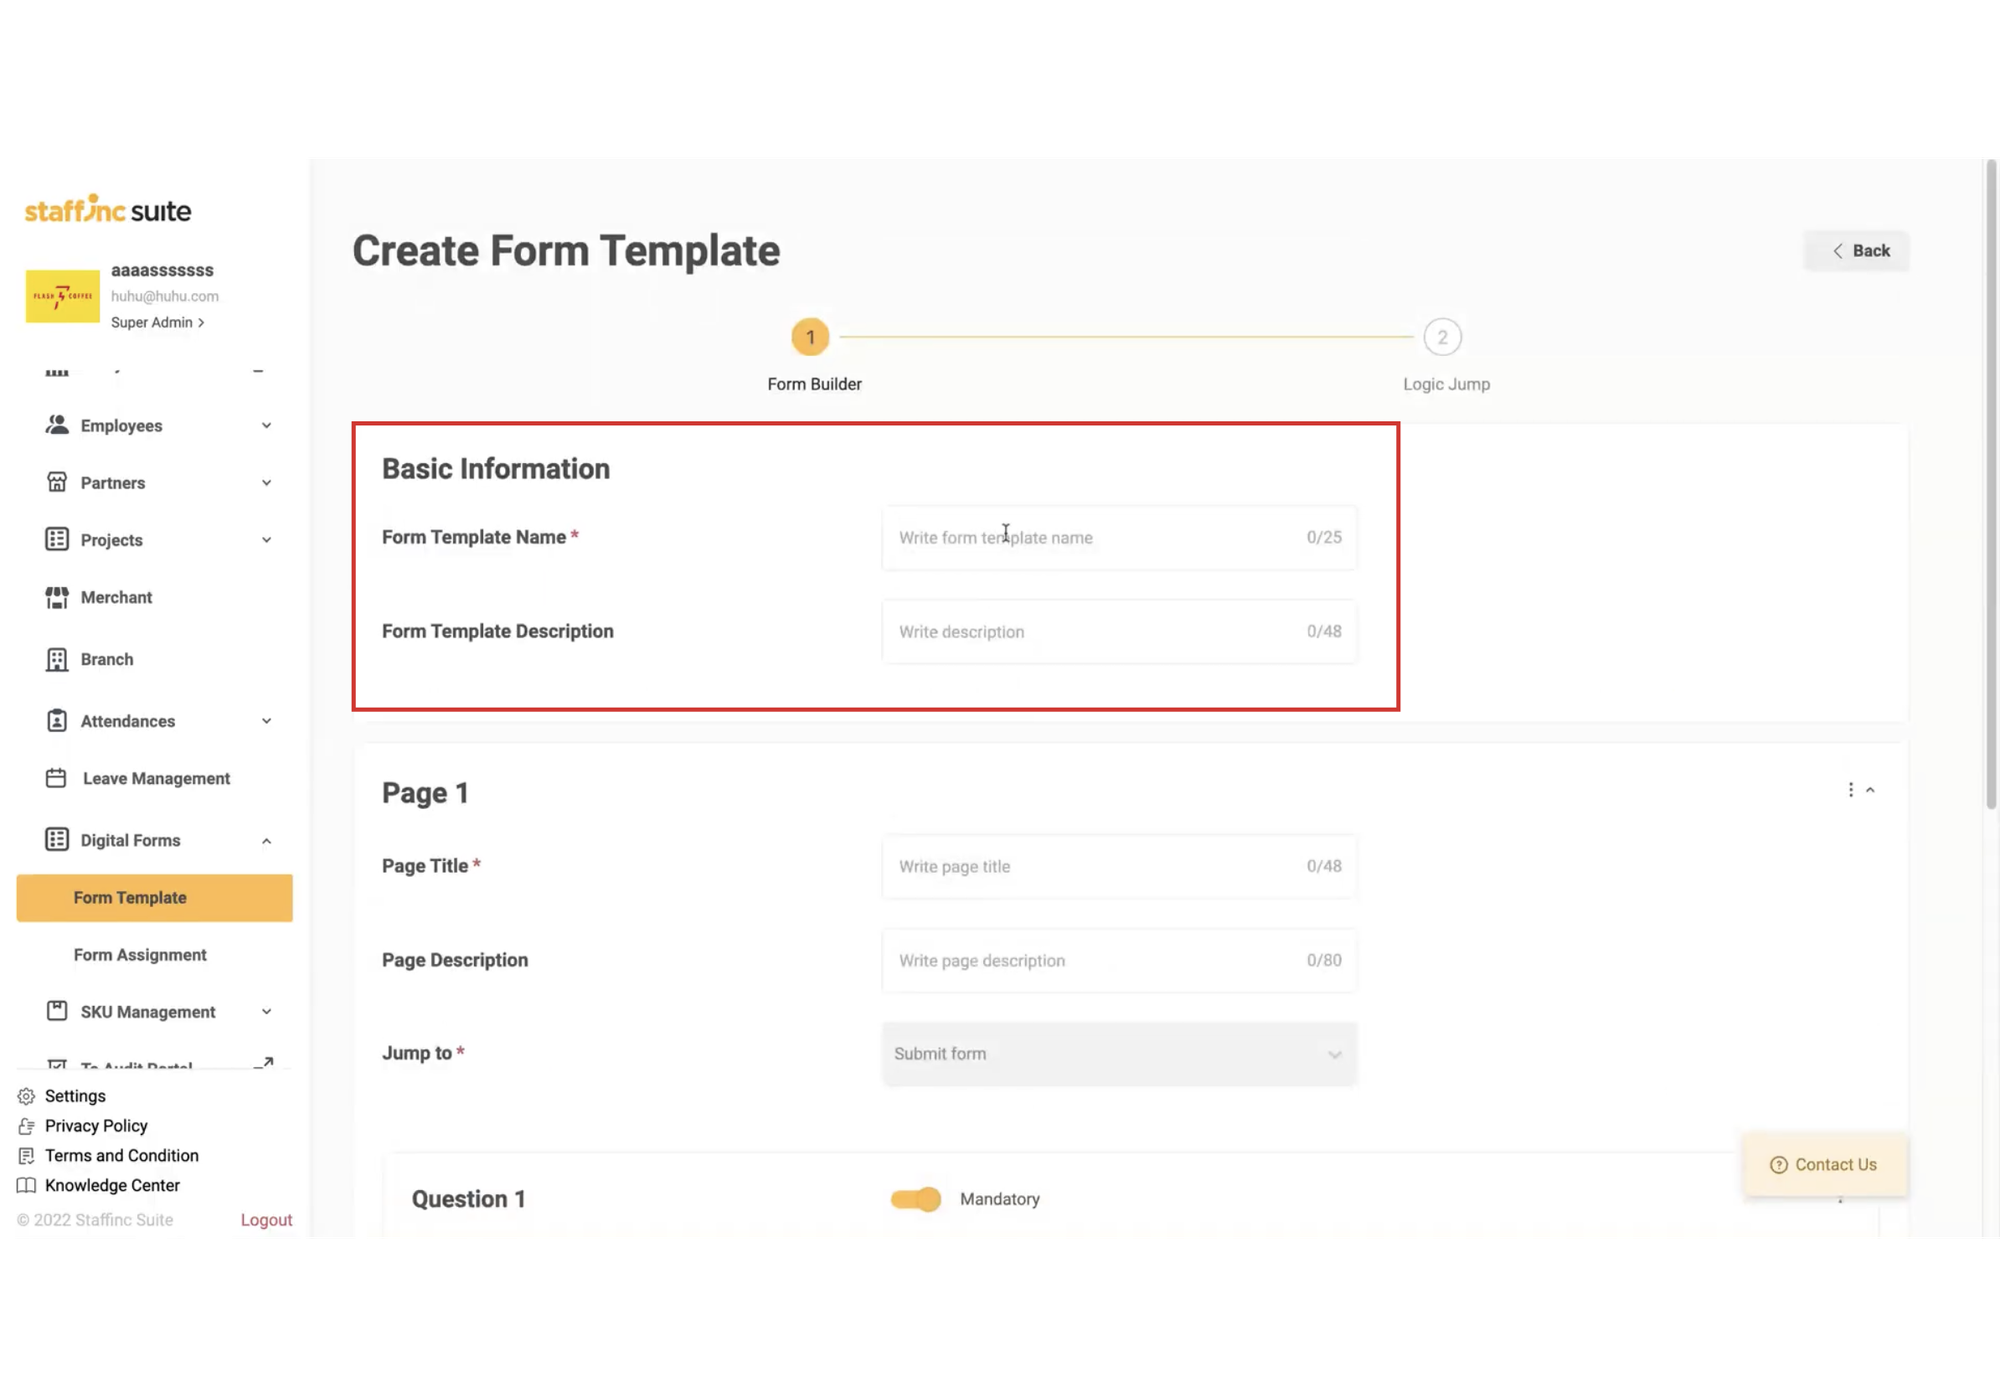
- Form Template Name: Enter the name of the form template (mandatory).
- Form Template Description: Add a description of the form template (optional).
-
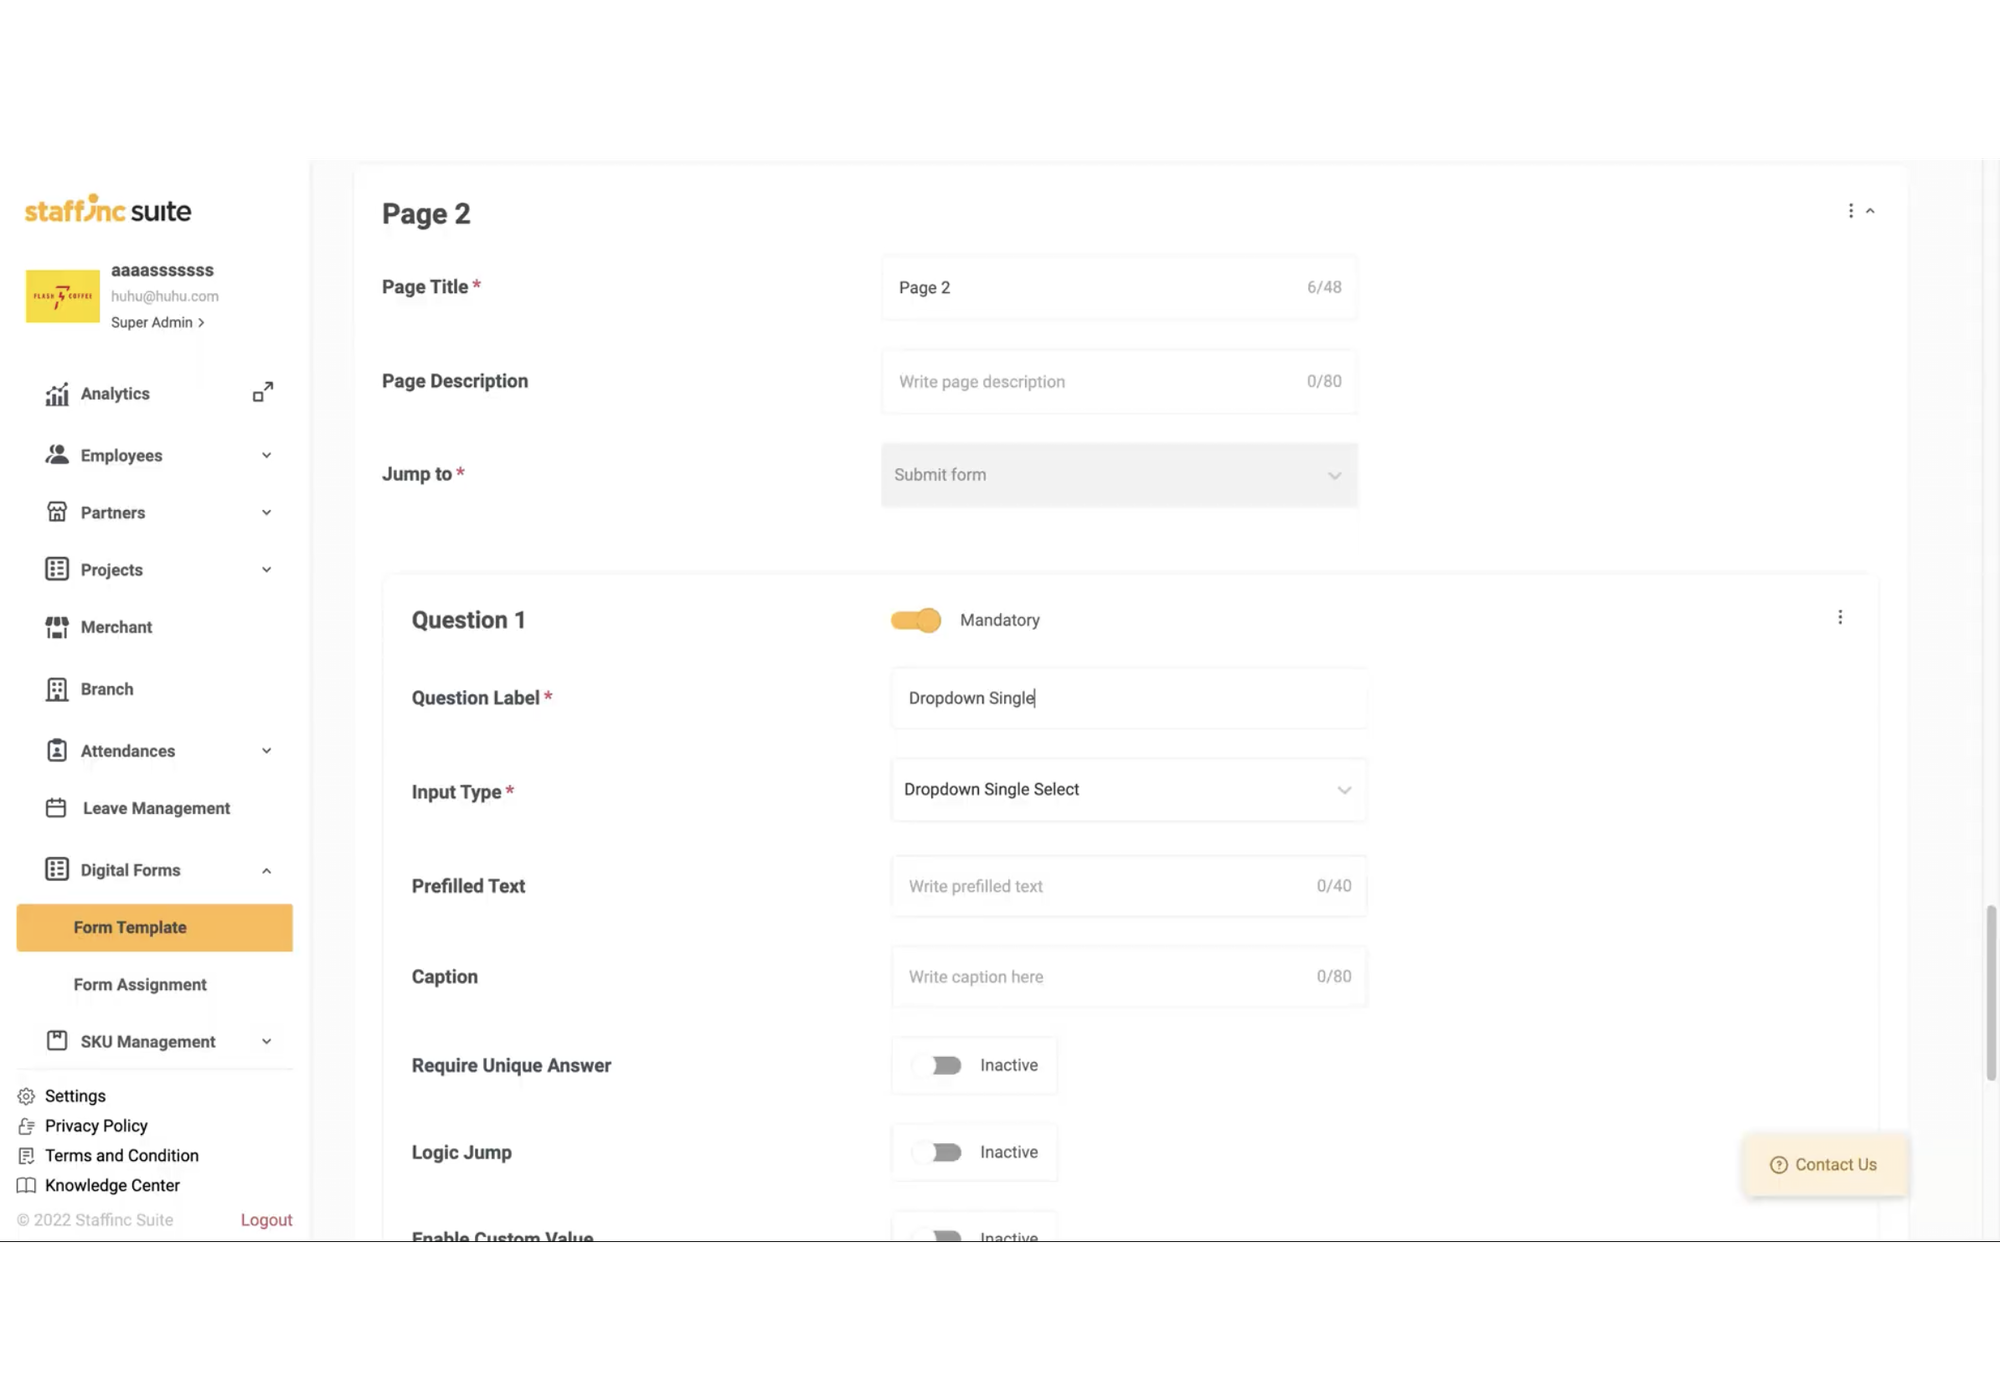
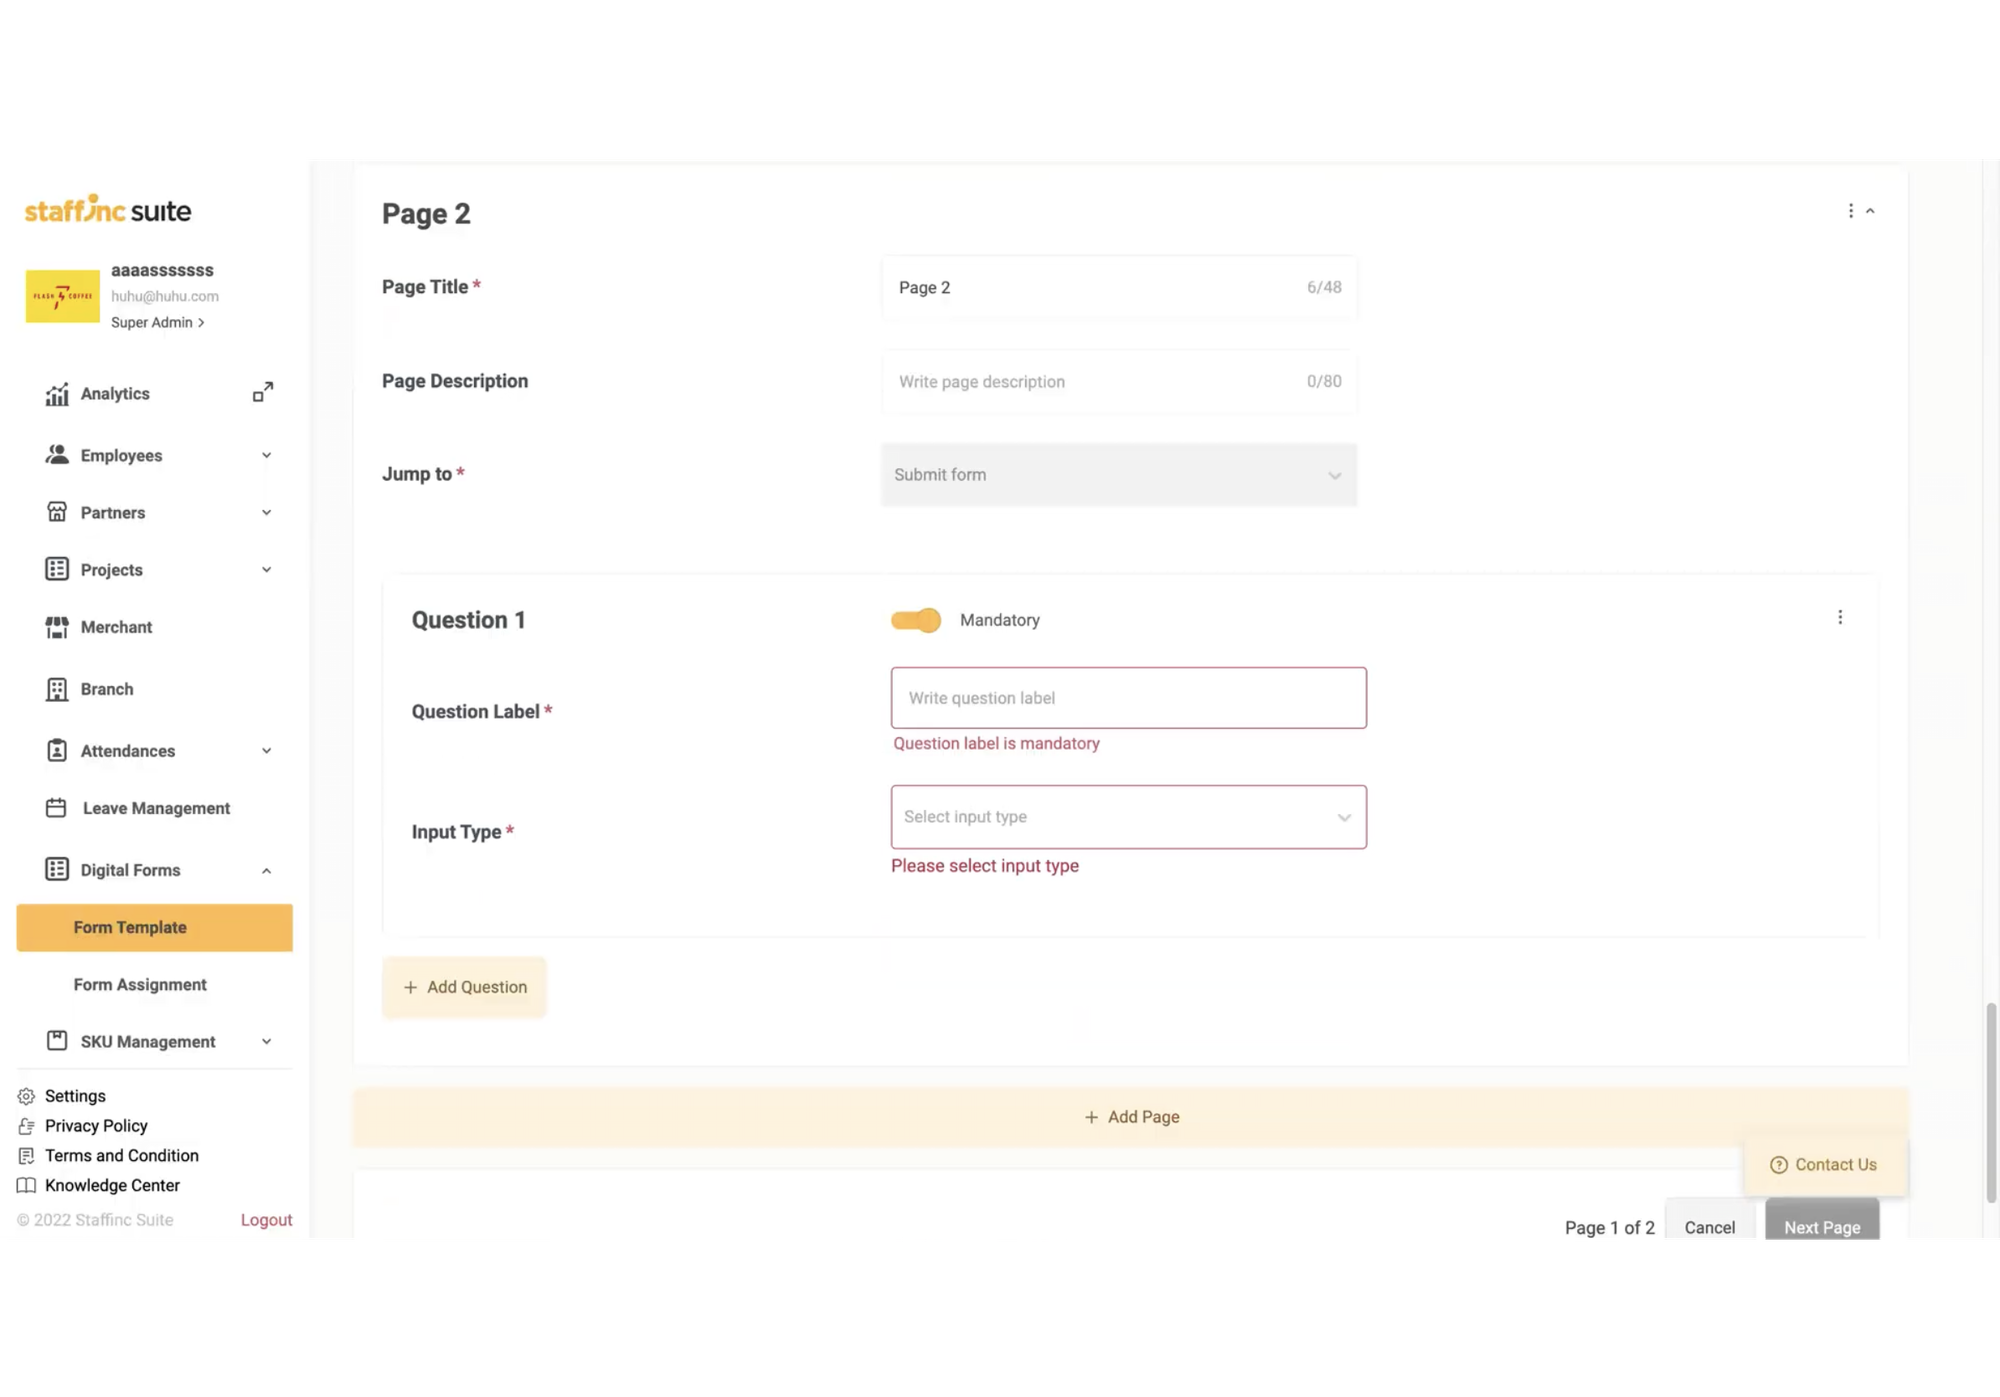
b. Field Page 1
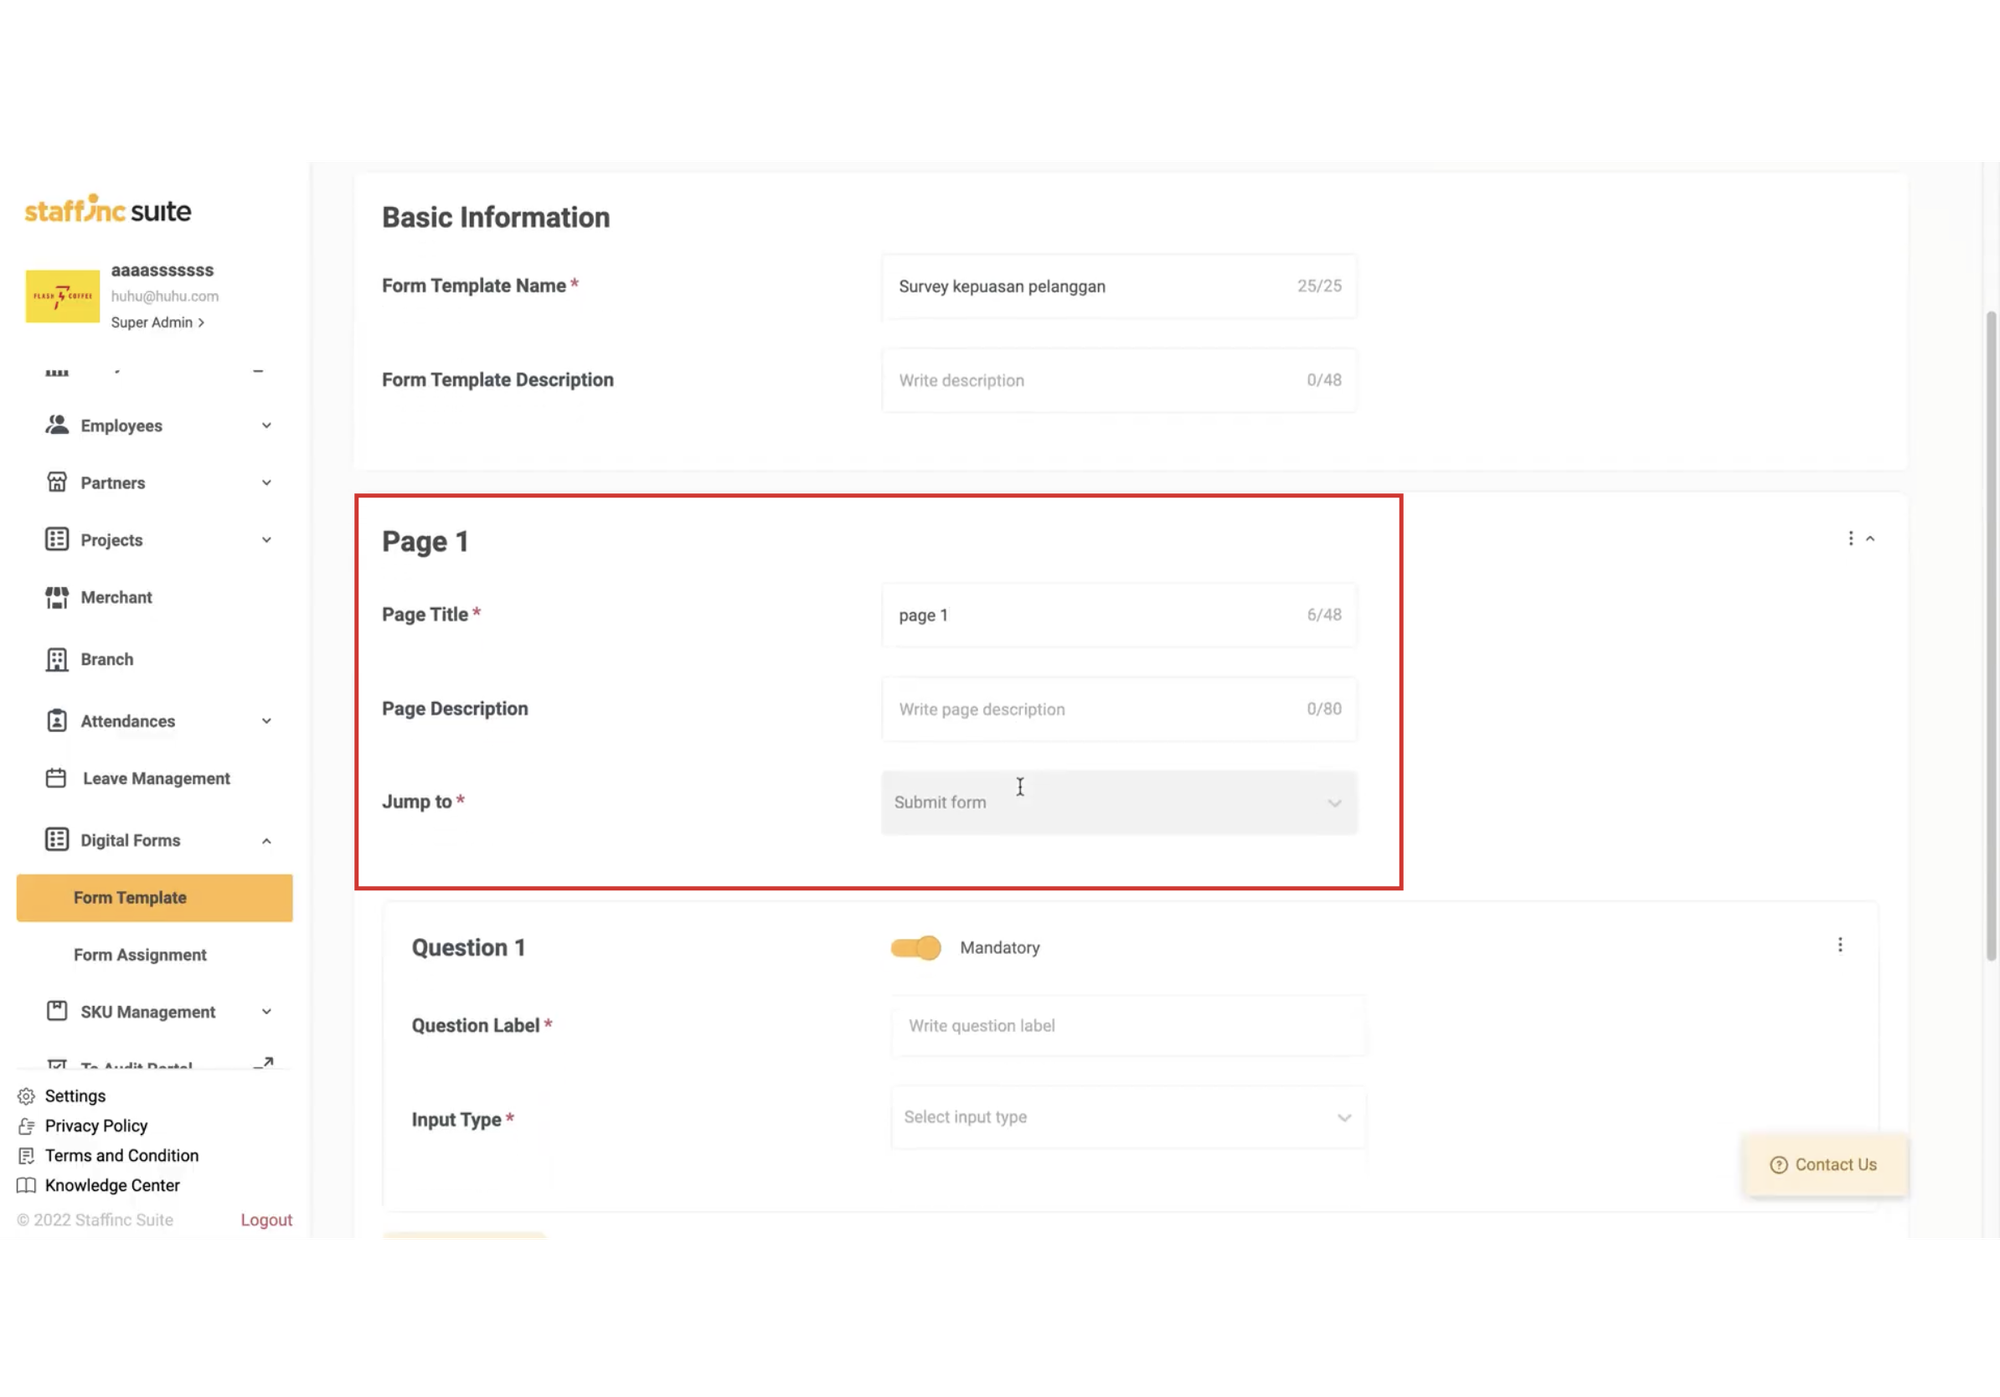
- Page Title: Enter the title of the page (mandatory).
- Jump To: Specify the next page to navigate to.
3. Determine Questions
-
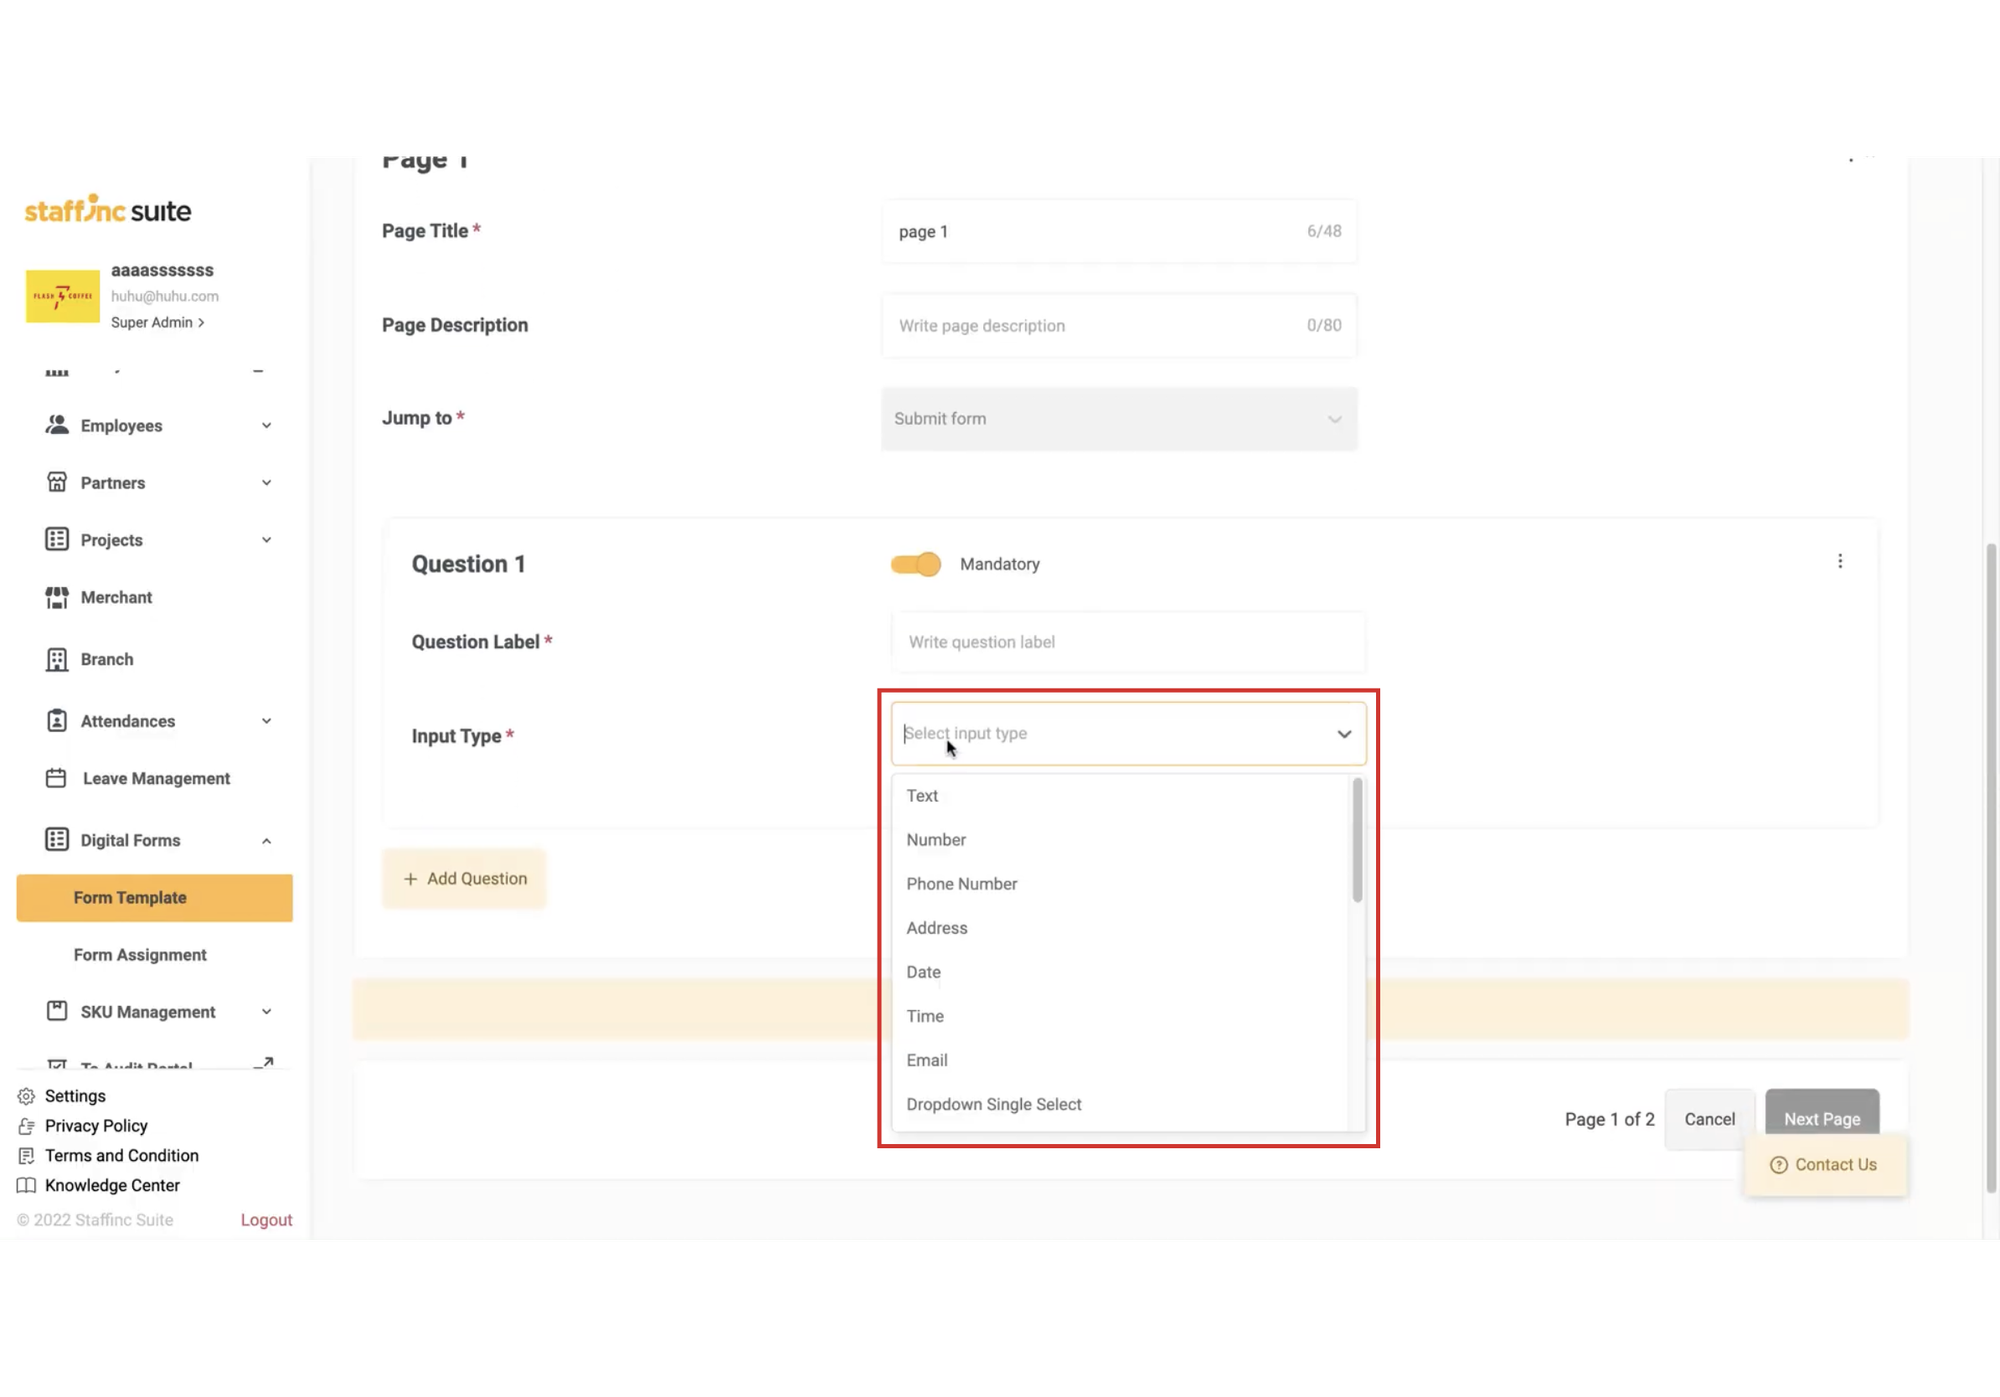
a. Input Type and Question Label
-
Determine the Input Type. There are various types, such as:
- Text
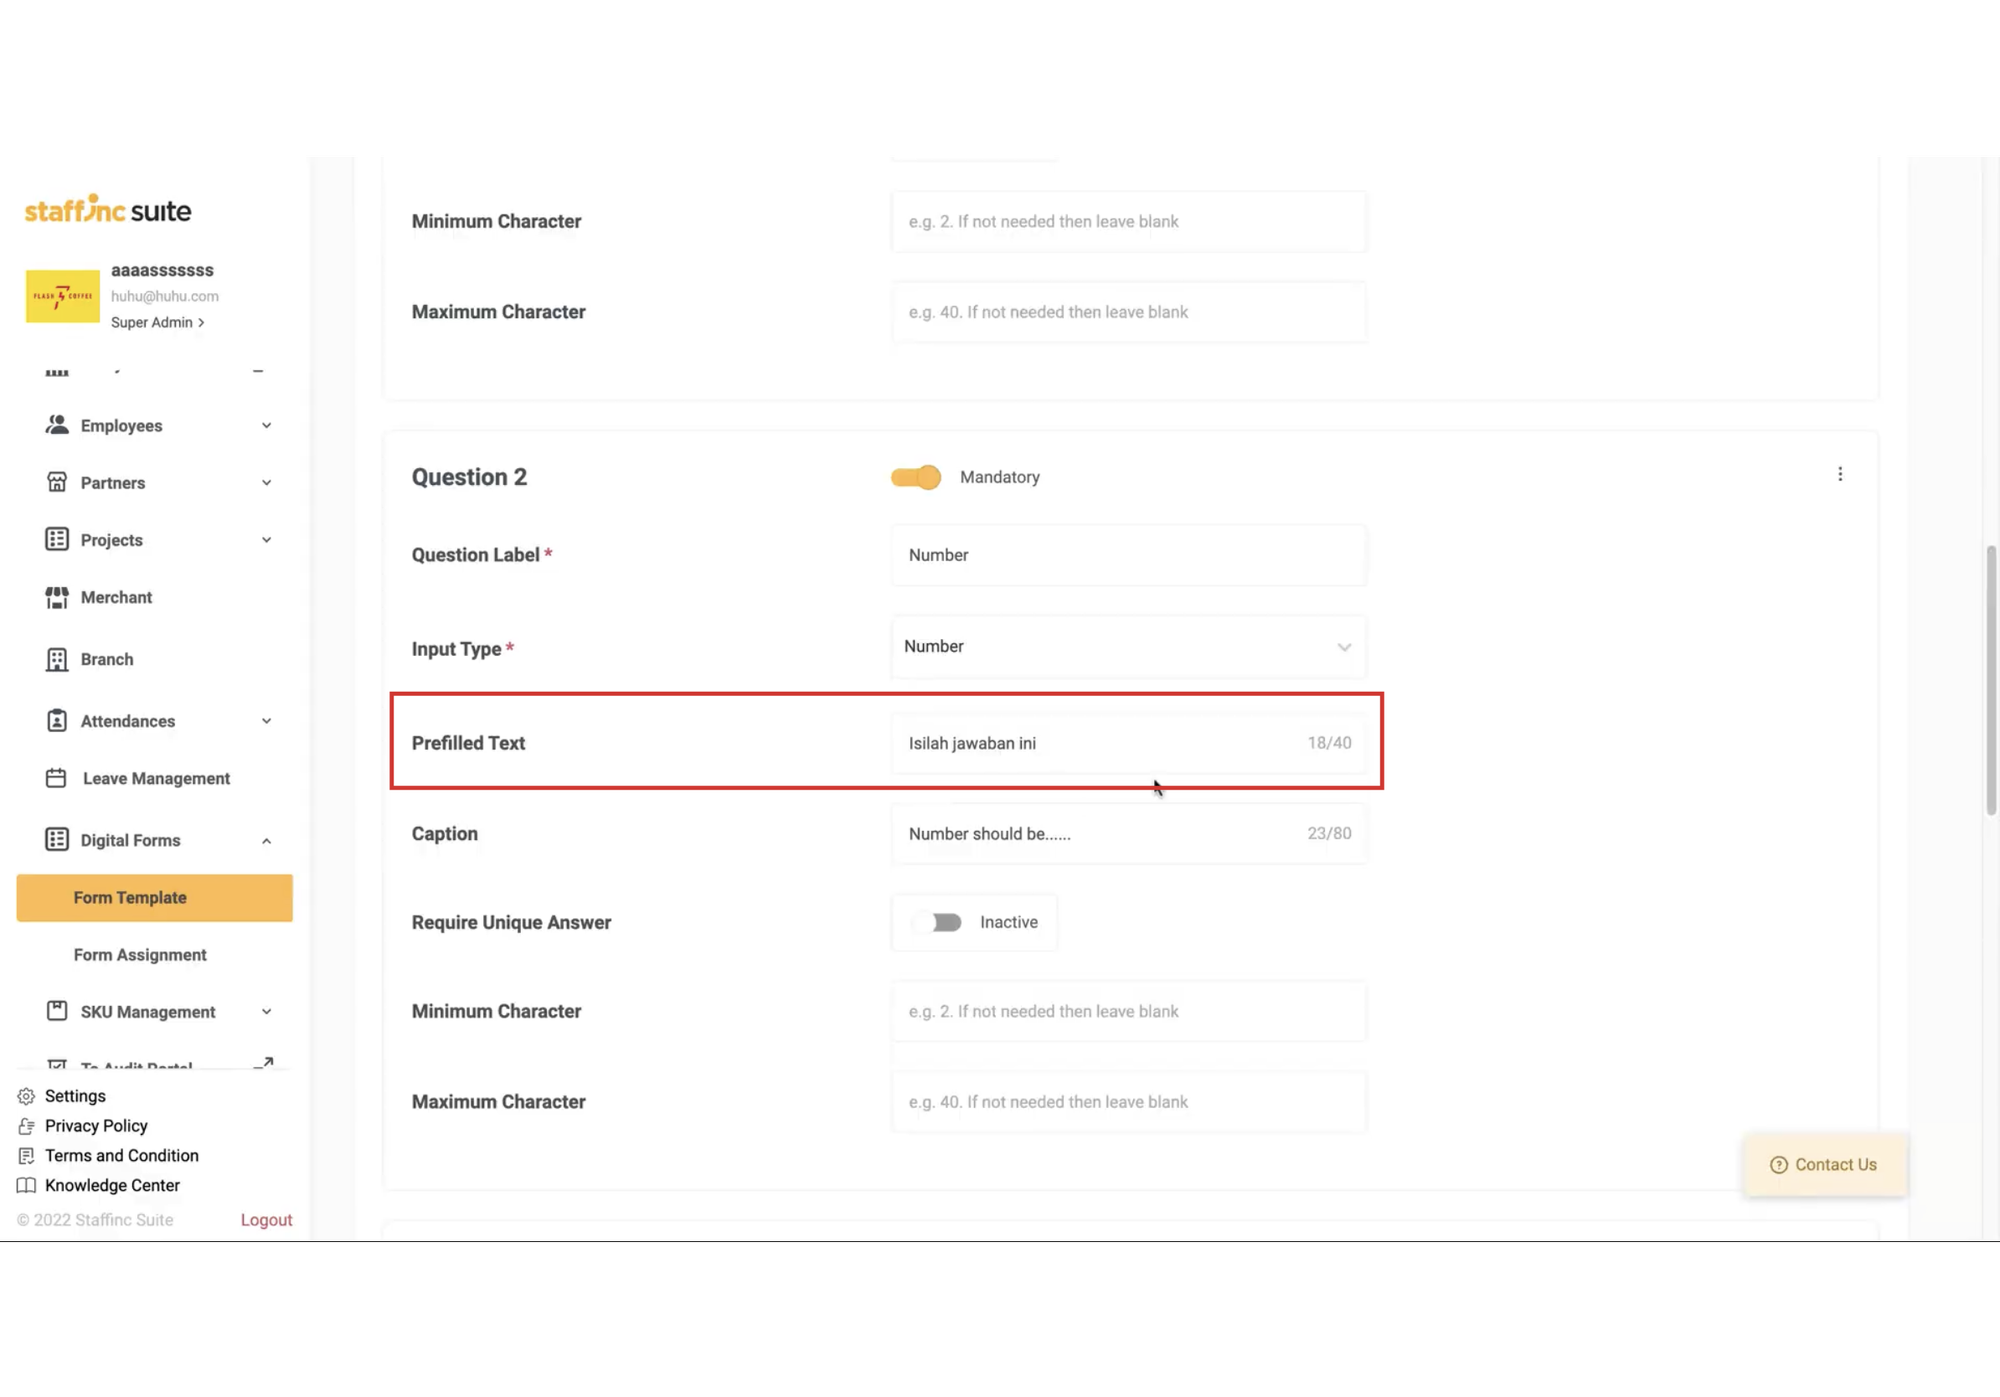
- Number
- Phone Number
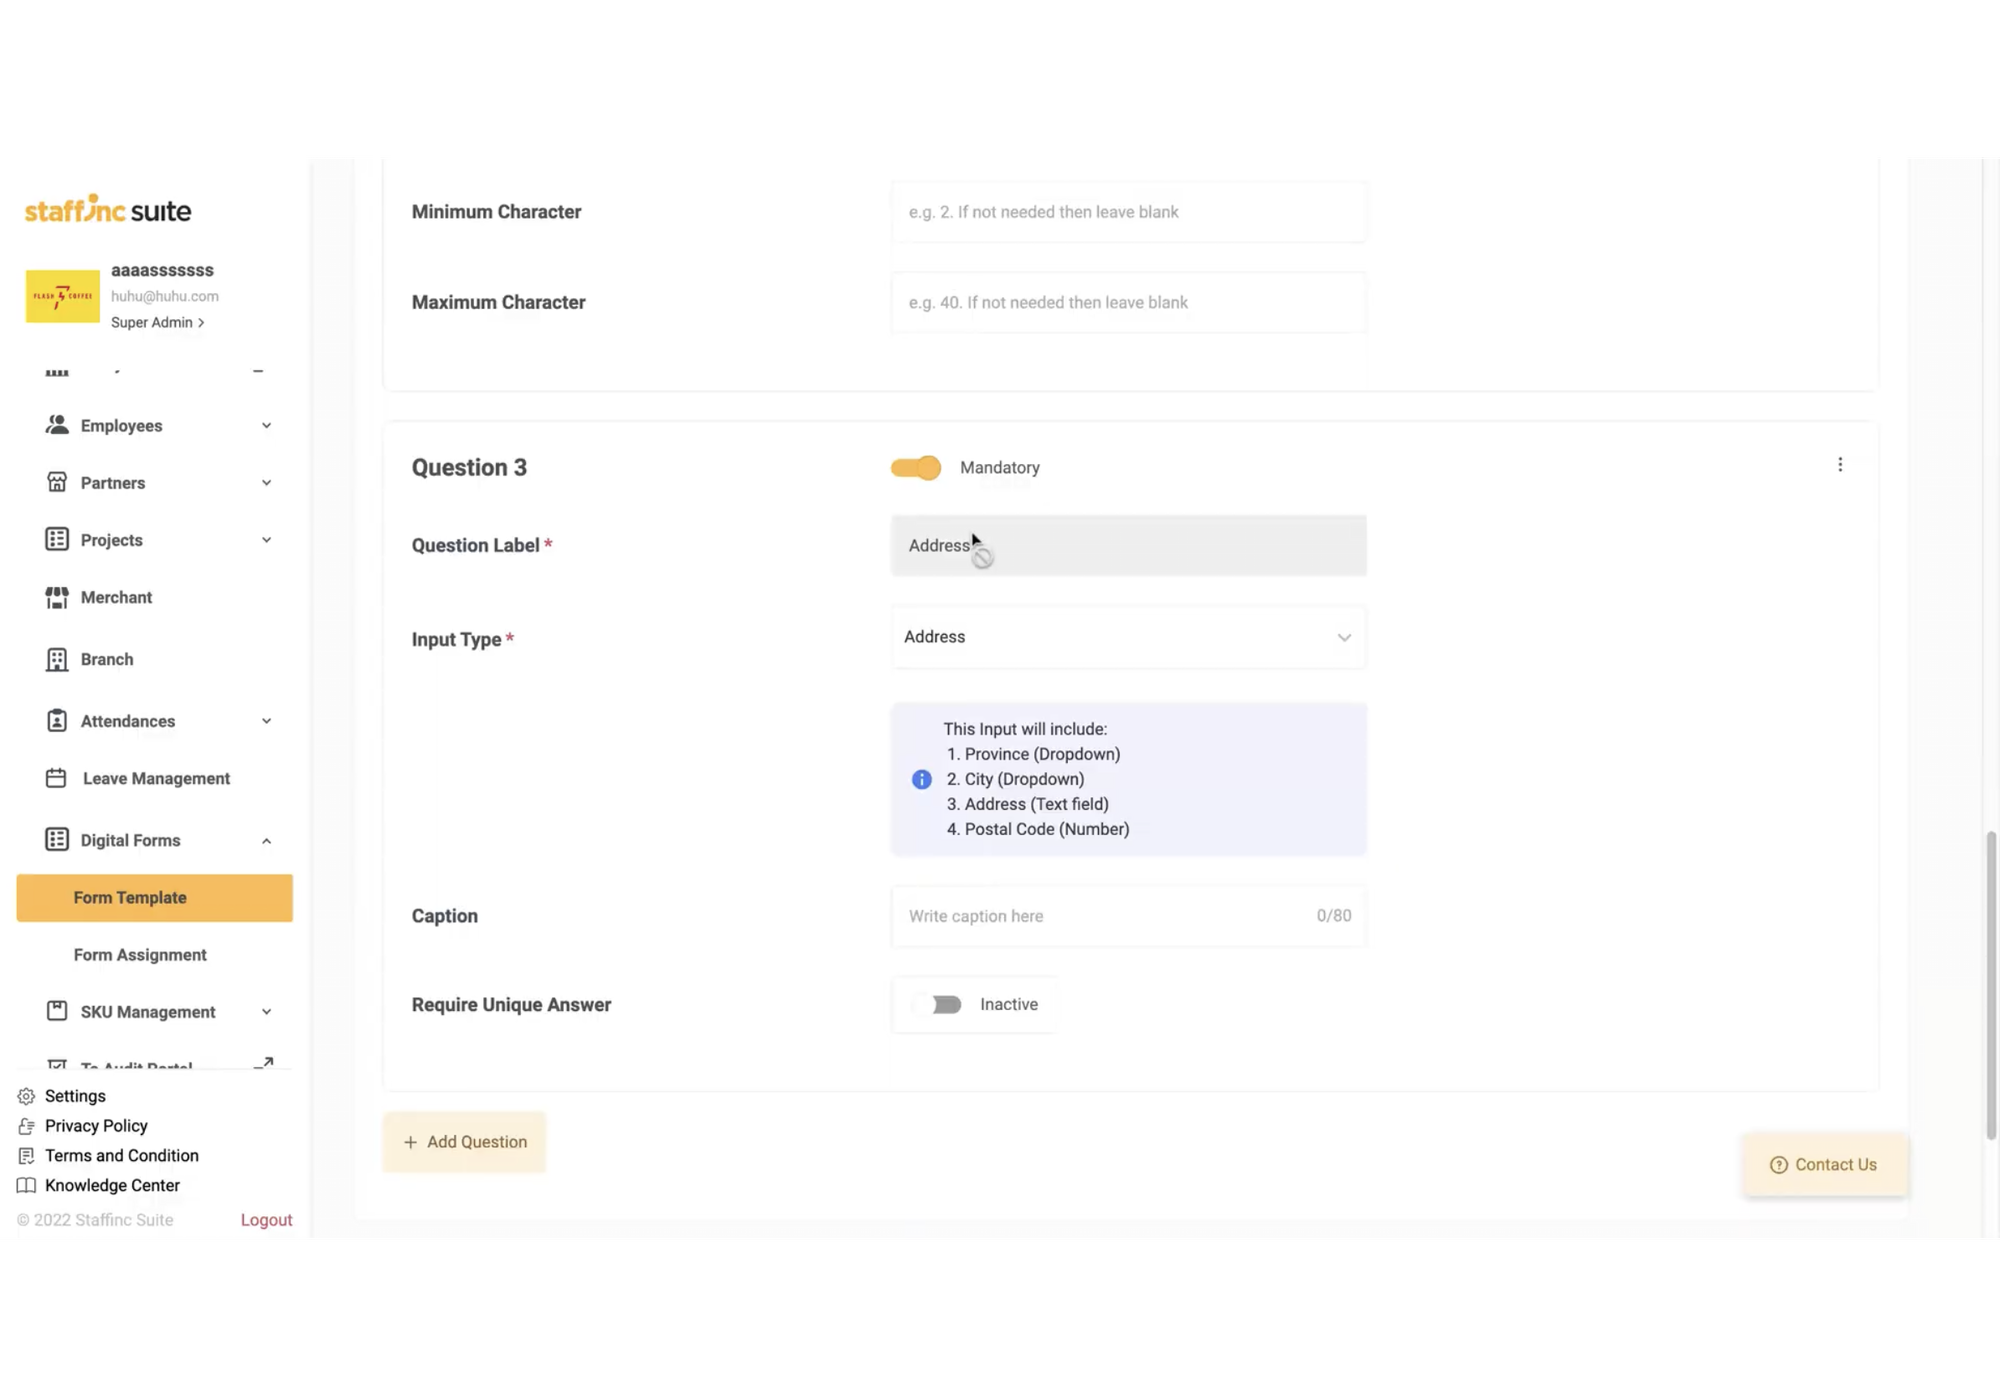
- Address
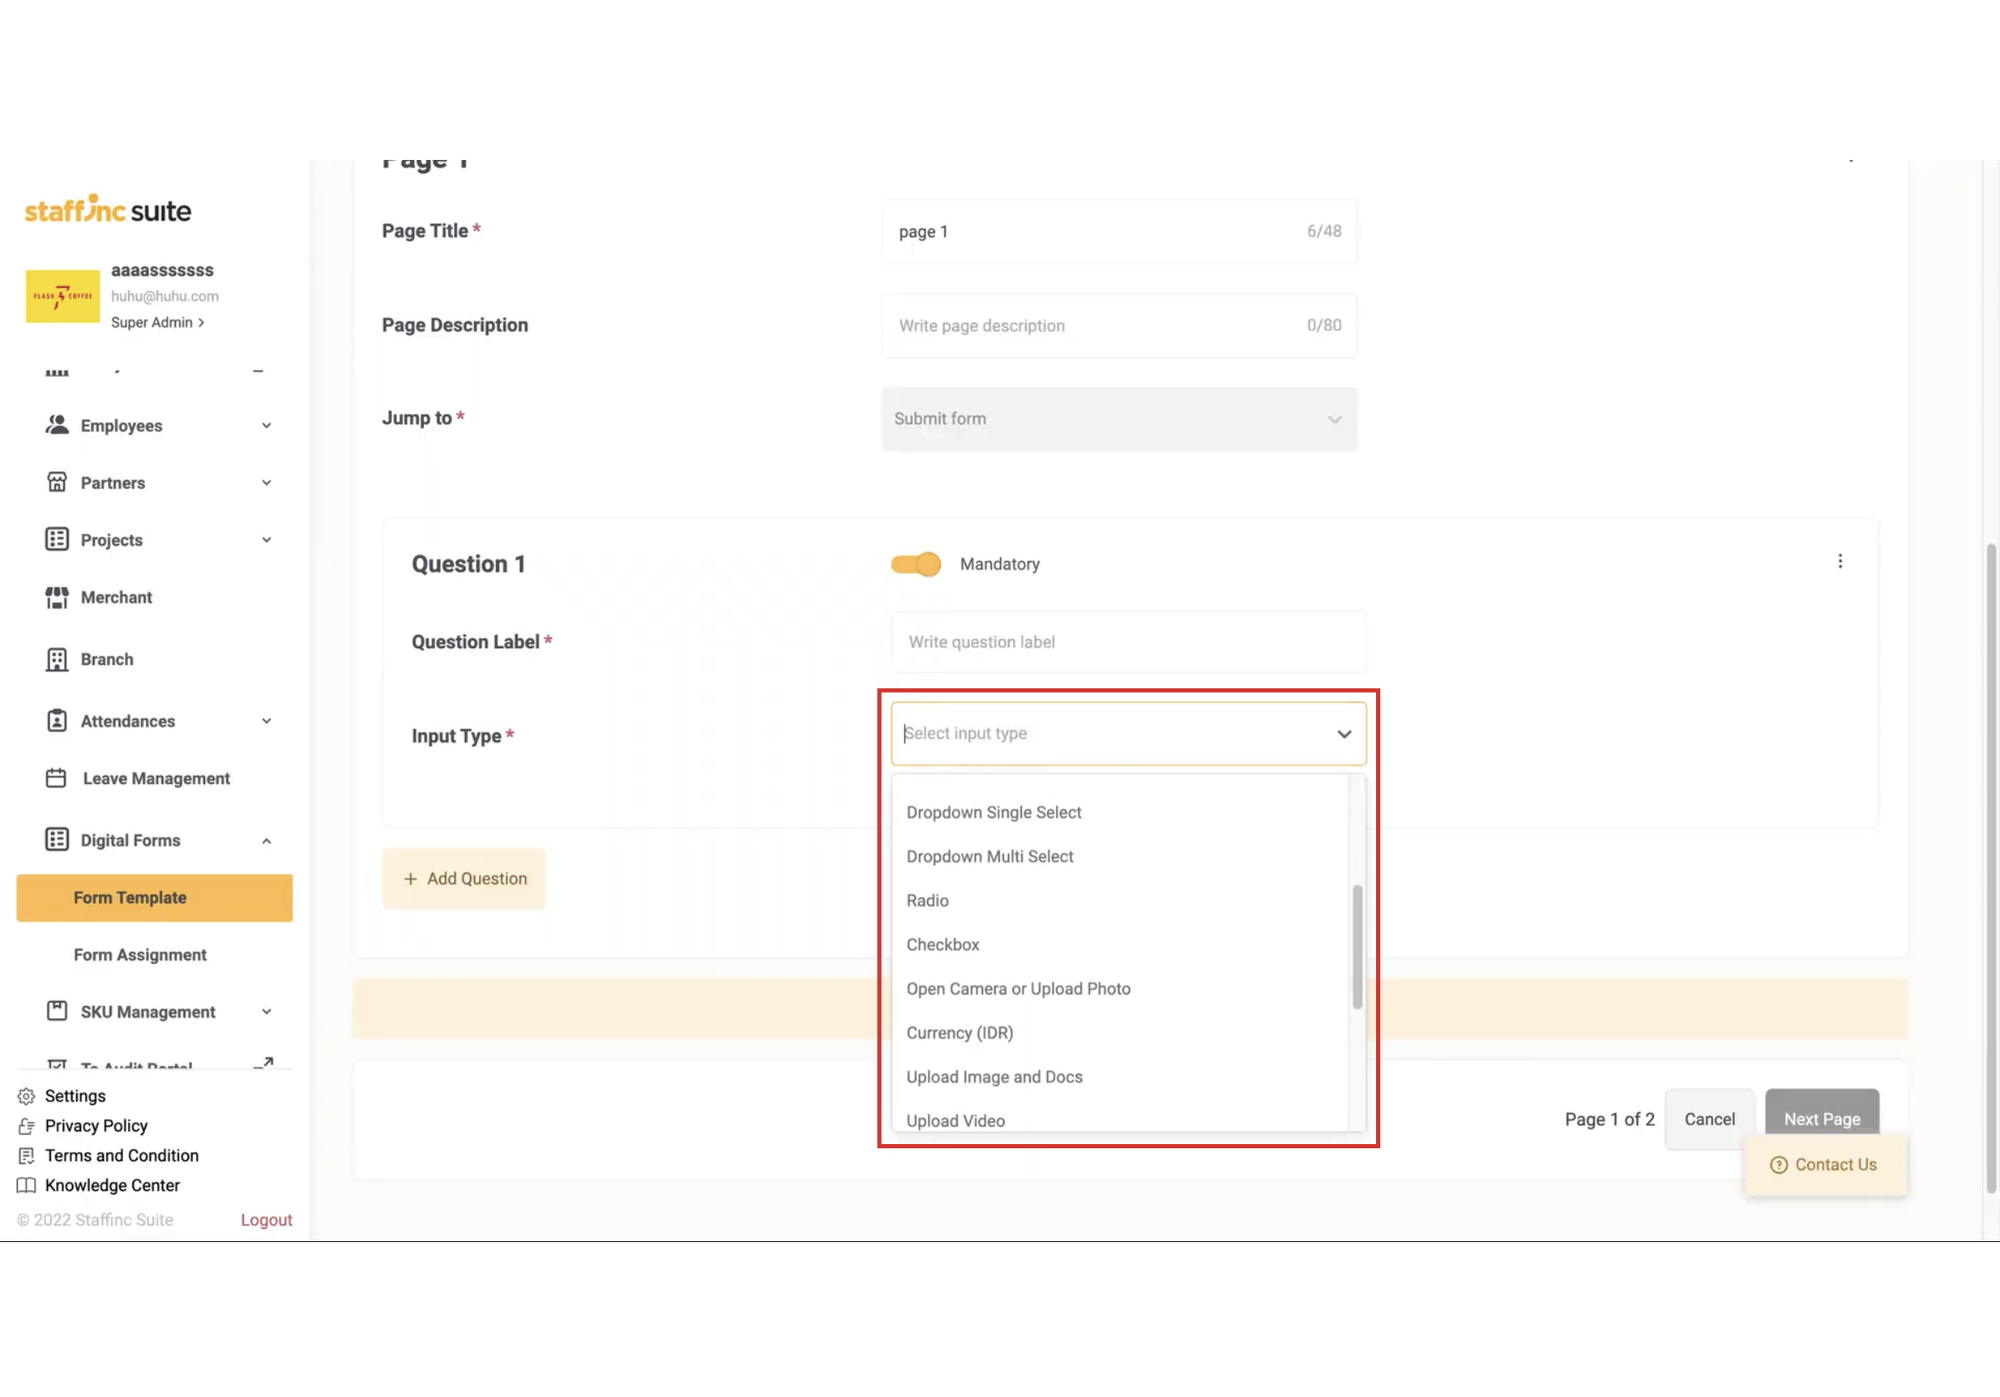
- Dropdown Single Select
- Dropdown Multi Select
- Radio
- Checkbox
- Open Camera or Upload Photo
- Currency (IDR)
- Upload Image and Docs
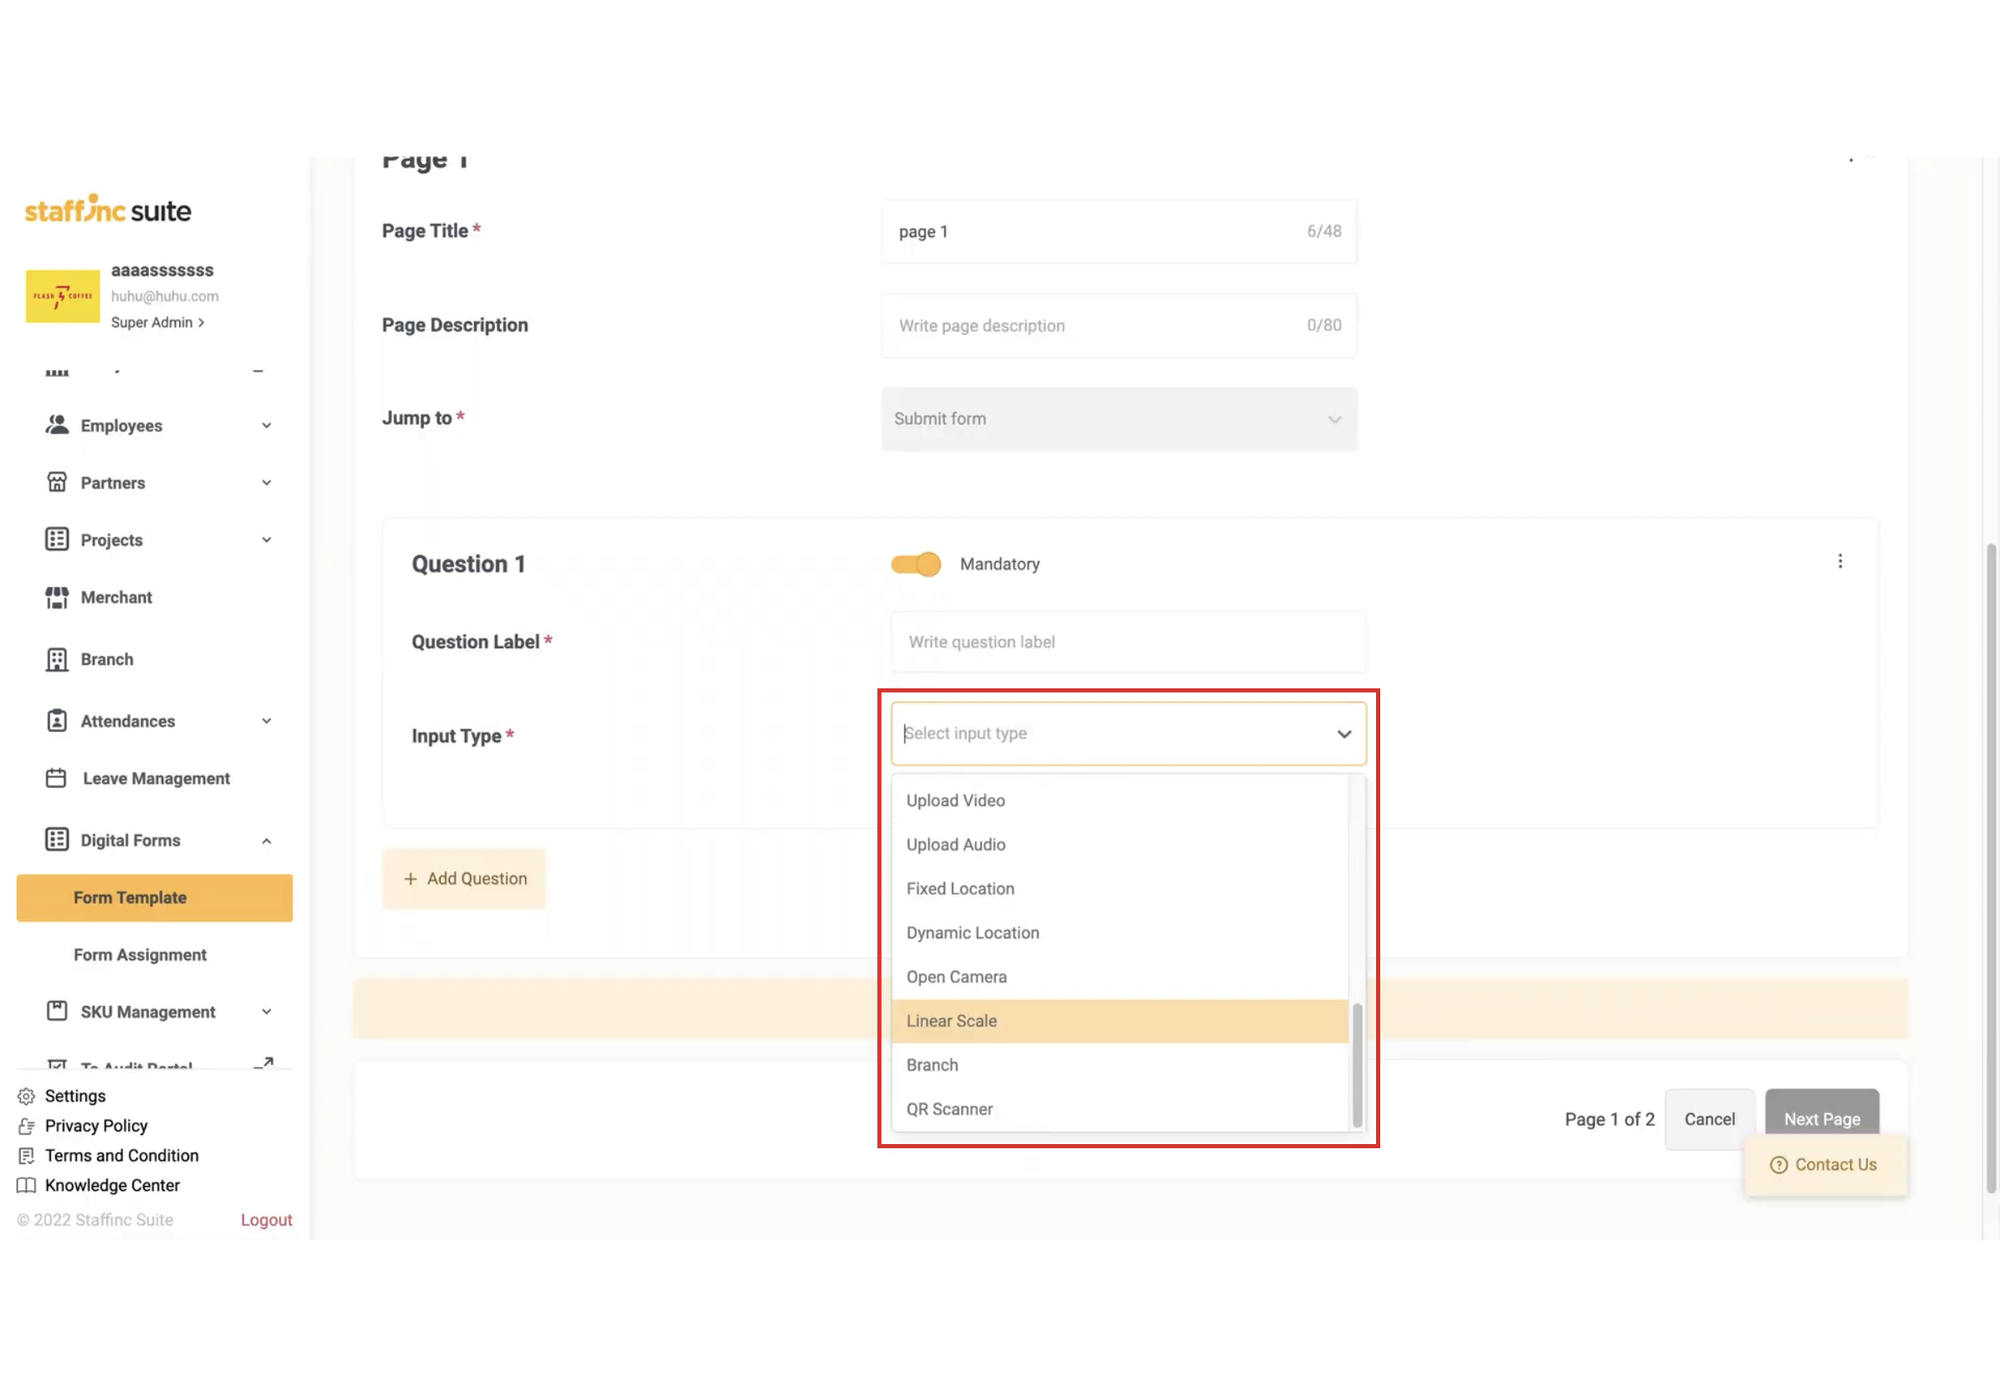
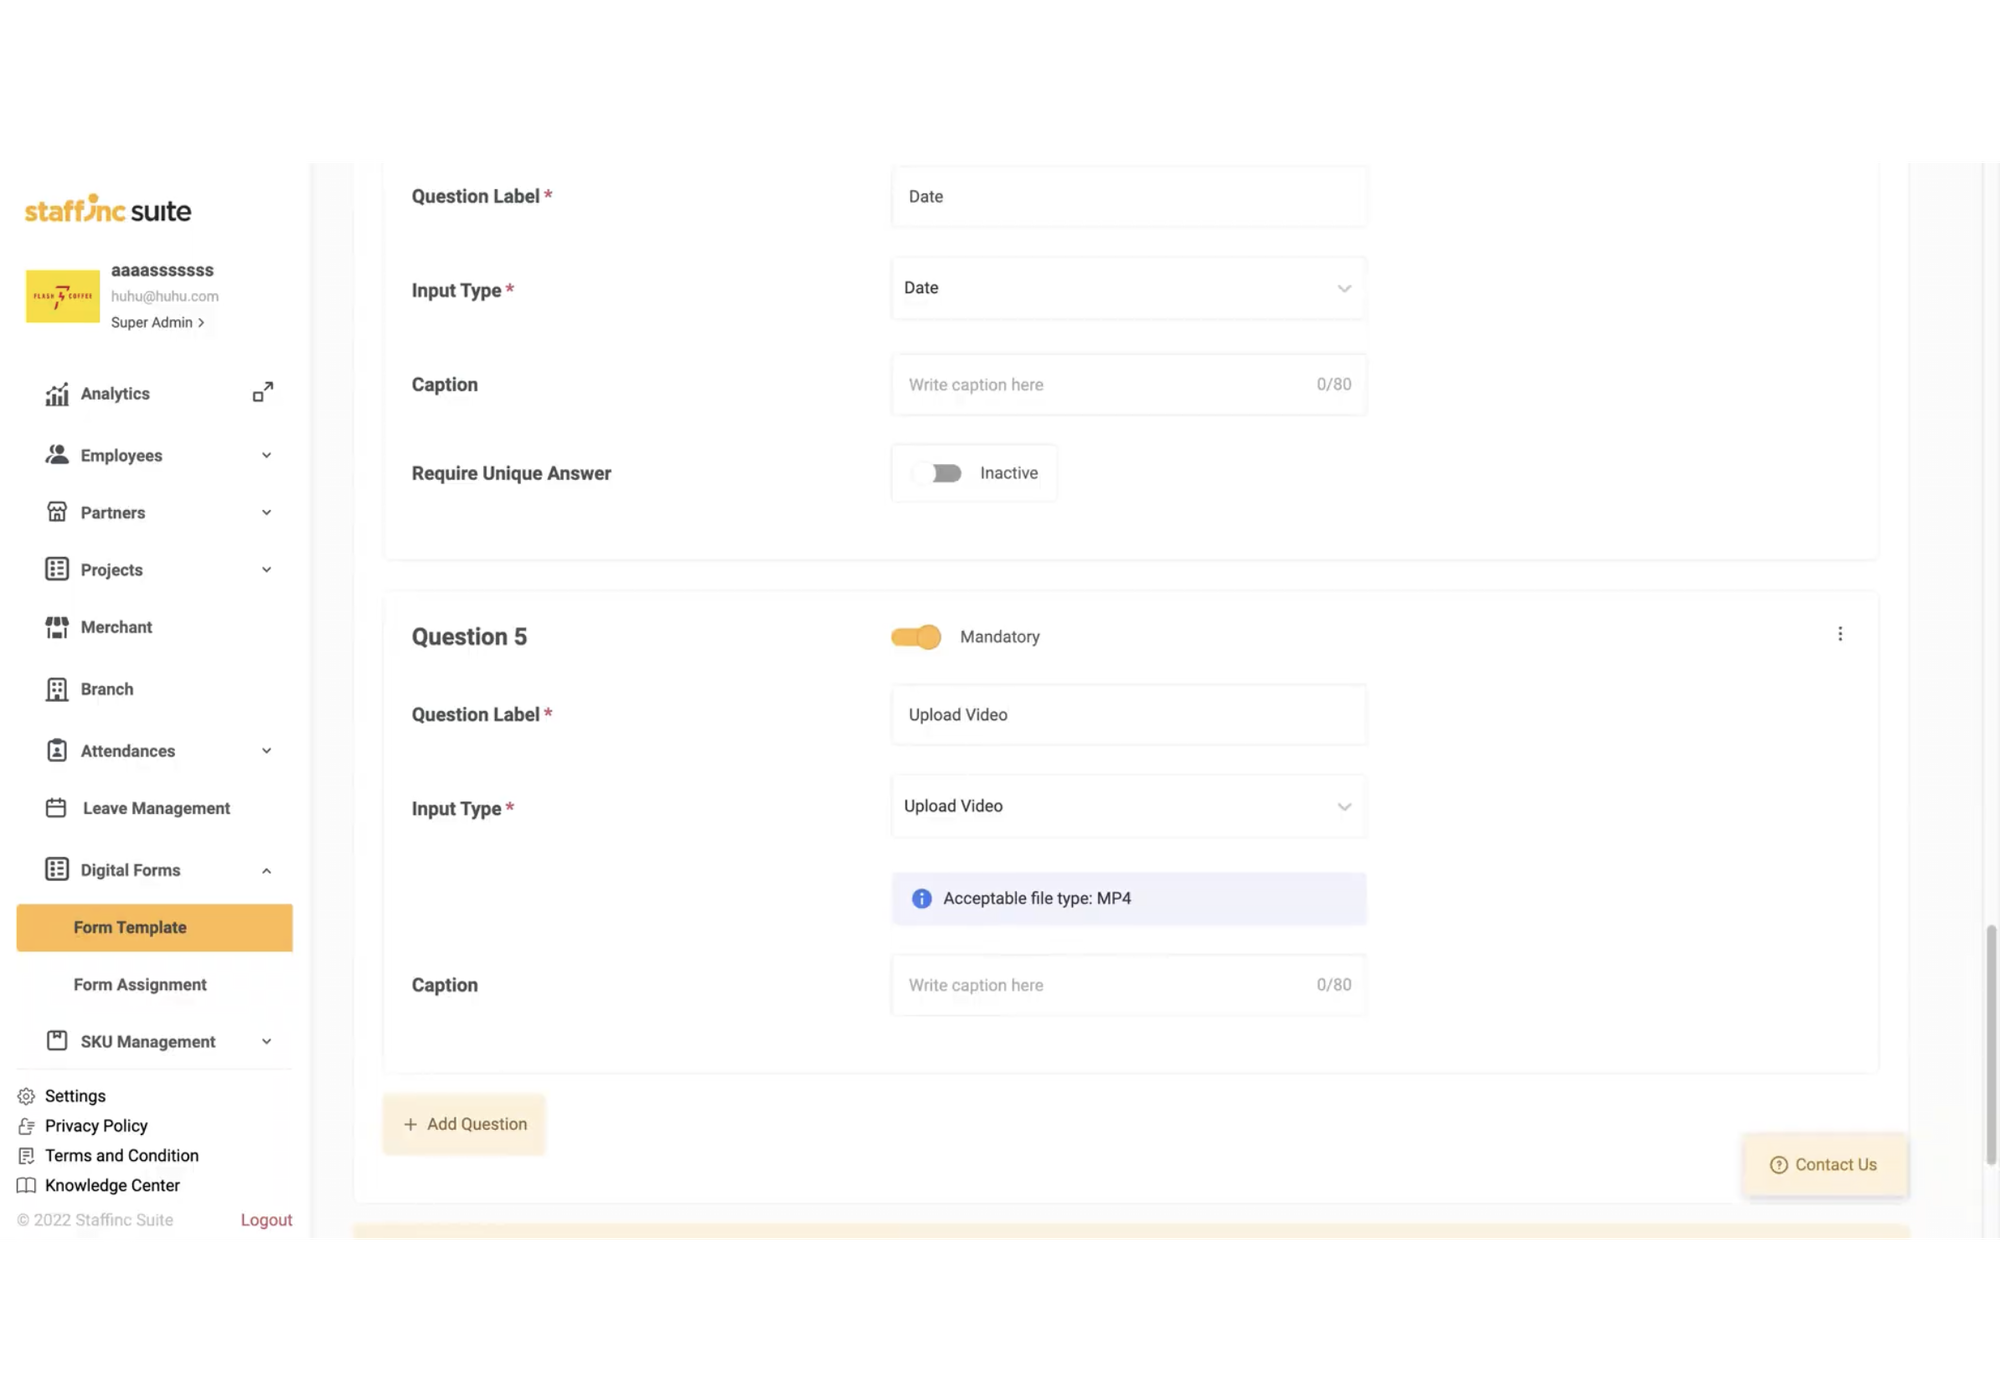
- Upload Video
- Upload Audio
- Fixed Location
- Open Camera
- Linear Scale
- Branch
- QR Scanner
-
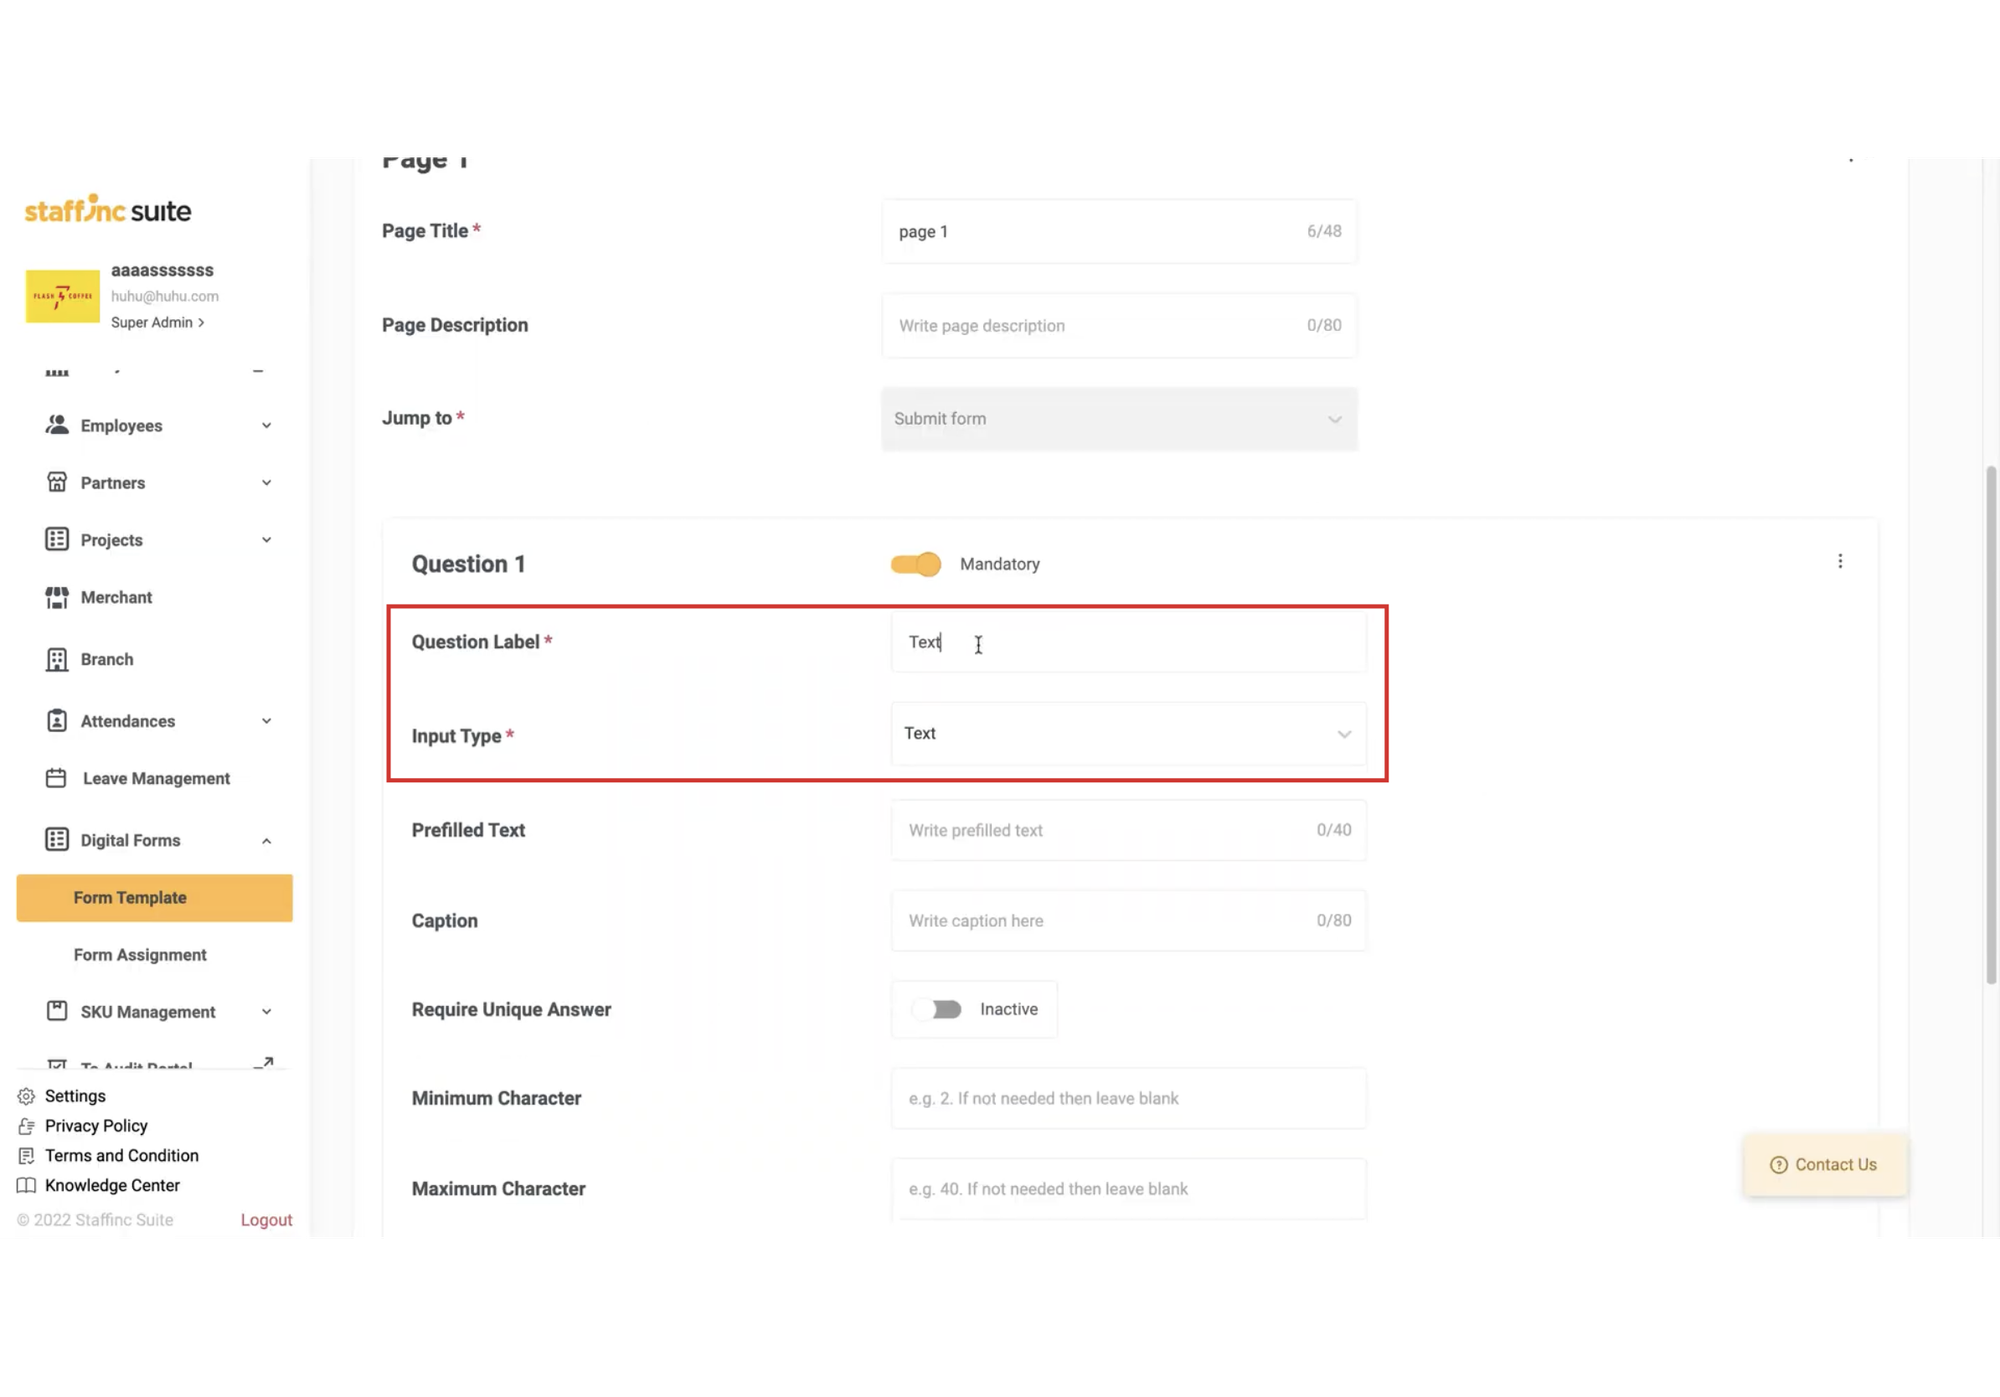
The Question Label must match the Input Type. Examples:
- Name: Text
- Number: Number

- Address: Address
- Video: Video
- Dropdown: Dropdown
- Name: Text
-
-
b. Fill in Prefilled Text
- Fill in prefilled text as needed. It can be commands, statements, or questions.
- Fill in prefilled text as needed. It can be commands, statements, or questions.
-
c. Fill in Caption
- Fill in the caption as needed. It can be commands, statements, or questions.
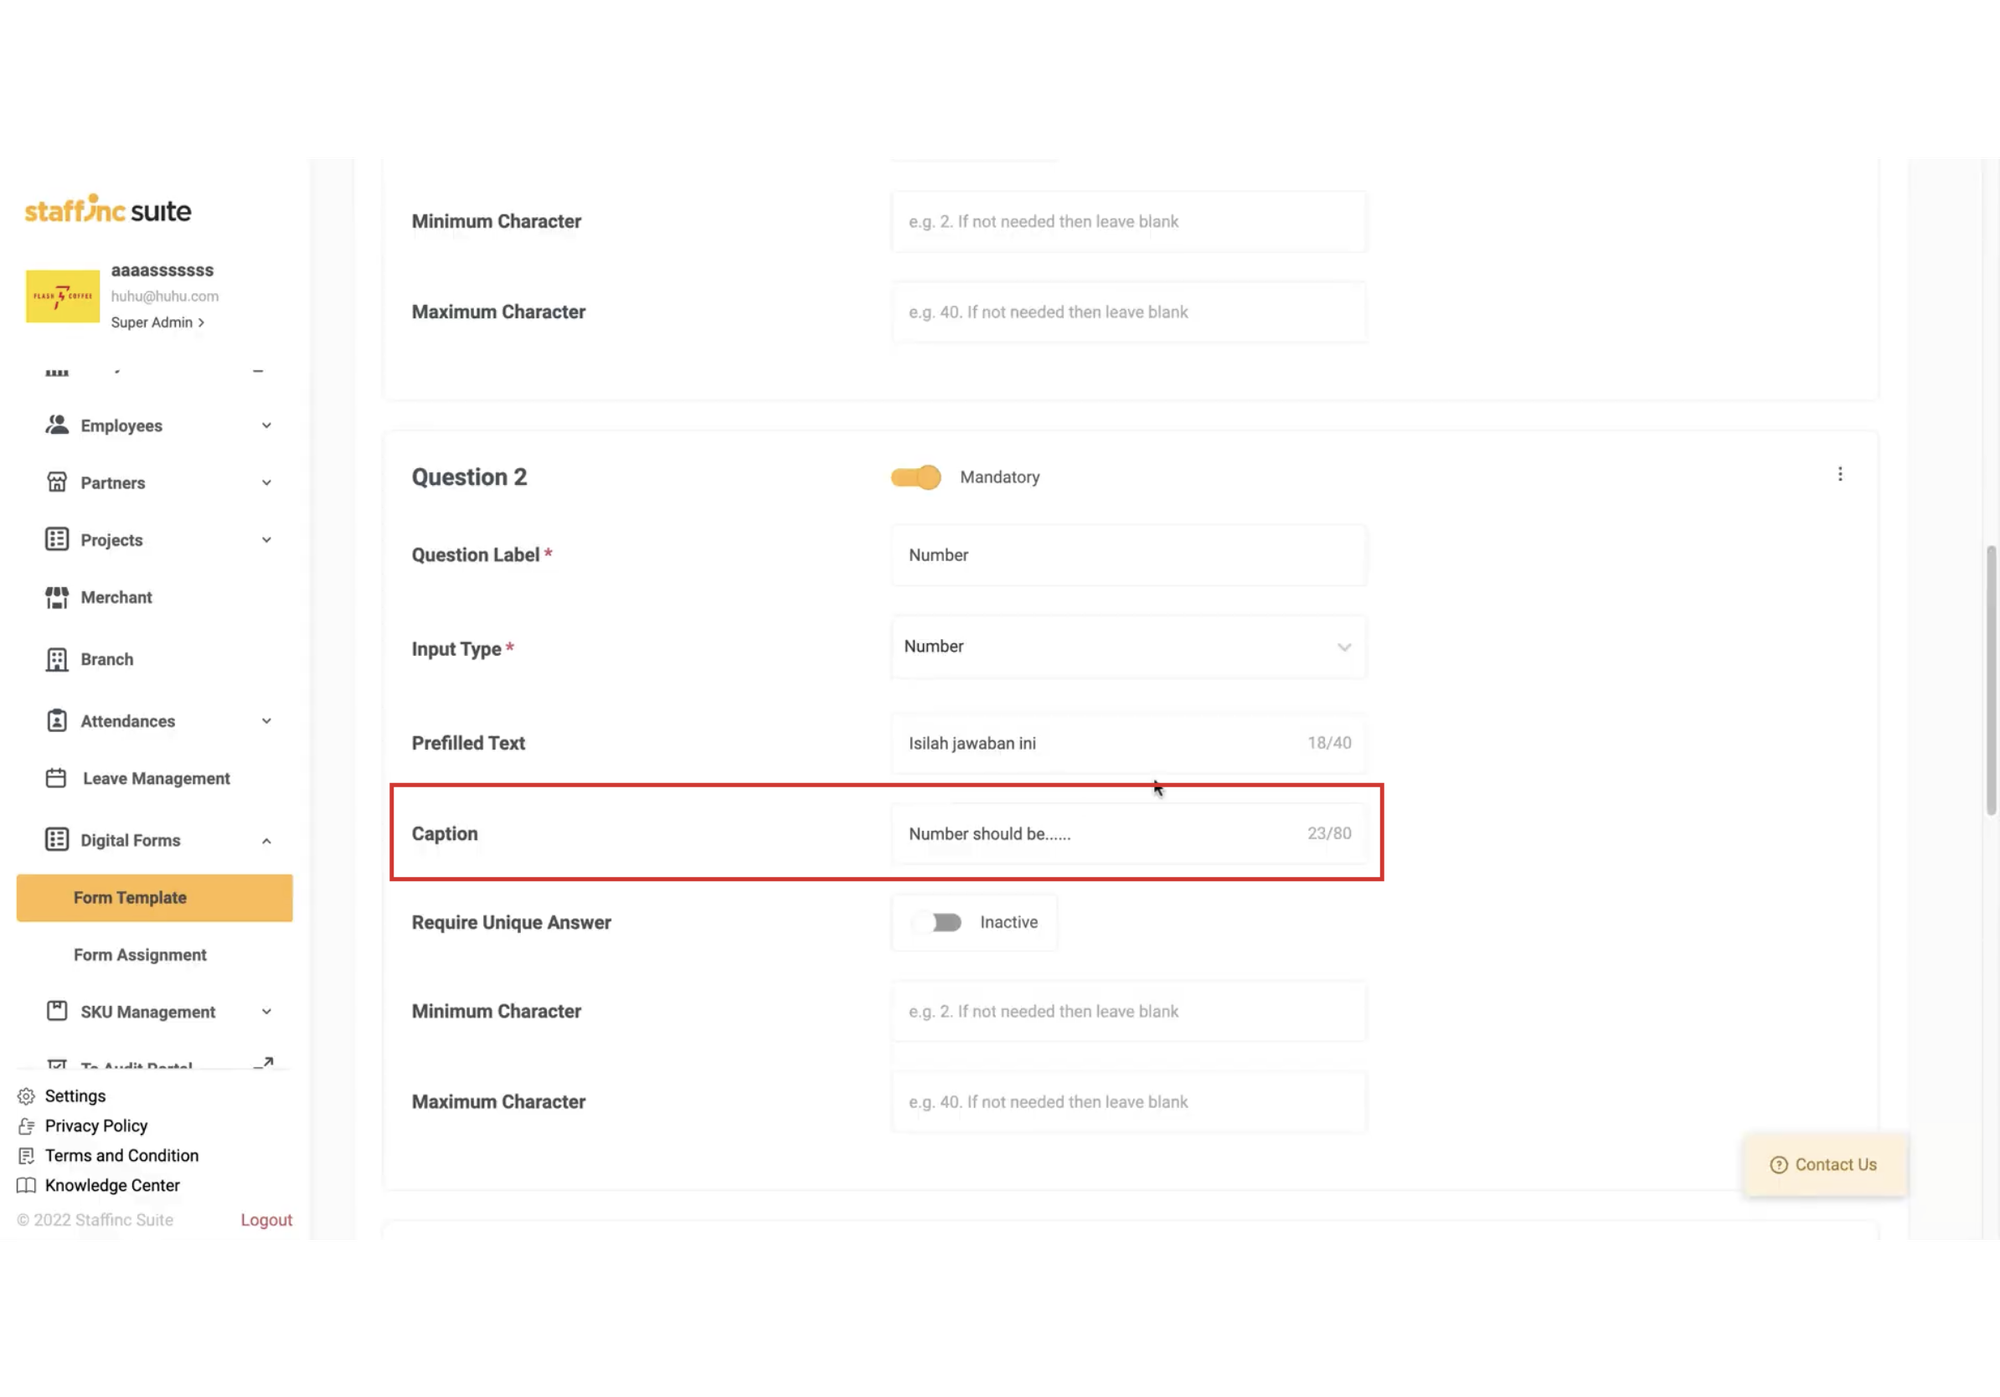
- Fill in the caption as needed. It can be commands, statements, or questions.
-
d. Require Unique Answer (Optional)
- If enabled, form respondents cannot provide the same exact answer.
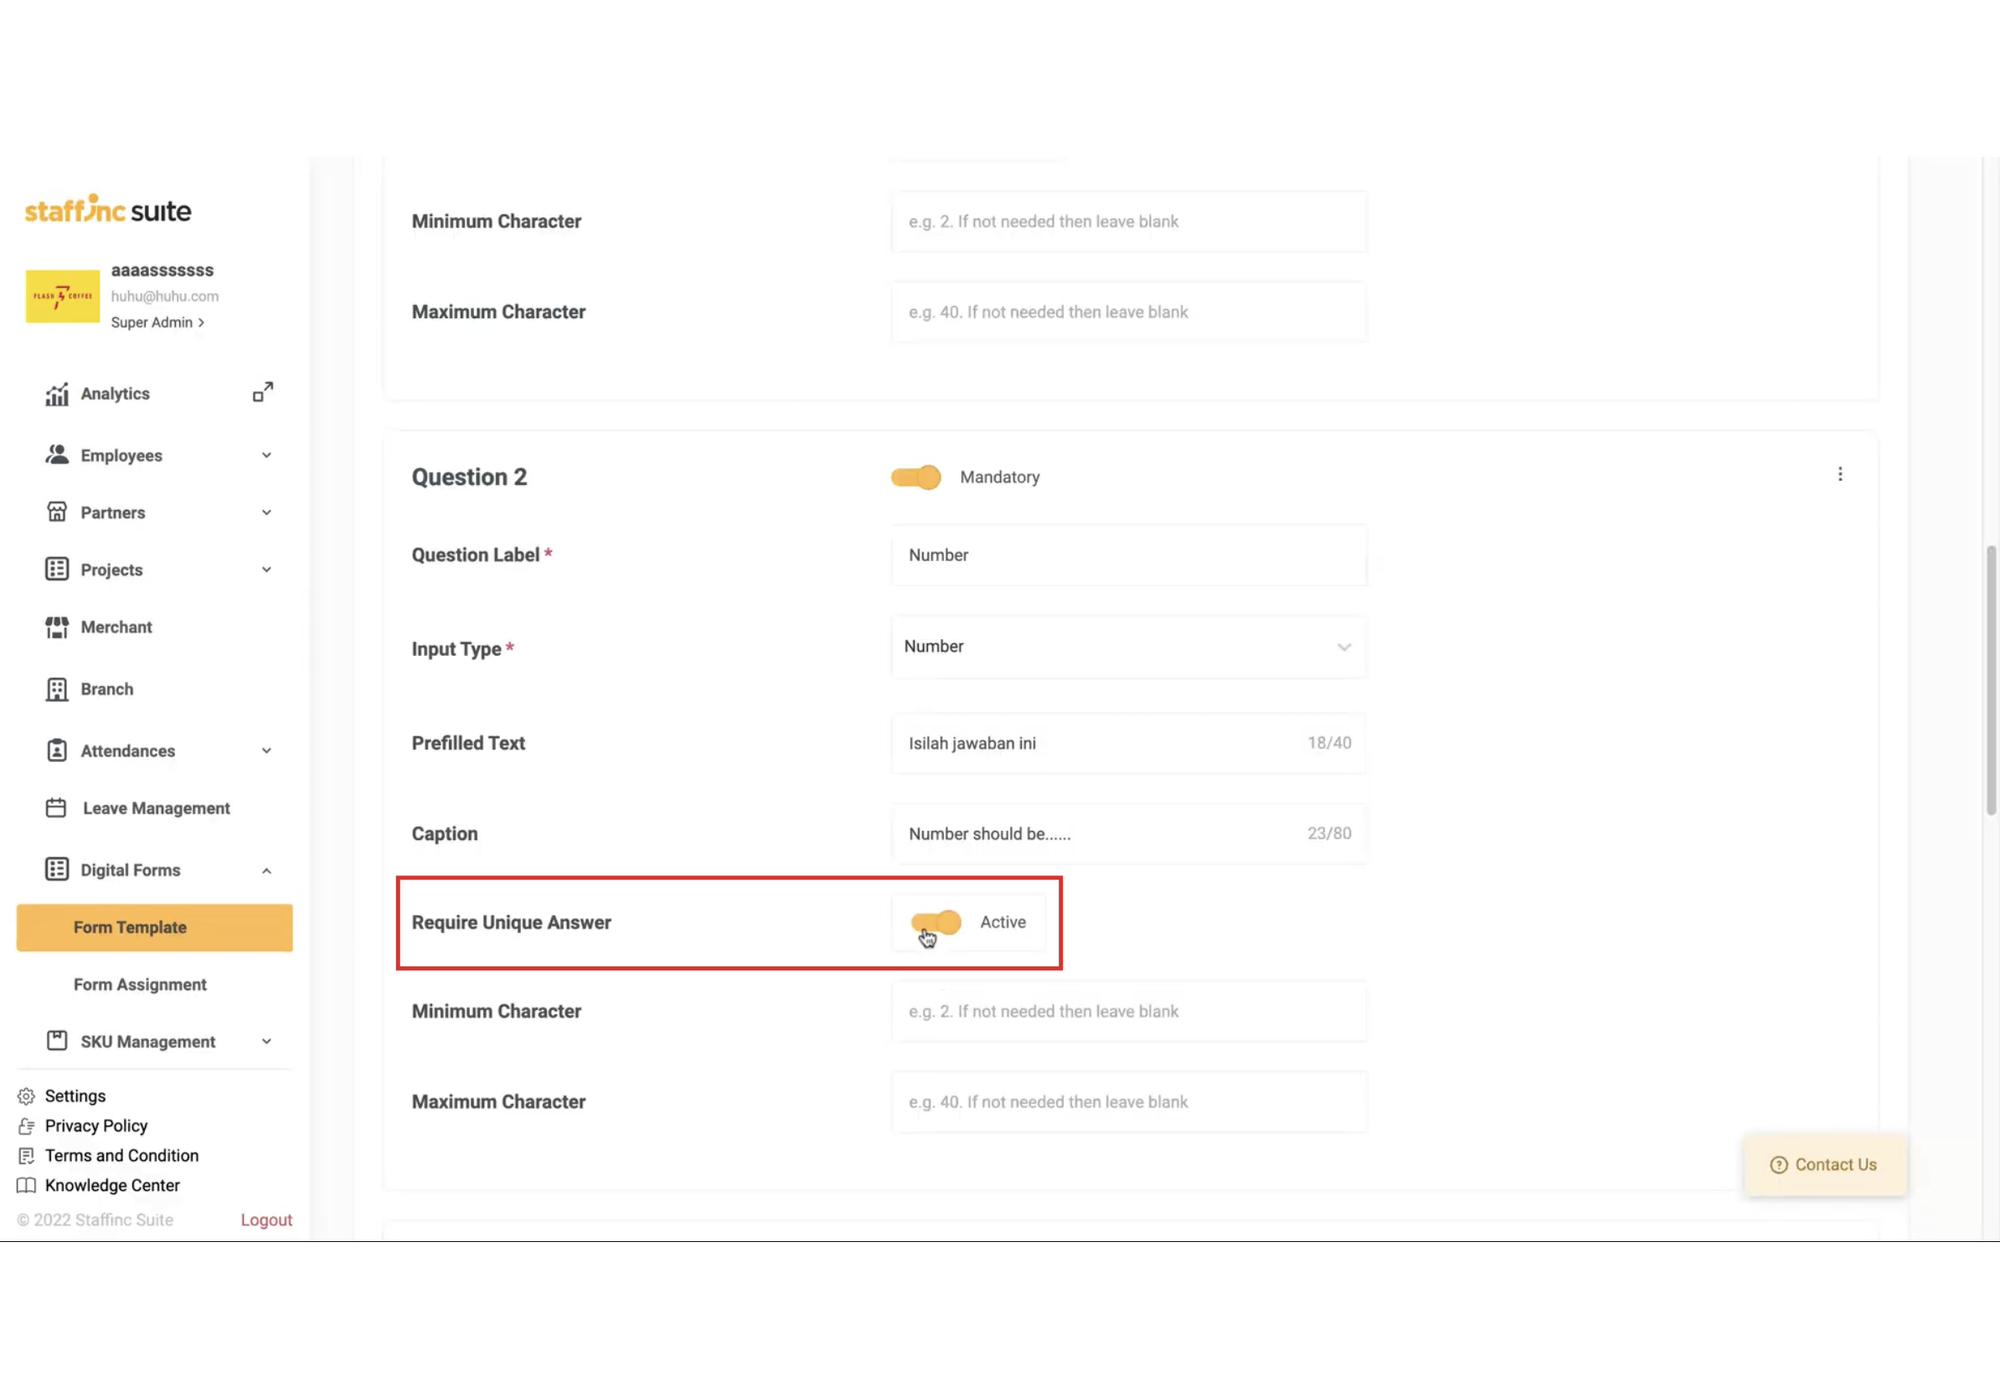
- If enabled, form respondents cannot provide the same exact answer.
-
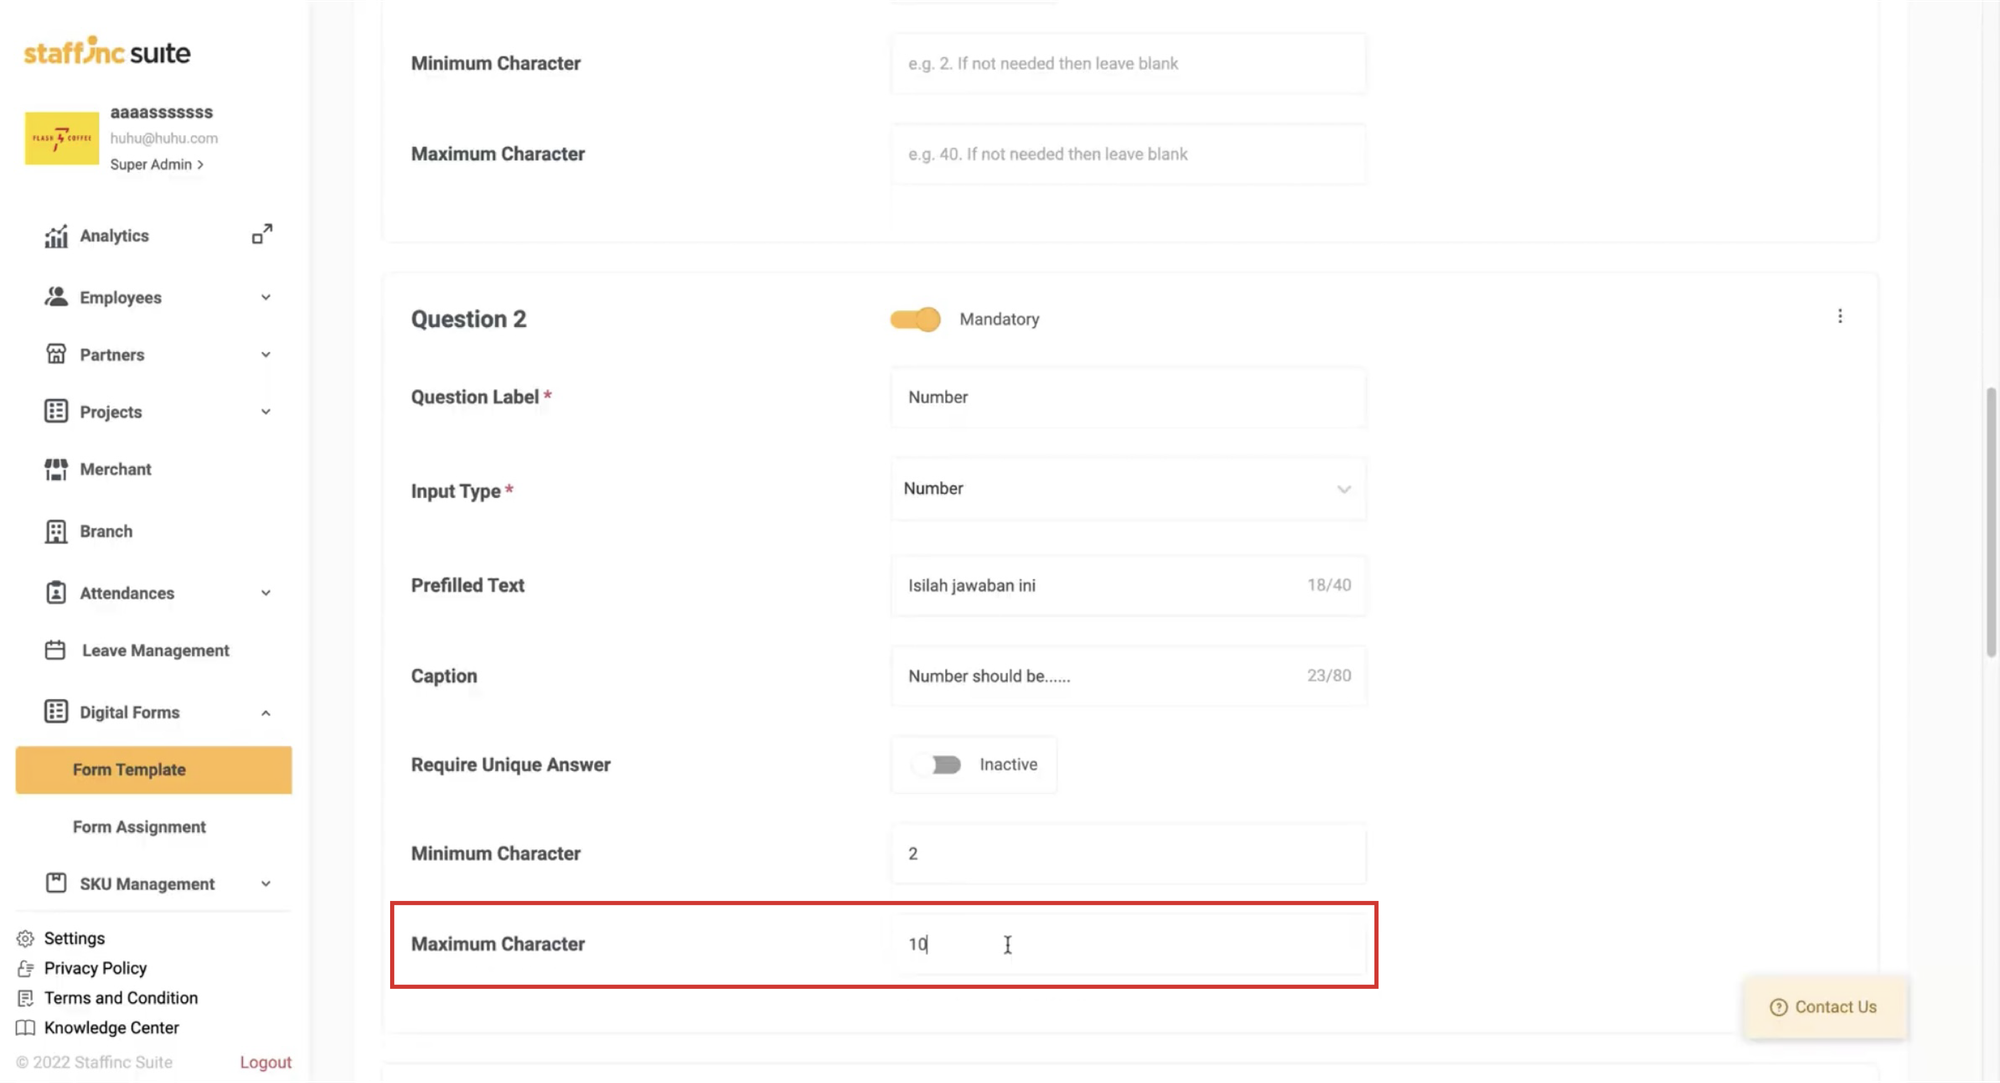
e. Minimum Character
- You can set the minimum number of characters that can be submitted. Enter the number of characters required.
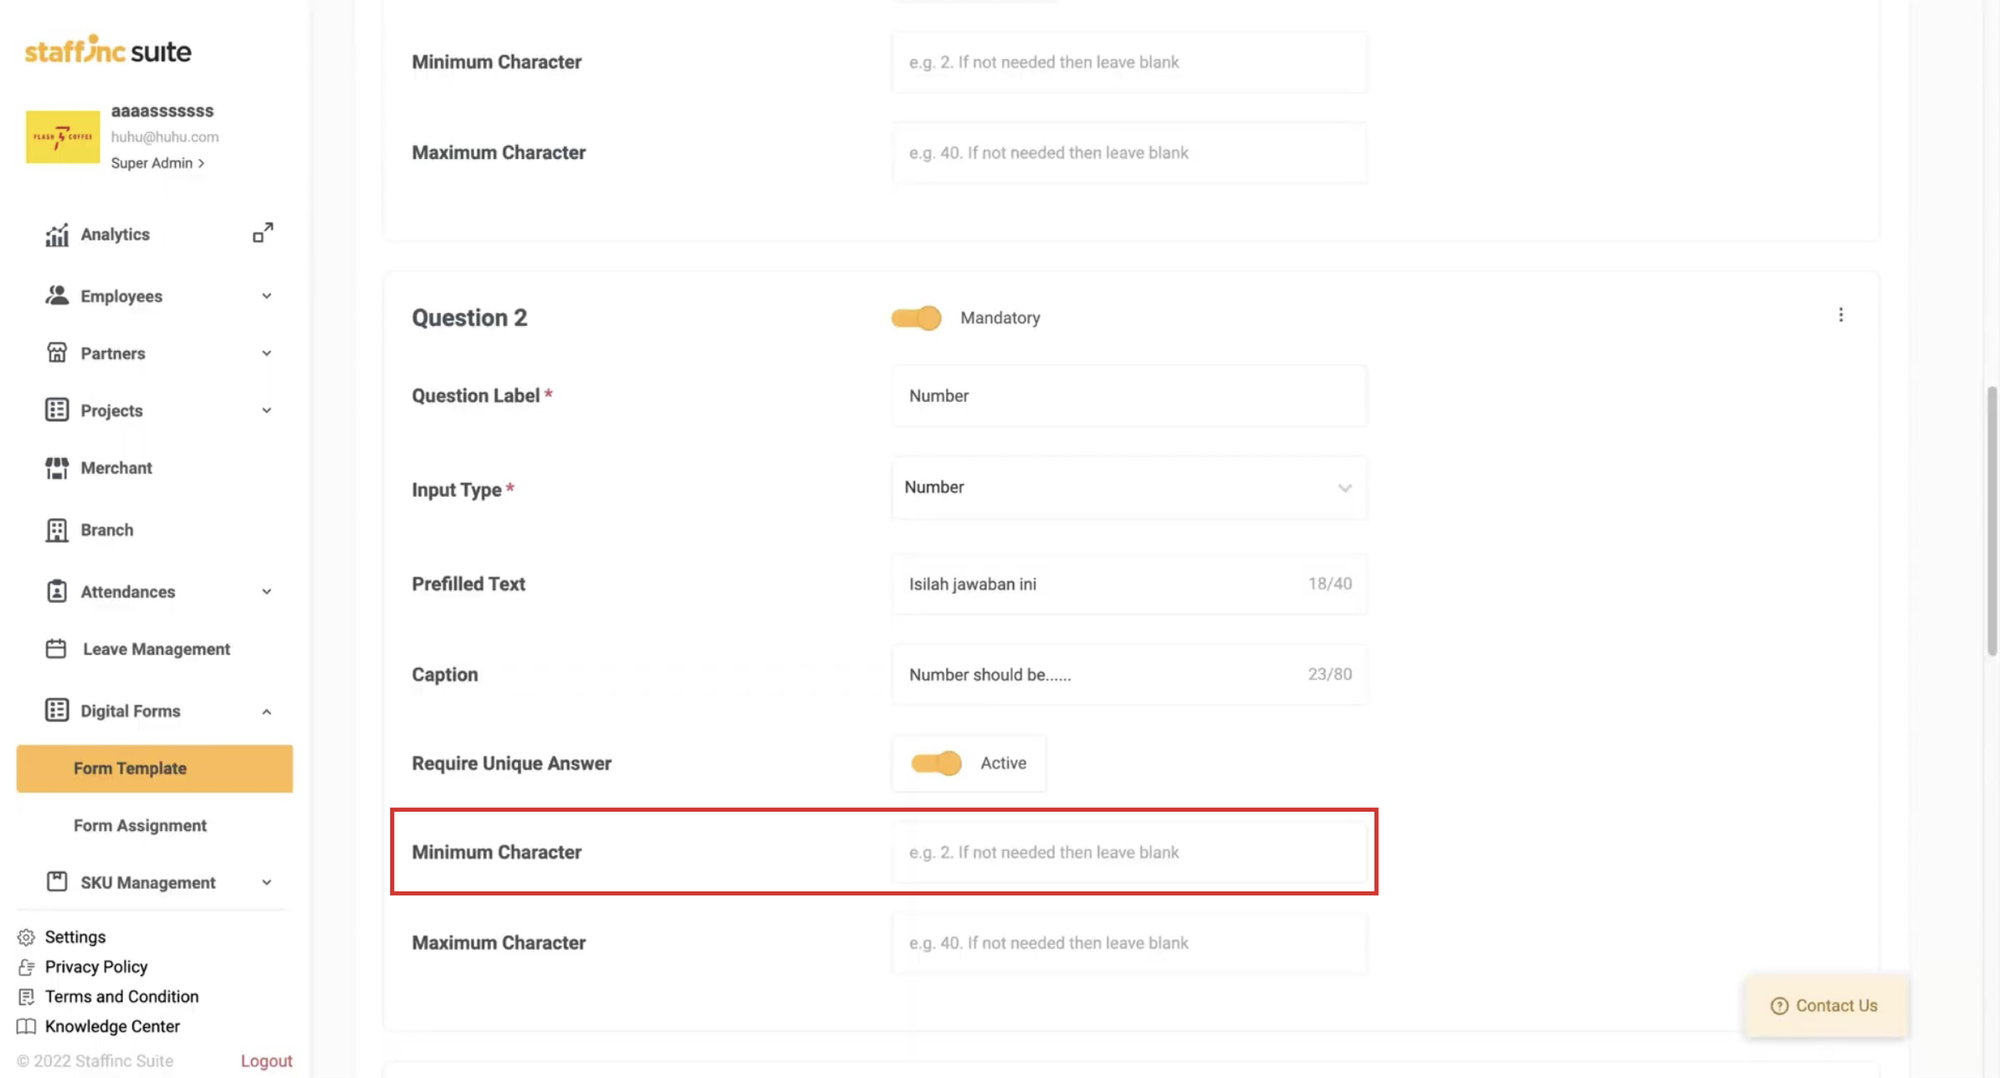
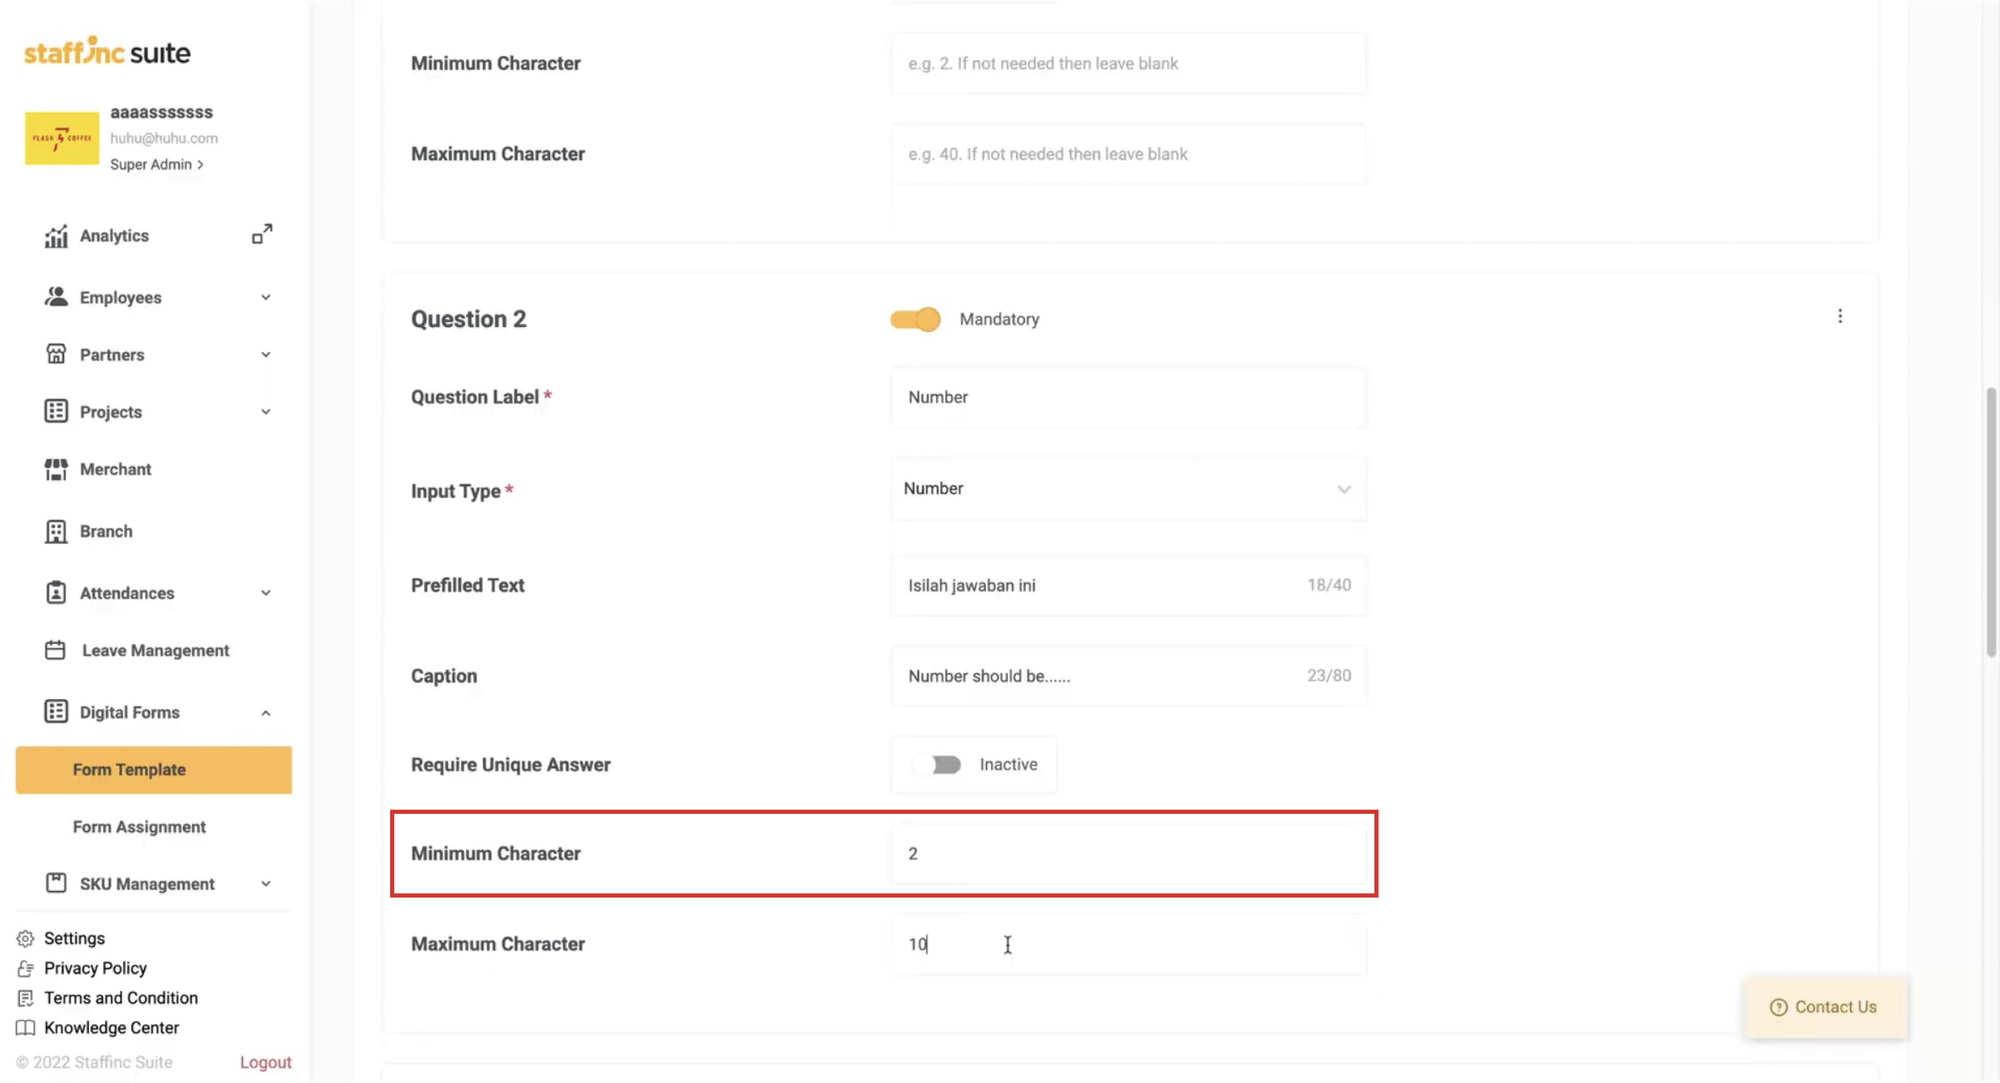
- You can set the minimum number of characters that can be submitted. Enter the number of characters required.
-
f. Maximum Character
- You can set the maximum number of characters that can be submitted. Enter the number of characters allowed.
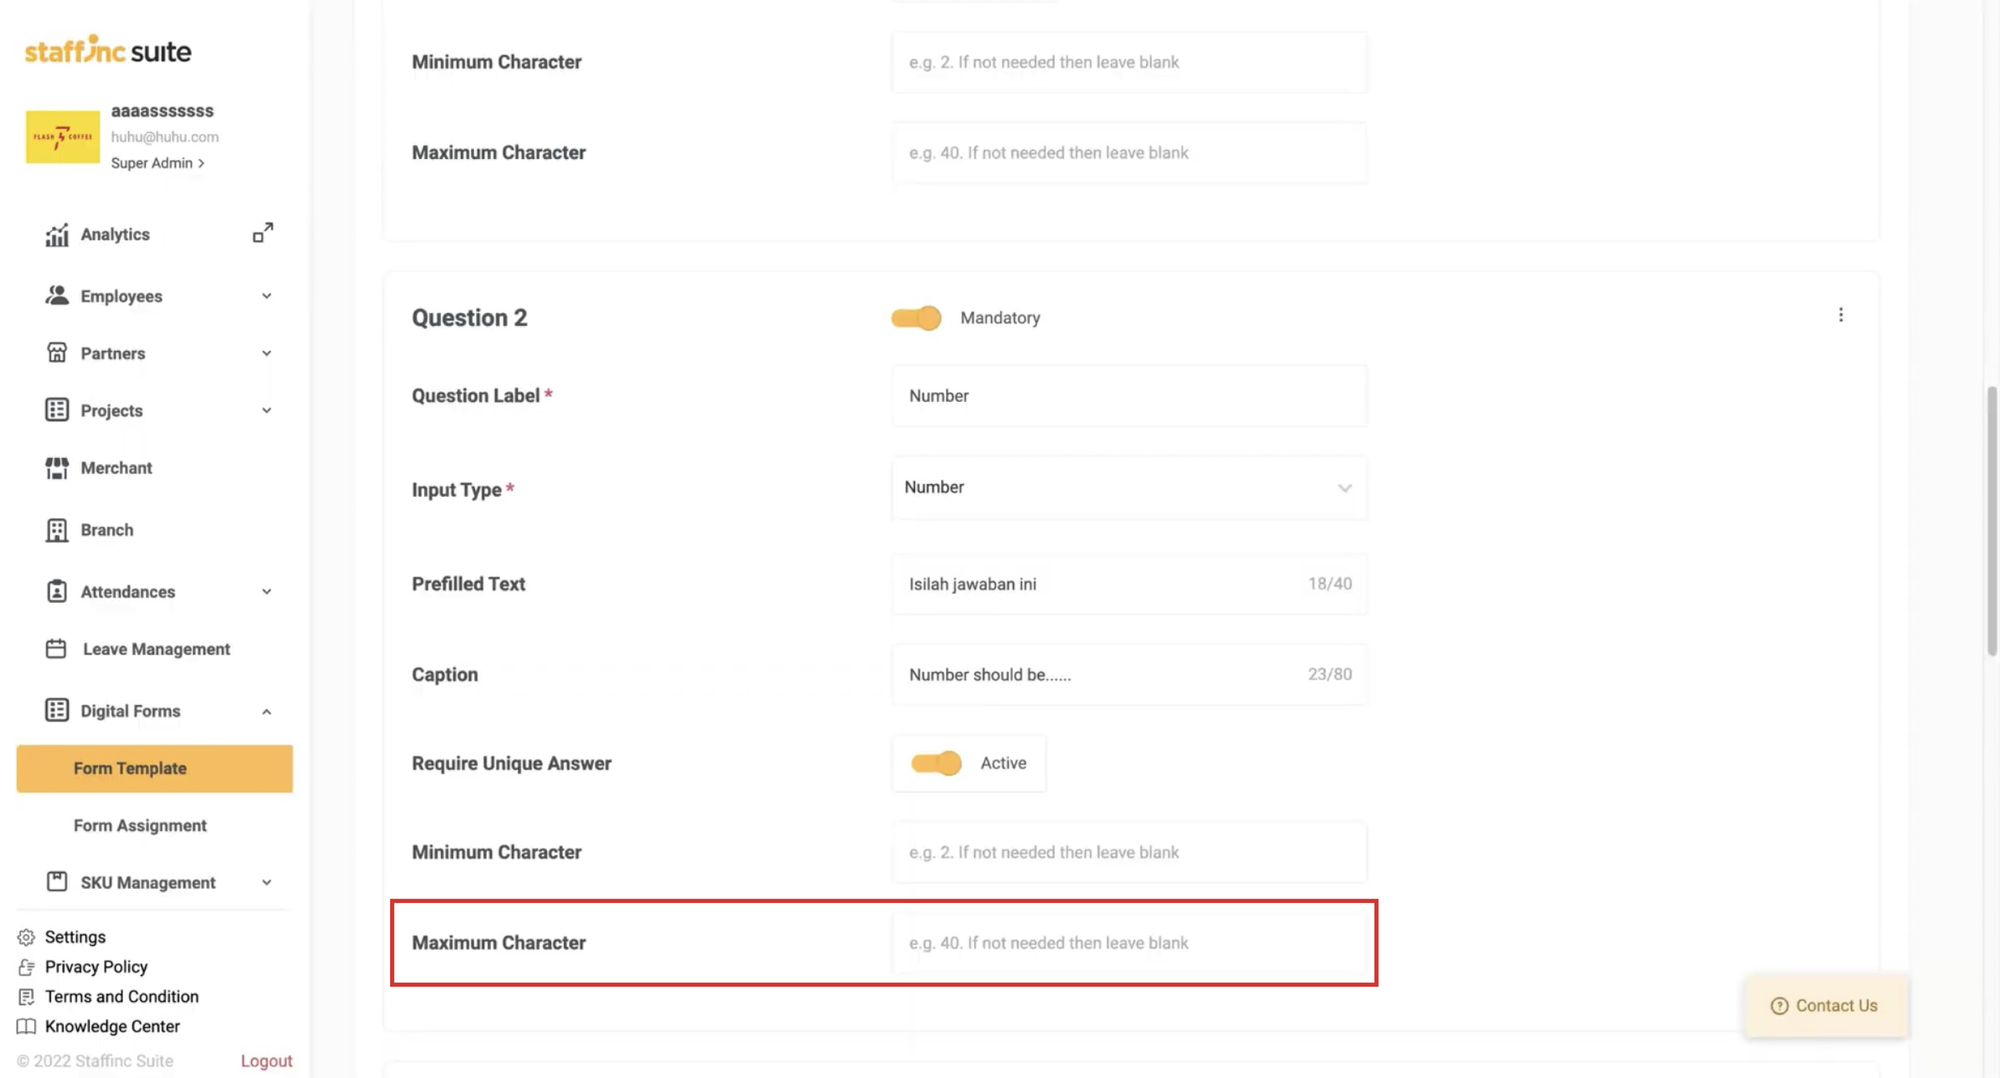
- You can set the maximum number of characters that can be submitted. Enter the number of characters allowed.
-
g. Enable Custom Value
- Enable if you want to allow form respondent to provide their own answers outside of the predefined options.
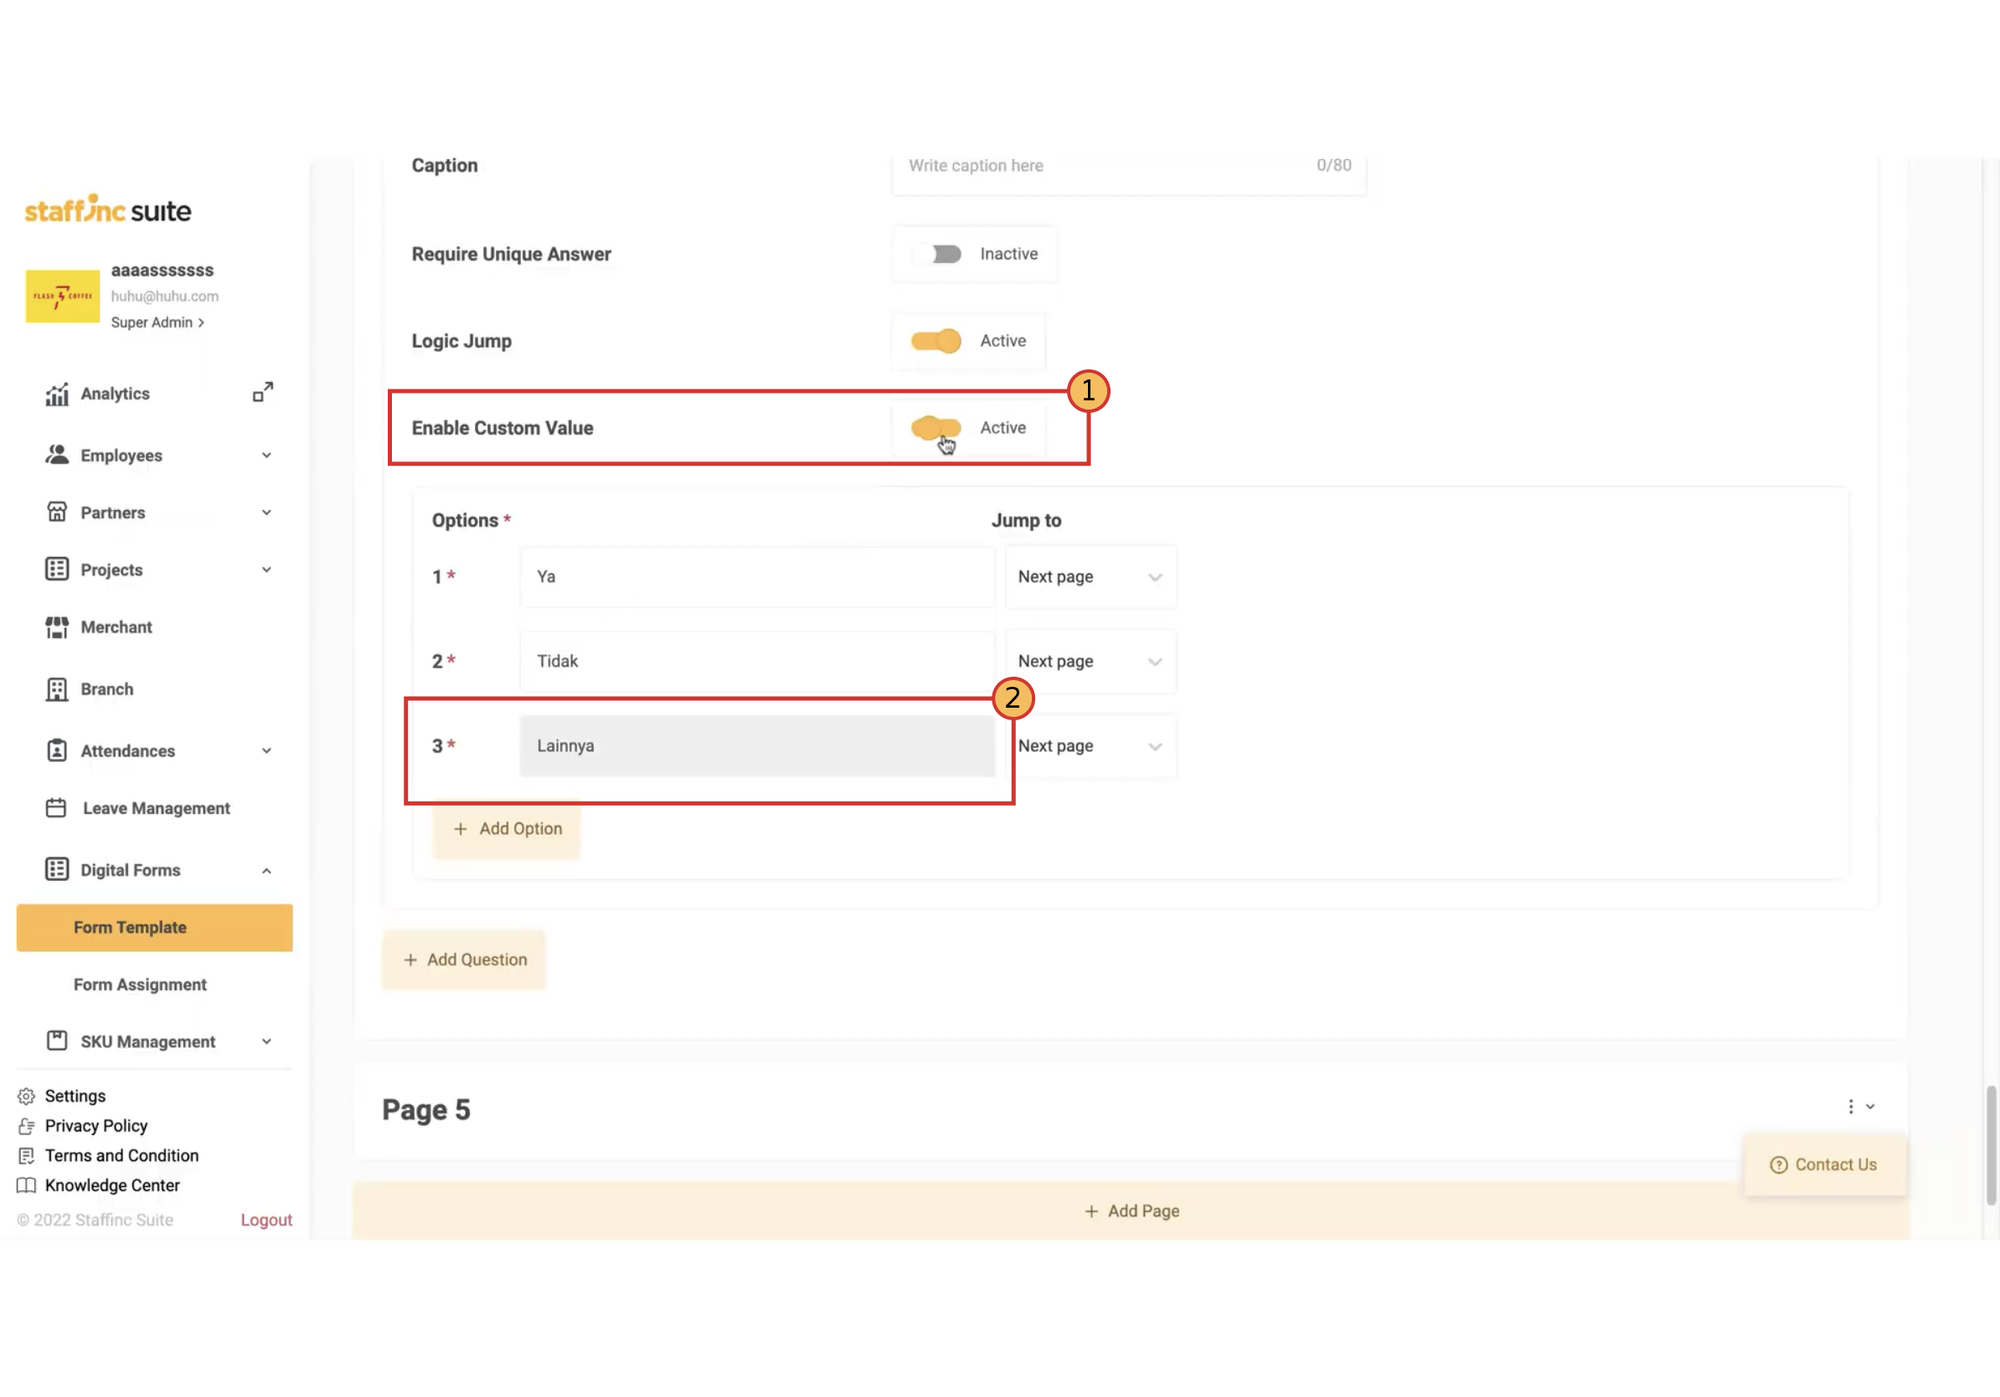
- Enable if you want to allow form respondent to provide their own answers outside of the predefined options.
-
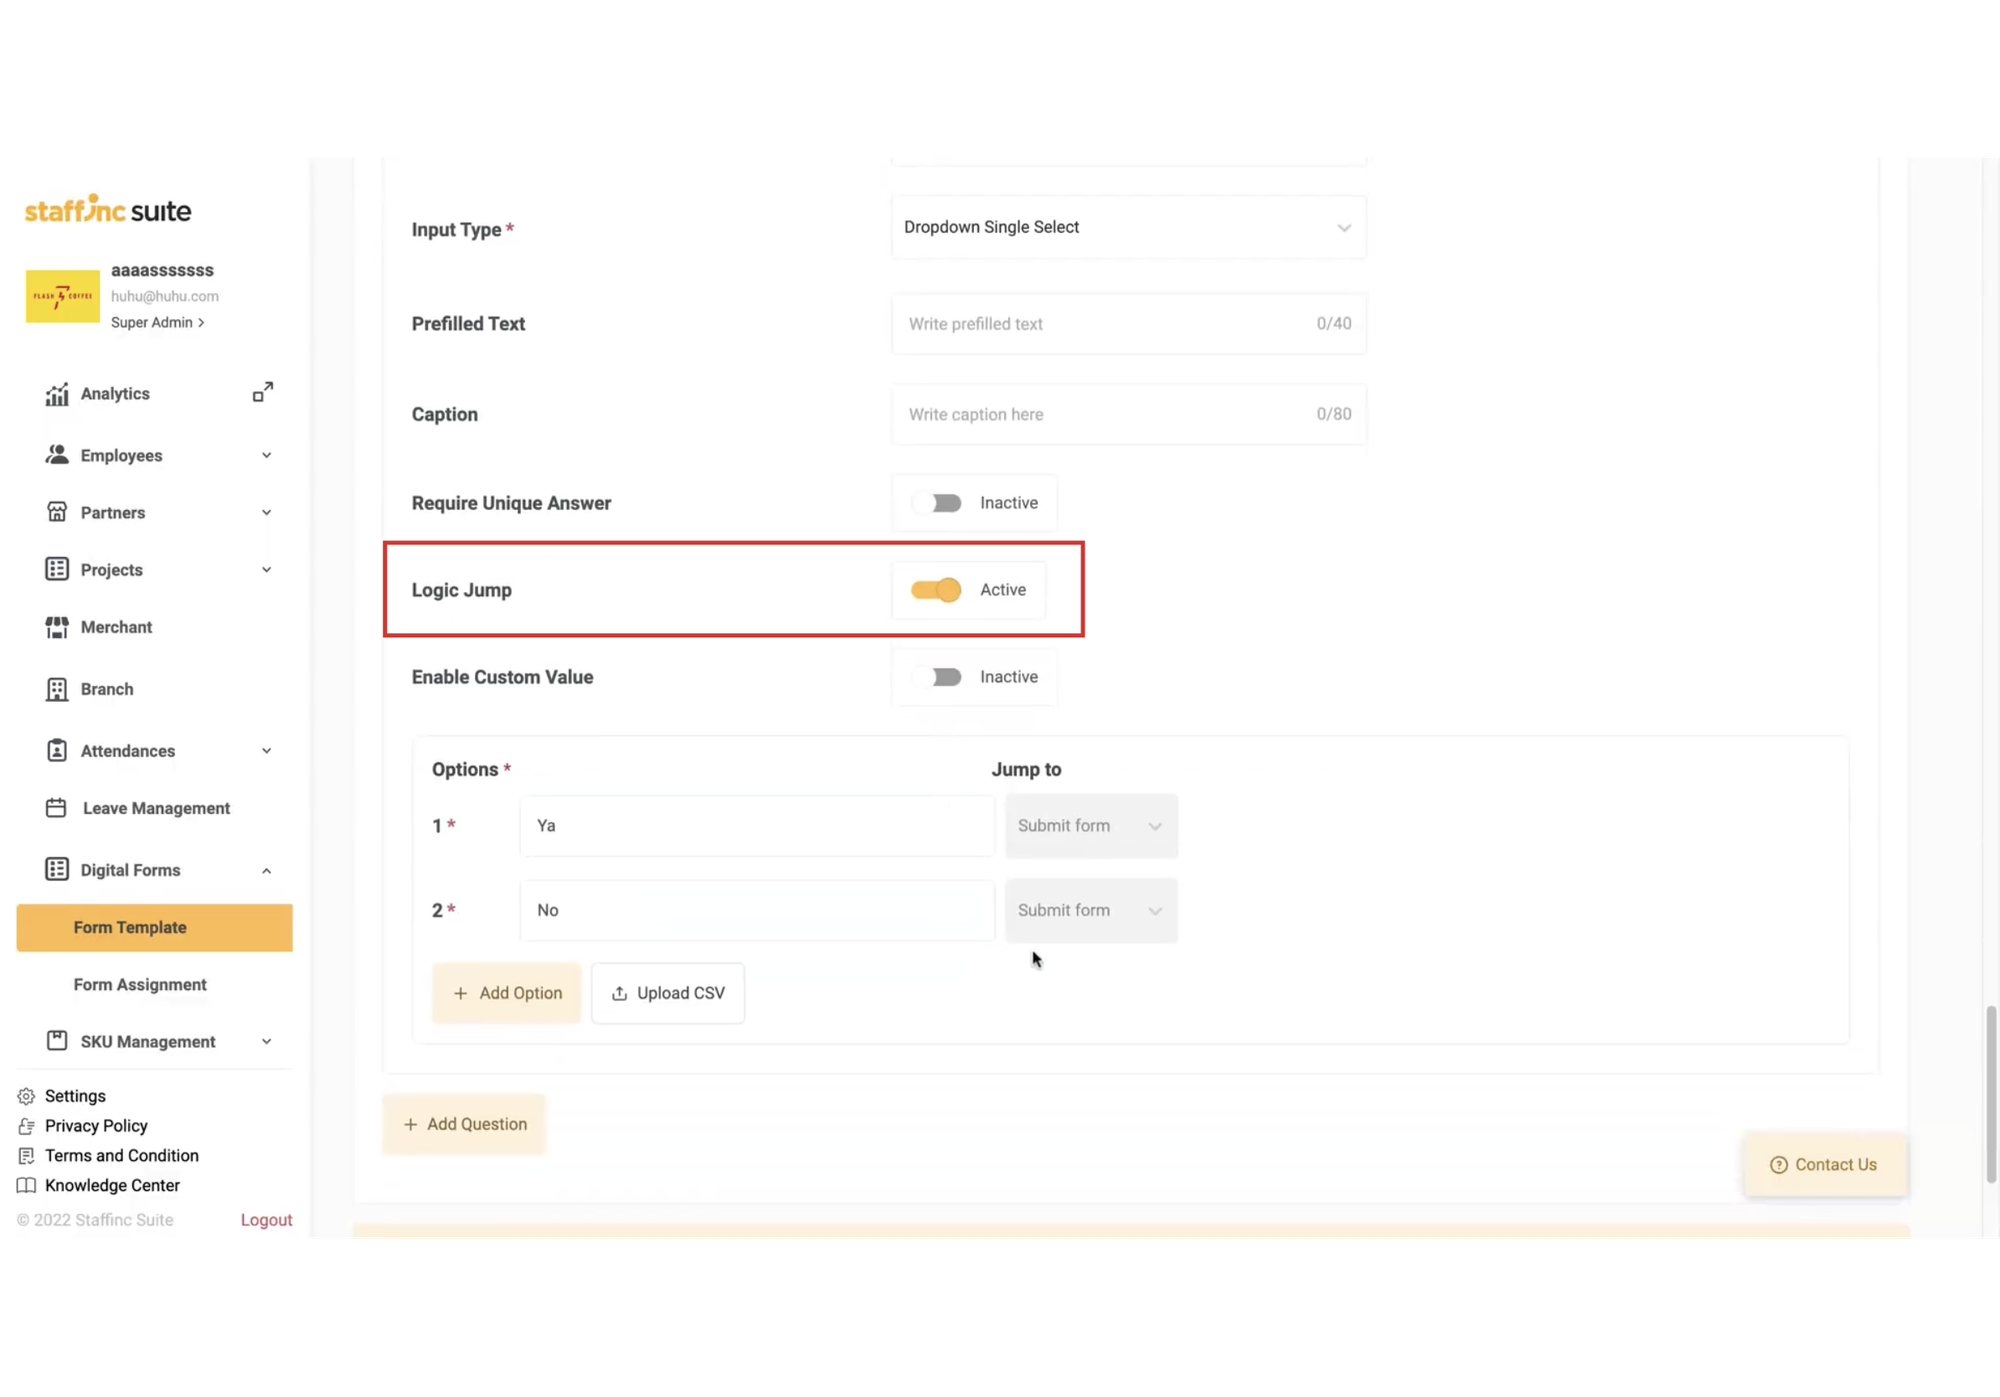
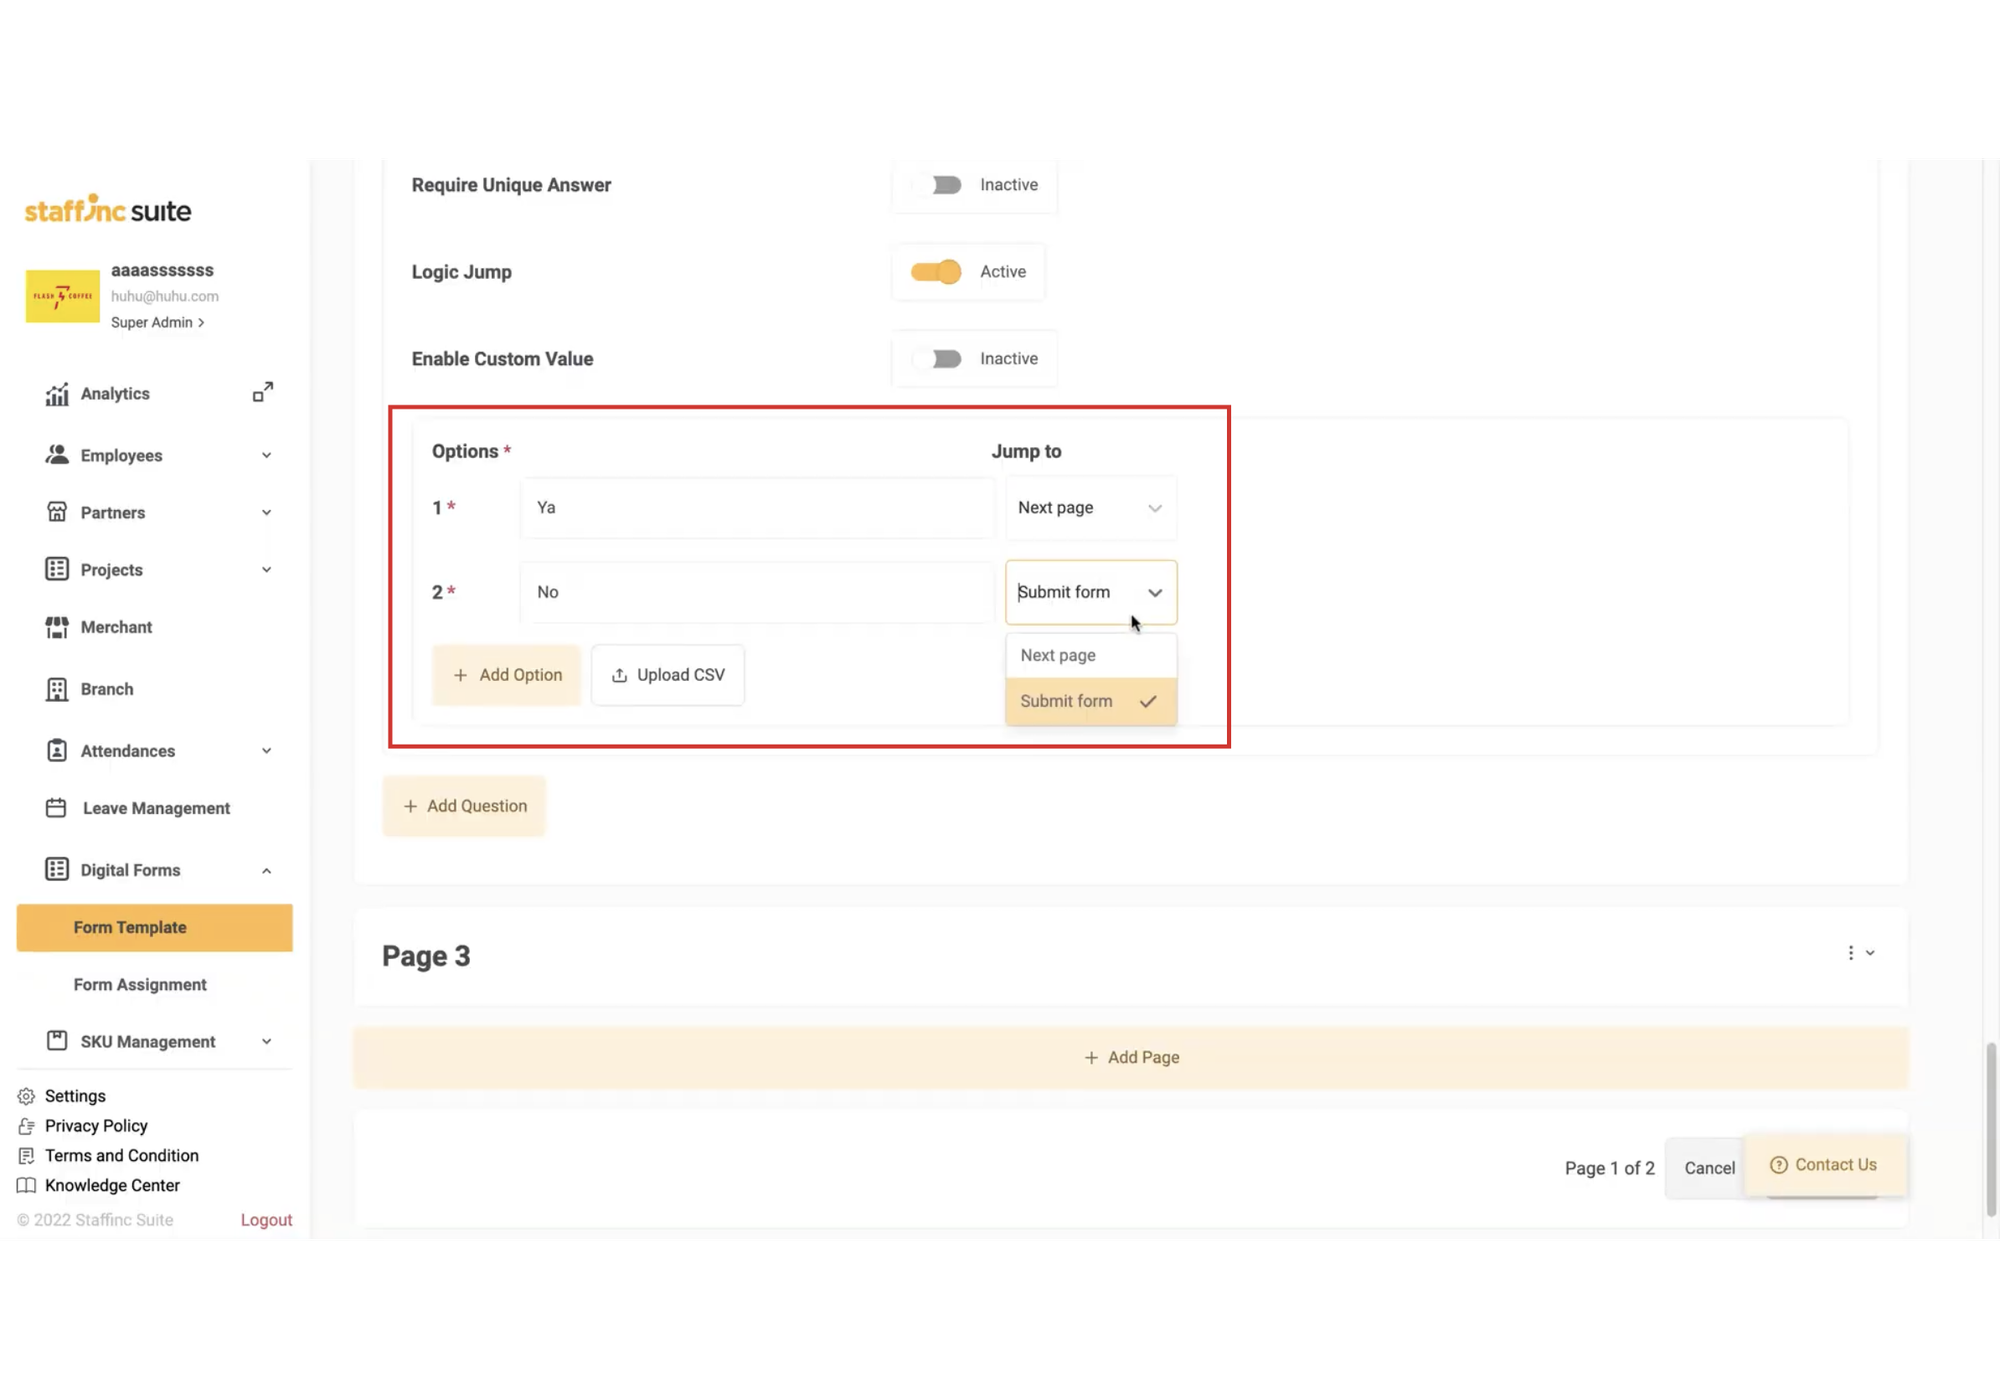
h. Enable Logic Jump
-
For Question Types like Dropdown and Radio, enable Logic Jump to control the flow of questions.
-
For example, if an employee selects "Yes," the next page or question will be different from those who answer "No."
-
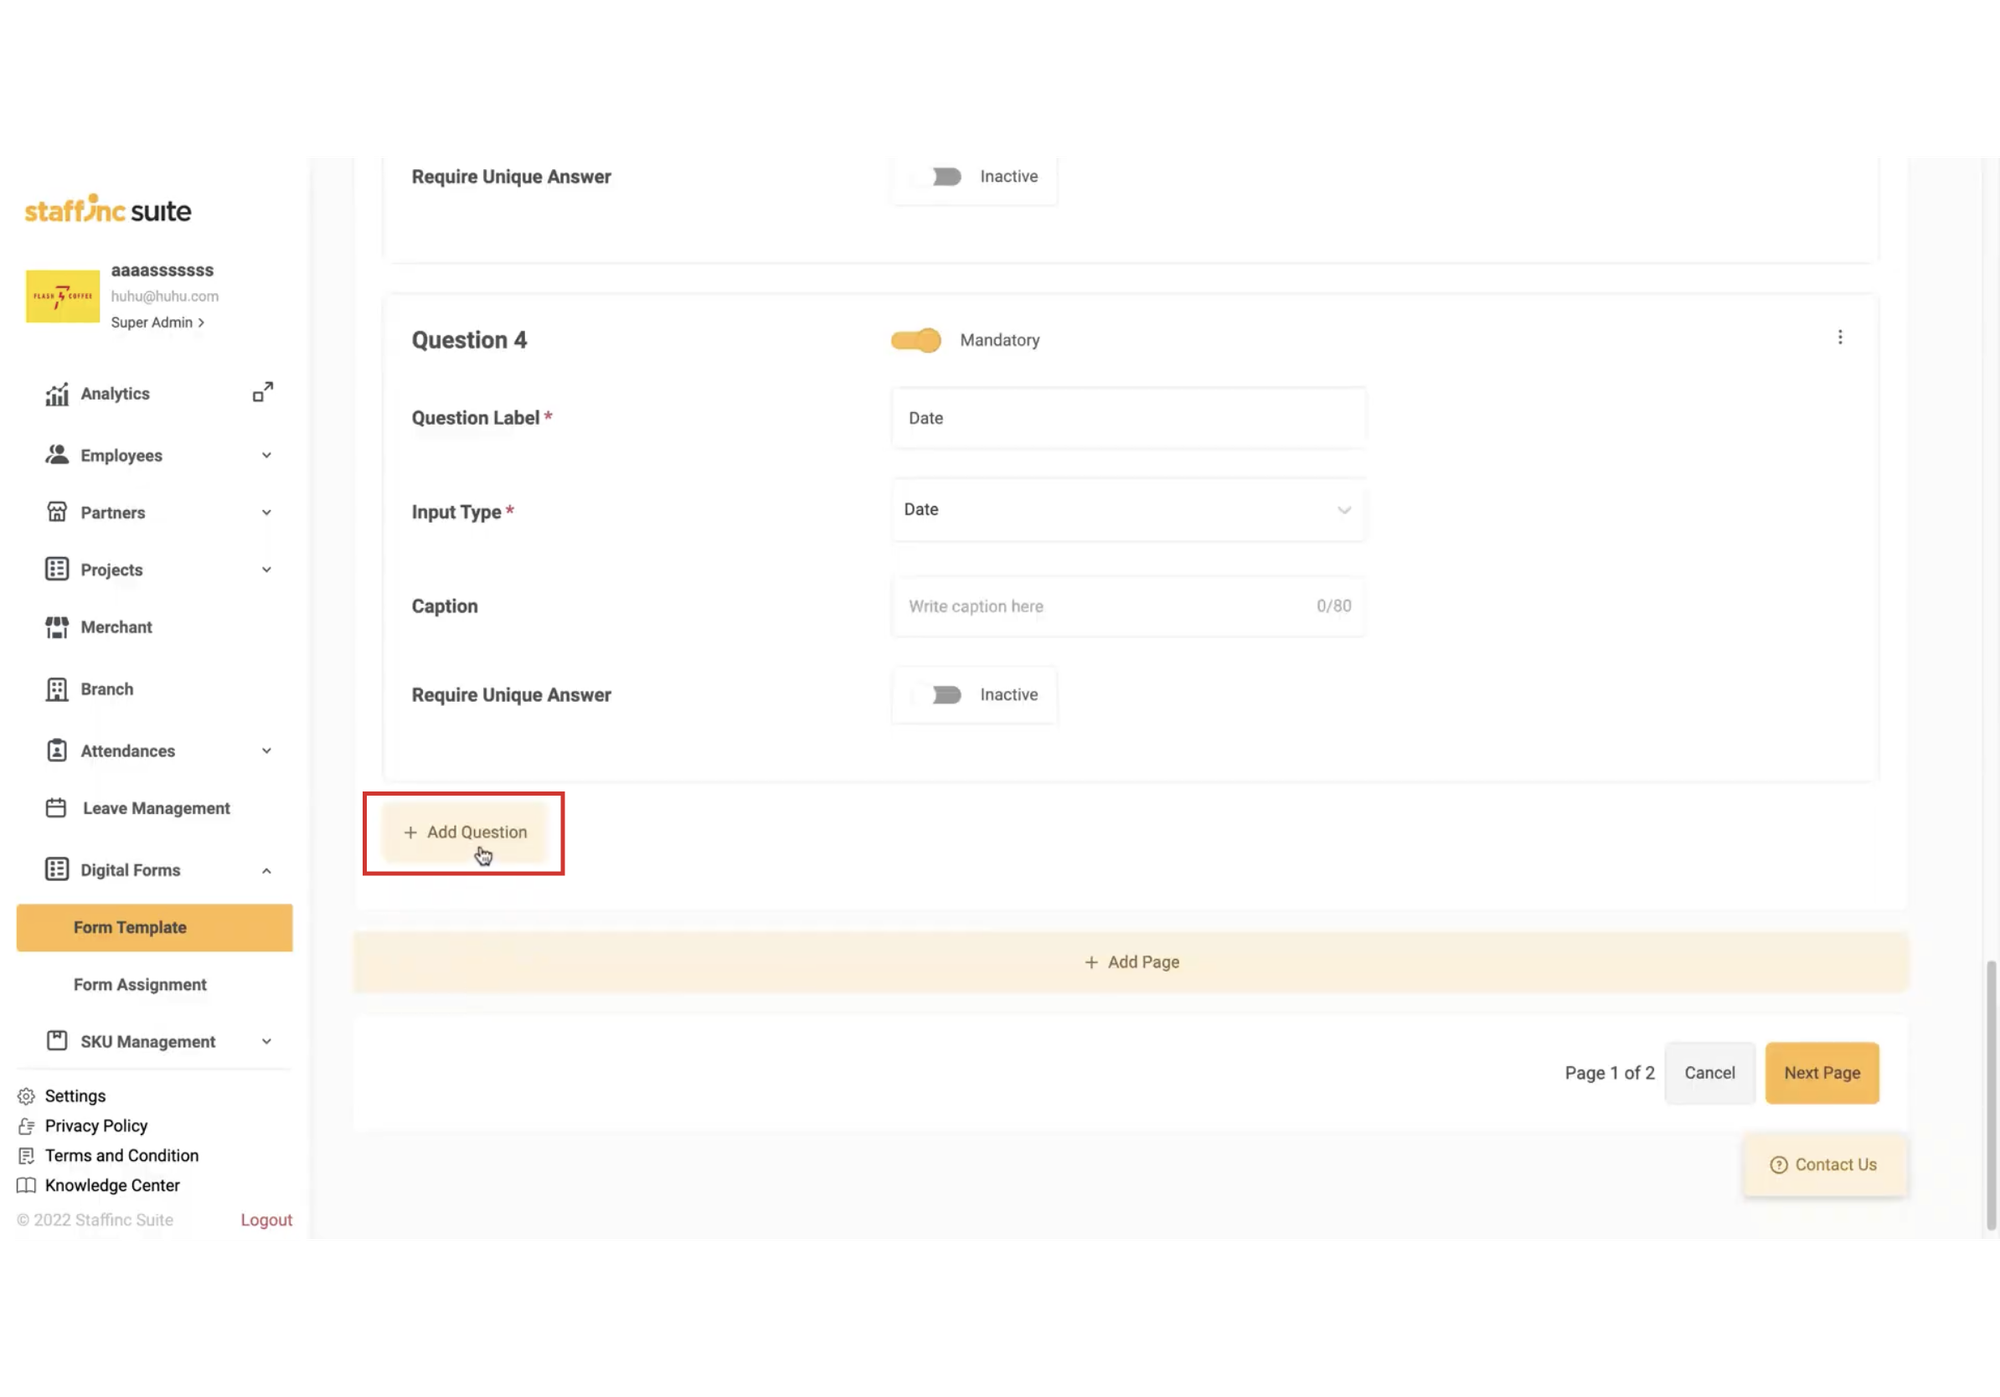
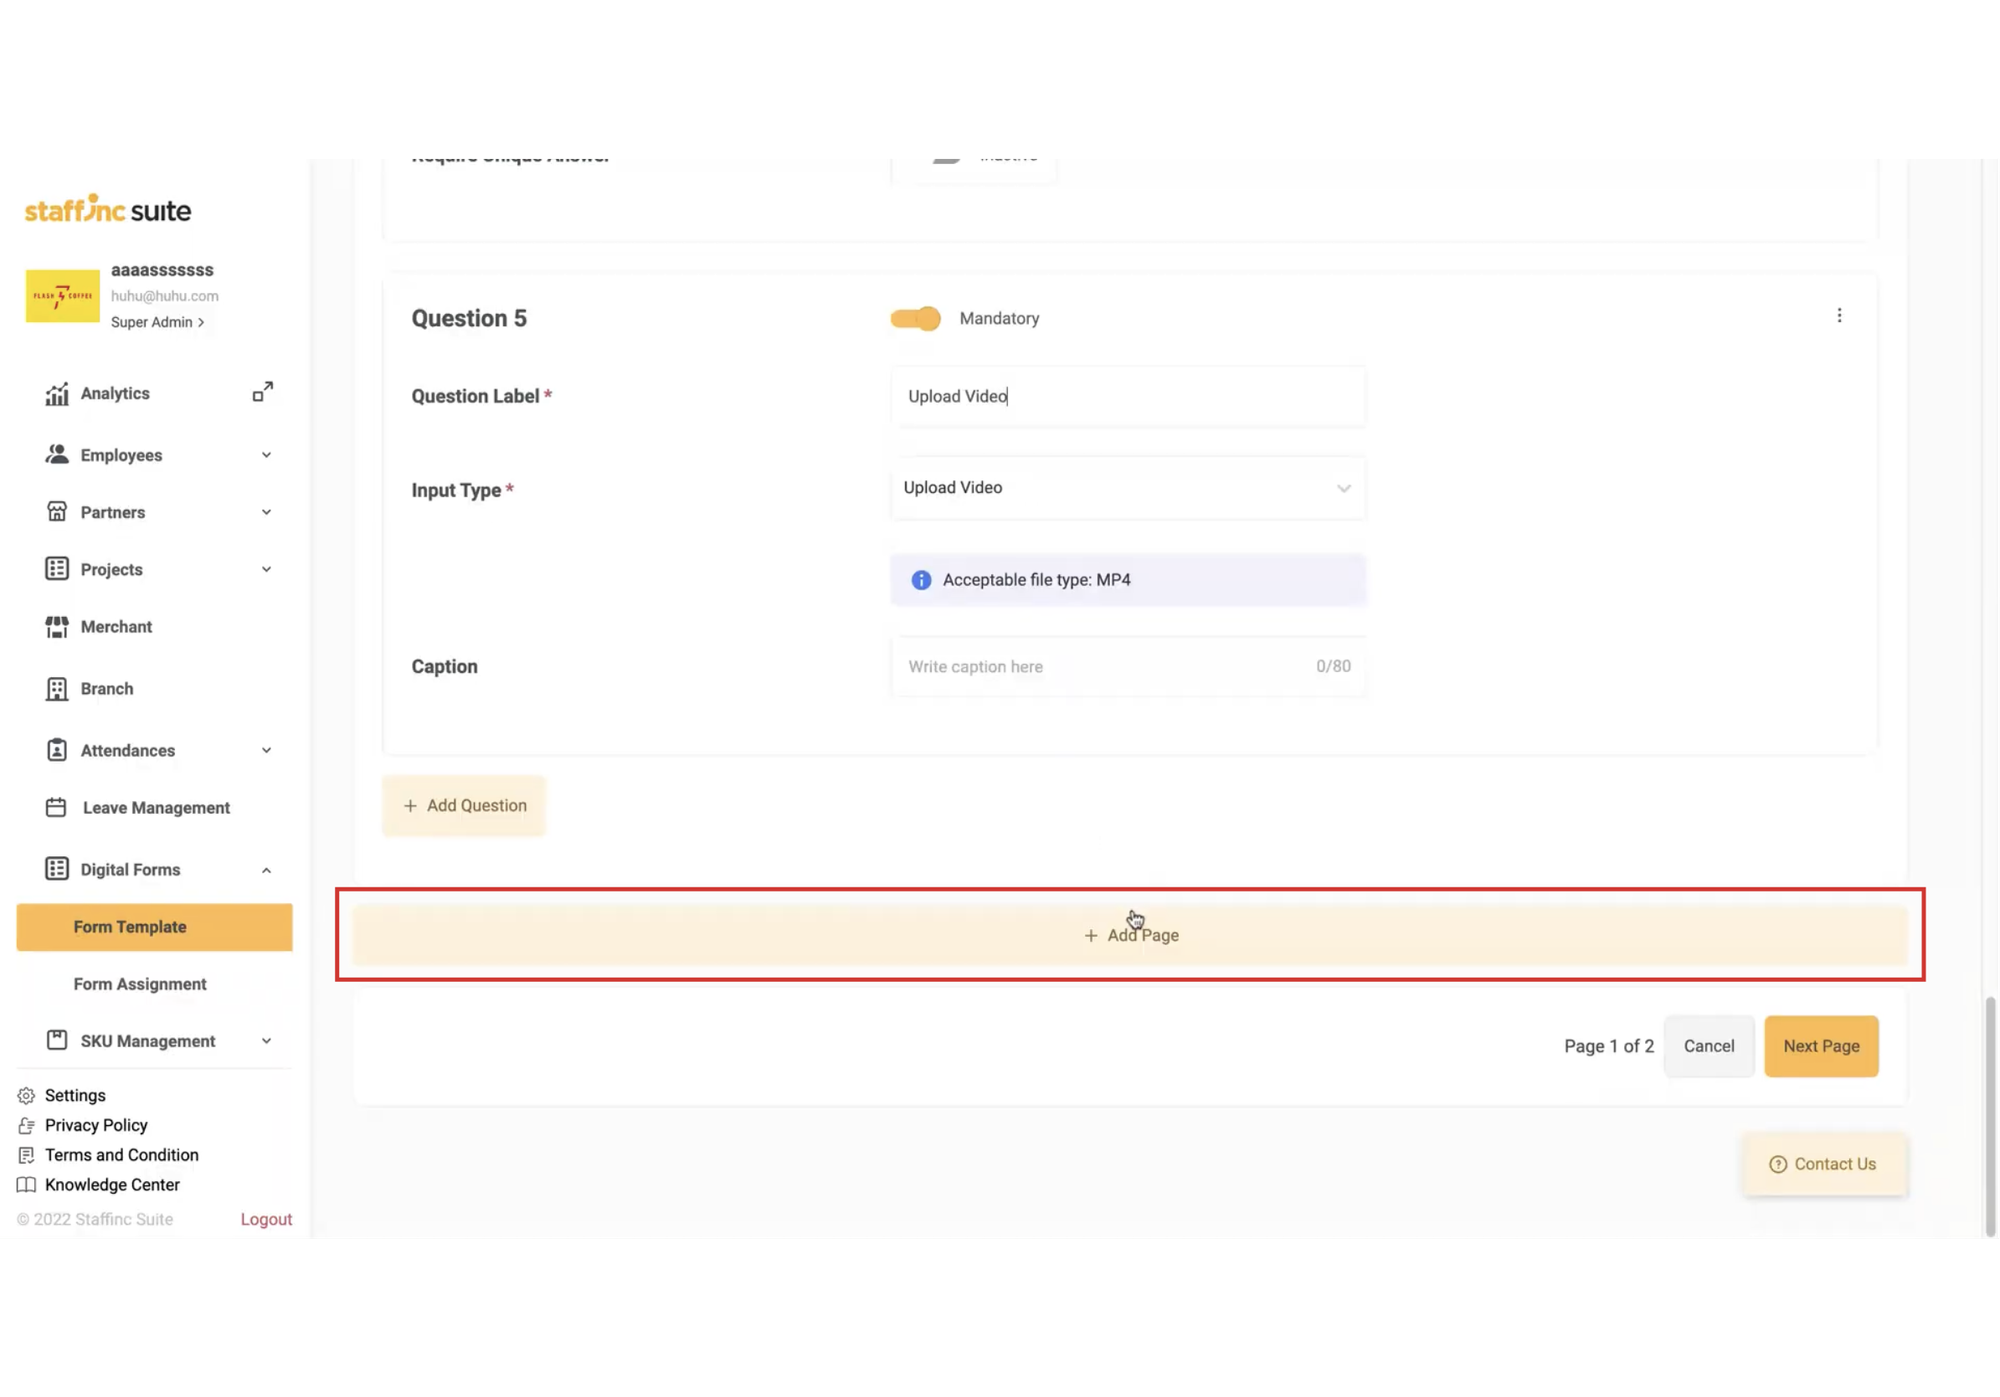
4. Add Questions and Pages
-
Click Add Question to add more questions.
-
Click Add Page to add more pages. Each page can contain multiple questions.
5. Review Form
-
Once you have finished creating the questions, click Next Page.

-
You will be directed to the Logic Jump page to review the page flow.
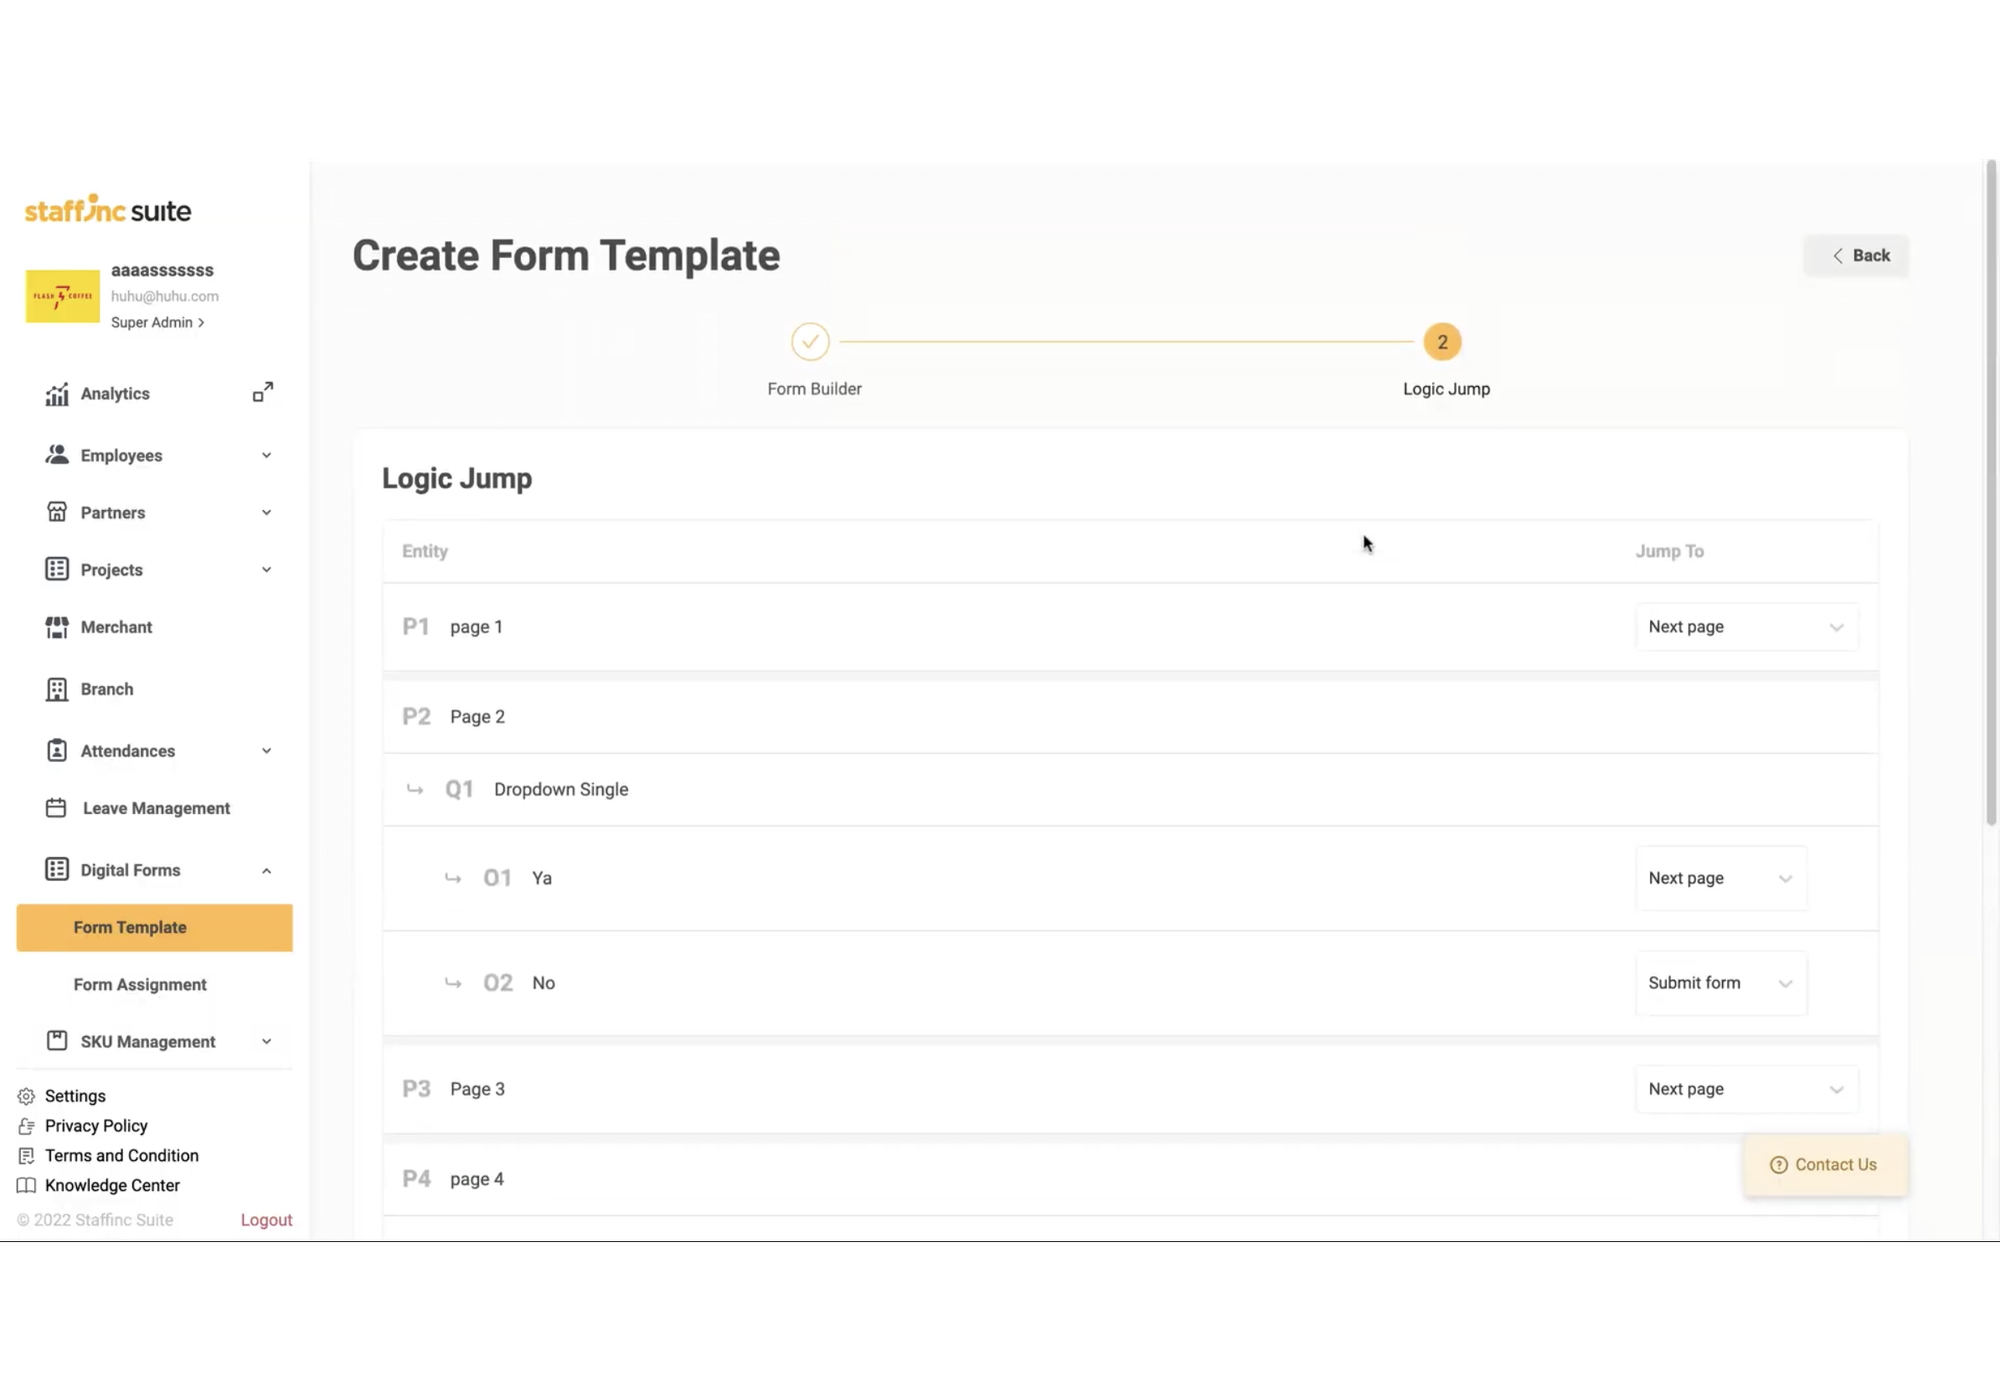
-
If any flow is incorrect, click the Jump To button and specify the correct page.

6. Save Form
- If everything is correct, click the Create Form button.
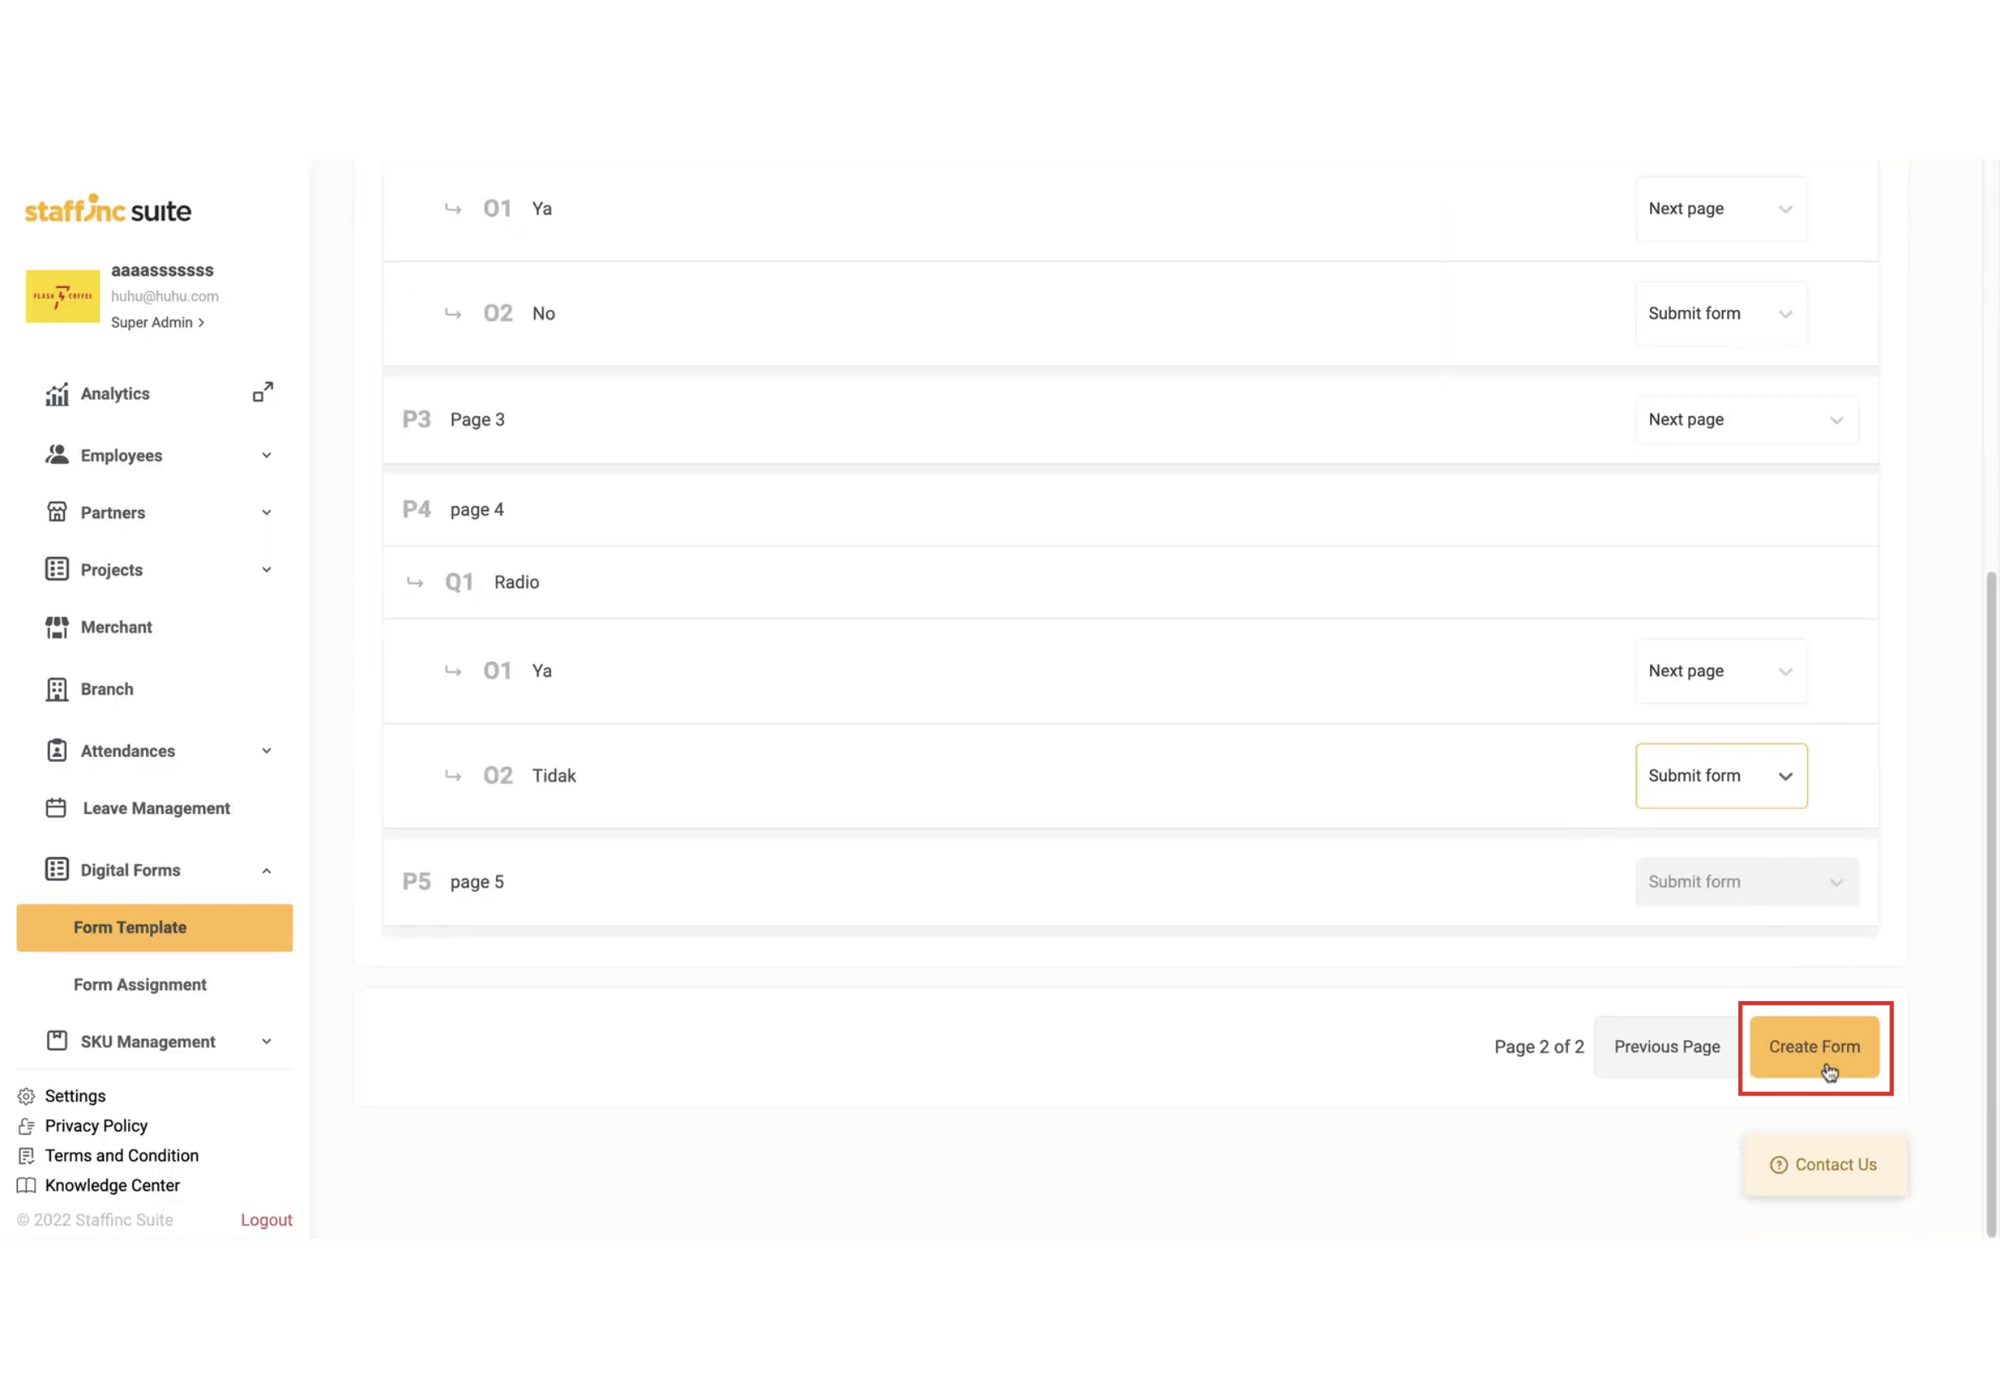
- The new form will appear in the Form Template list and will be considered as a template.
By following these steps, you can efficiently create and manage digital forms, ensuring all necessary information is collected and organized properly.