How to Start Record Dispute Request in Staffinc Suite
🎯 Purpose
This guide explains the prerequisites, setup, and process for submitting a dispute request in Staffinc Suite. Dispute requests help correct attendance records when discrepancies occur, ensuring data accuracy and proper validation through approval workflows.
✅ Prerequisites Before Creating a Dispute Request
Before an employee can raise a dispute request, make sure the following configurations are in place:
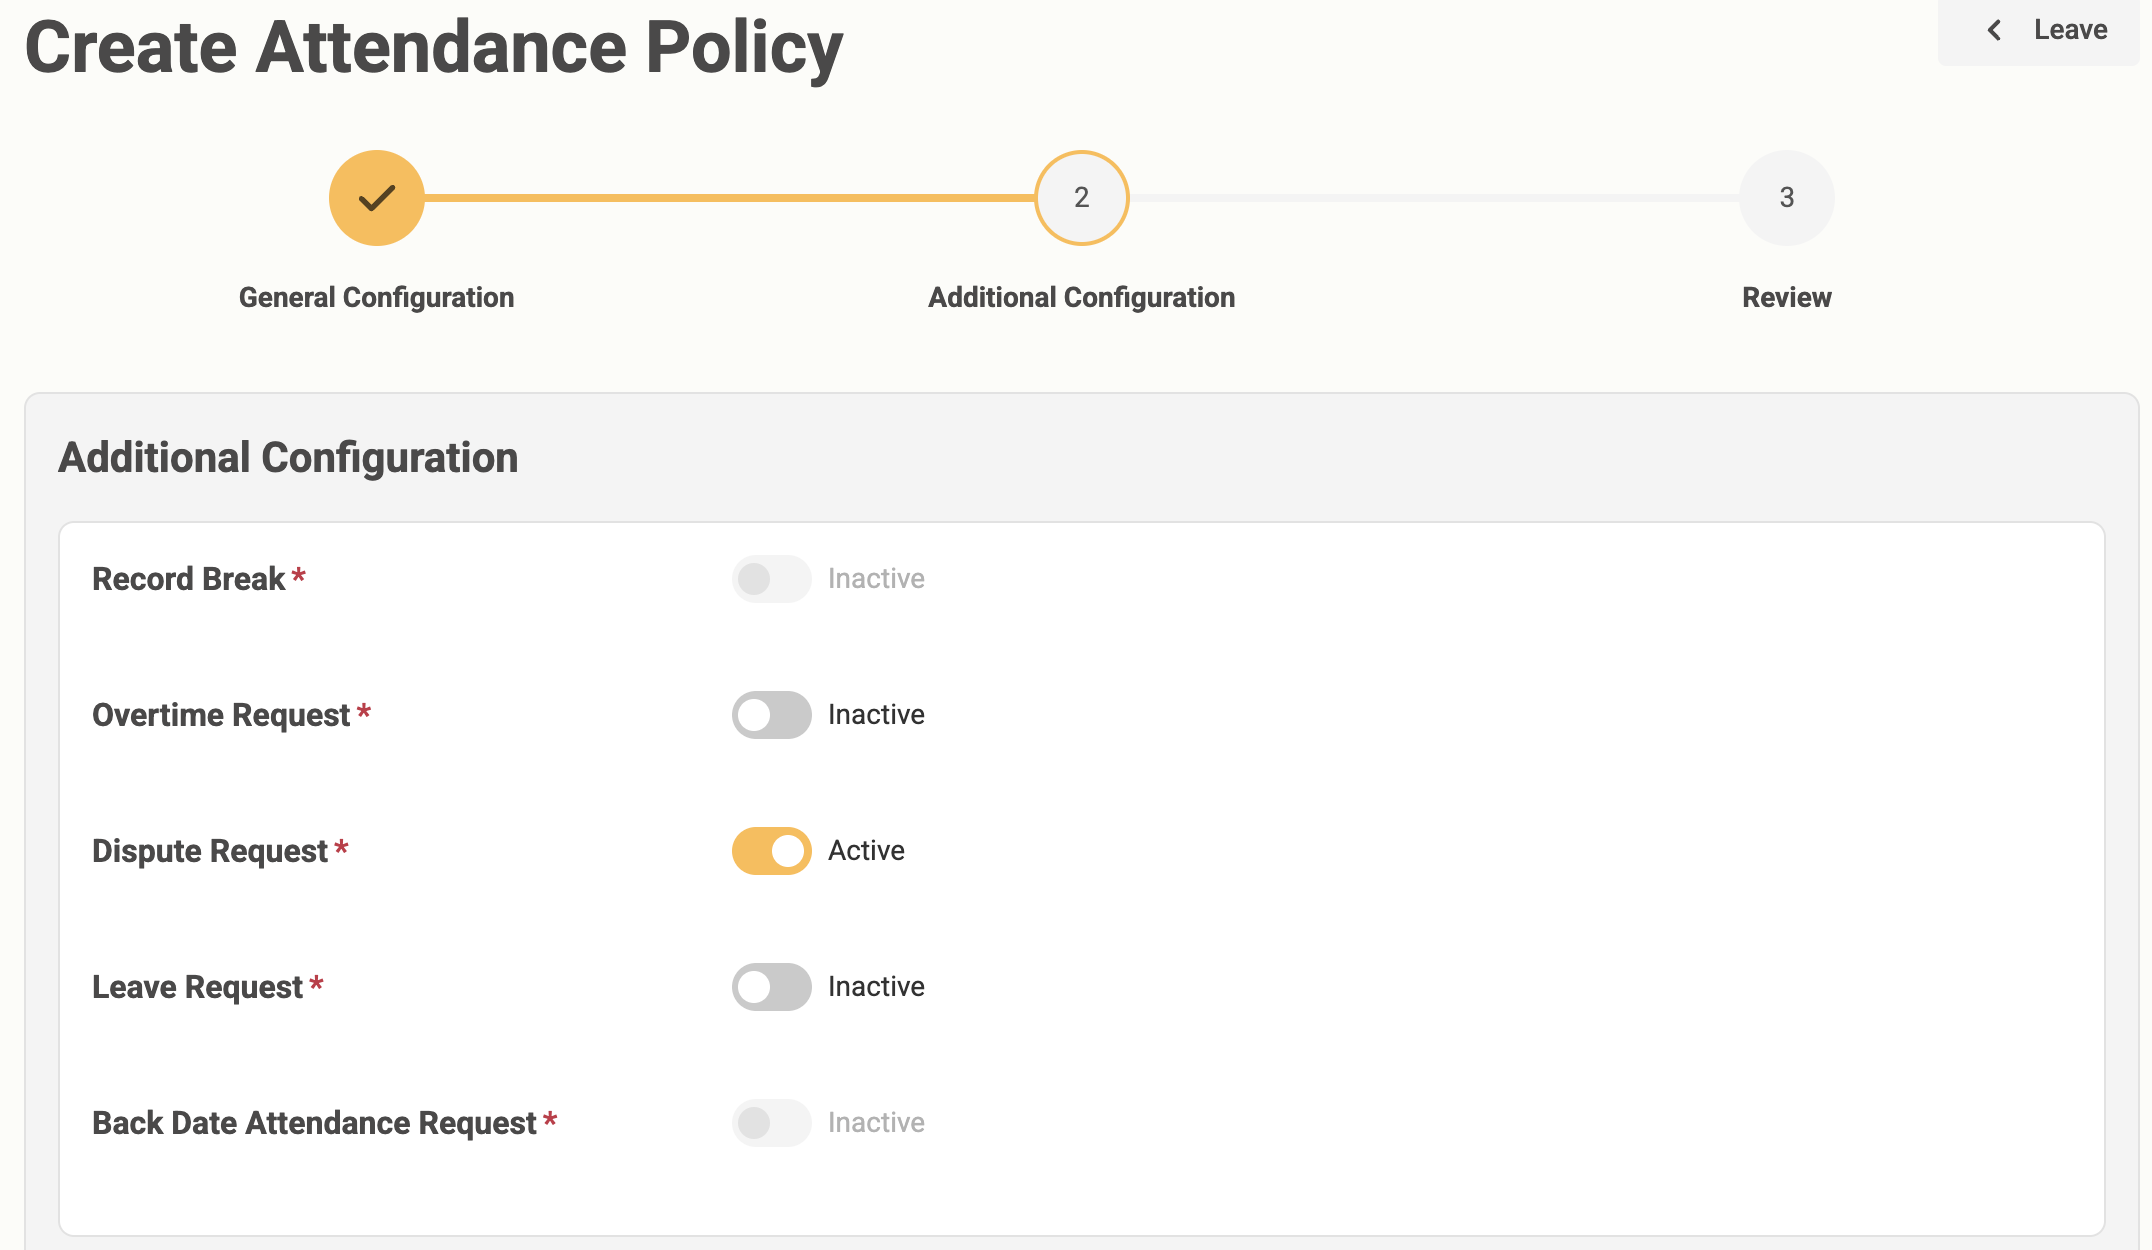
- Enable Dispute Request in Attendance Policy
- The attendance policy assigned to the employee must have the Dispute Request feature enabled.
- Assign Dispute Approval Rule to Employees
- An approval workflow must be created and mapped to the relevant employees.
- If not configured, the default approval rule is Anyone.
- Approval Requirement
- By default, all dispute requests require approval from an admin.
📝 Steps to Create a Dispute Request
- Navigate to Dispute Request Form
- From the main menu, go to Kehadiran → Kehadiran Details.
- Locate the attendance record you want to correct.
- Click the Ajukan Koreksi Kehadiran button to open the form.
- ⚠️ This button is only enabled starting from D+1 (the day after the attendance date).
- Fill in Request Details
- Select New Status — Choose the corrected attendance status (e.g. Present, Leave, Absent).
- Leave Type & Policy — If the new status is Leave, you must also select the Leave Type (Paid/Unpaid) and the Leave Policy to apply.
- Reason — Provide a clear explanation for the correction.
- Support Evidence — Upload relevant supporting documents such as screenshots, medical notes, or other files.
- Submit for Approval
After completing the form, click Submit to send your dispute request to the assigned approver.
📊 Dispute Request Statuses
| Status | Meaning | Next Step |
|---|---|---|
| Pending | Awaiting approver's decision | Wait for review |
| Approved | Dispute accepted and will be processed | No further action needed |
| Rejected | Dispute denied; no changes will be made | No further action |