New Employee Creation (Single)
In this section, you will learn how to add an employee using the single upload method. Follow the steps below:
-
1. Access the Employee List Menu
- Open the Employee List menu.
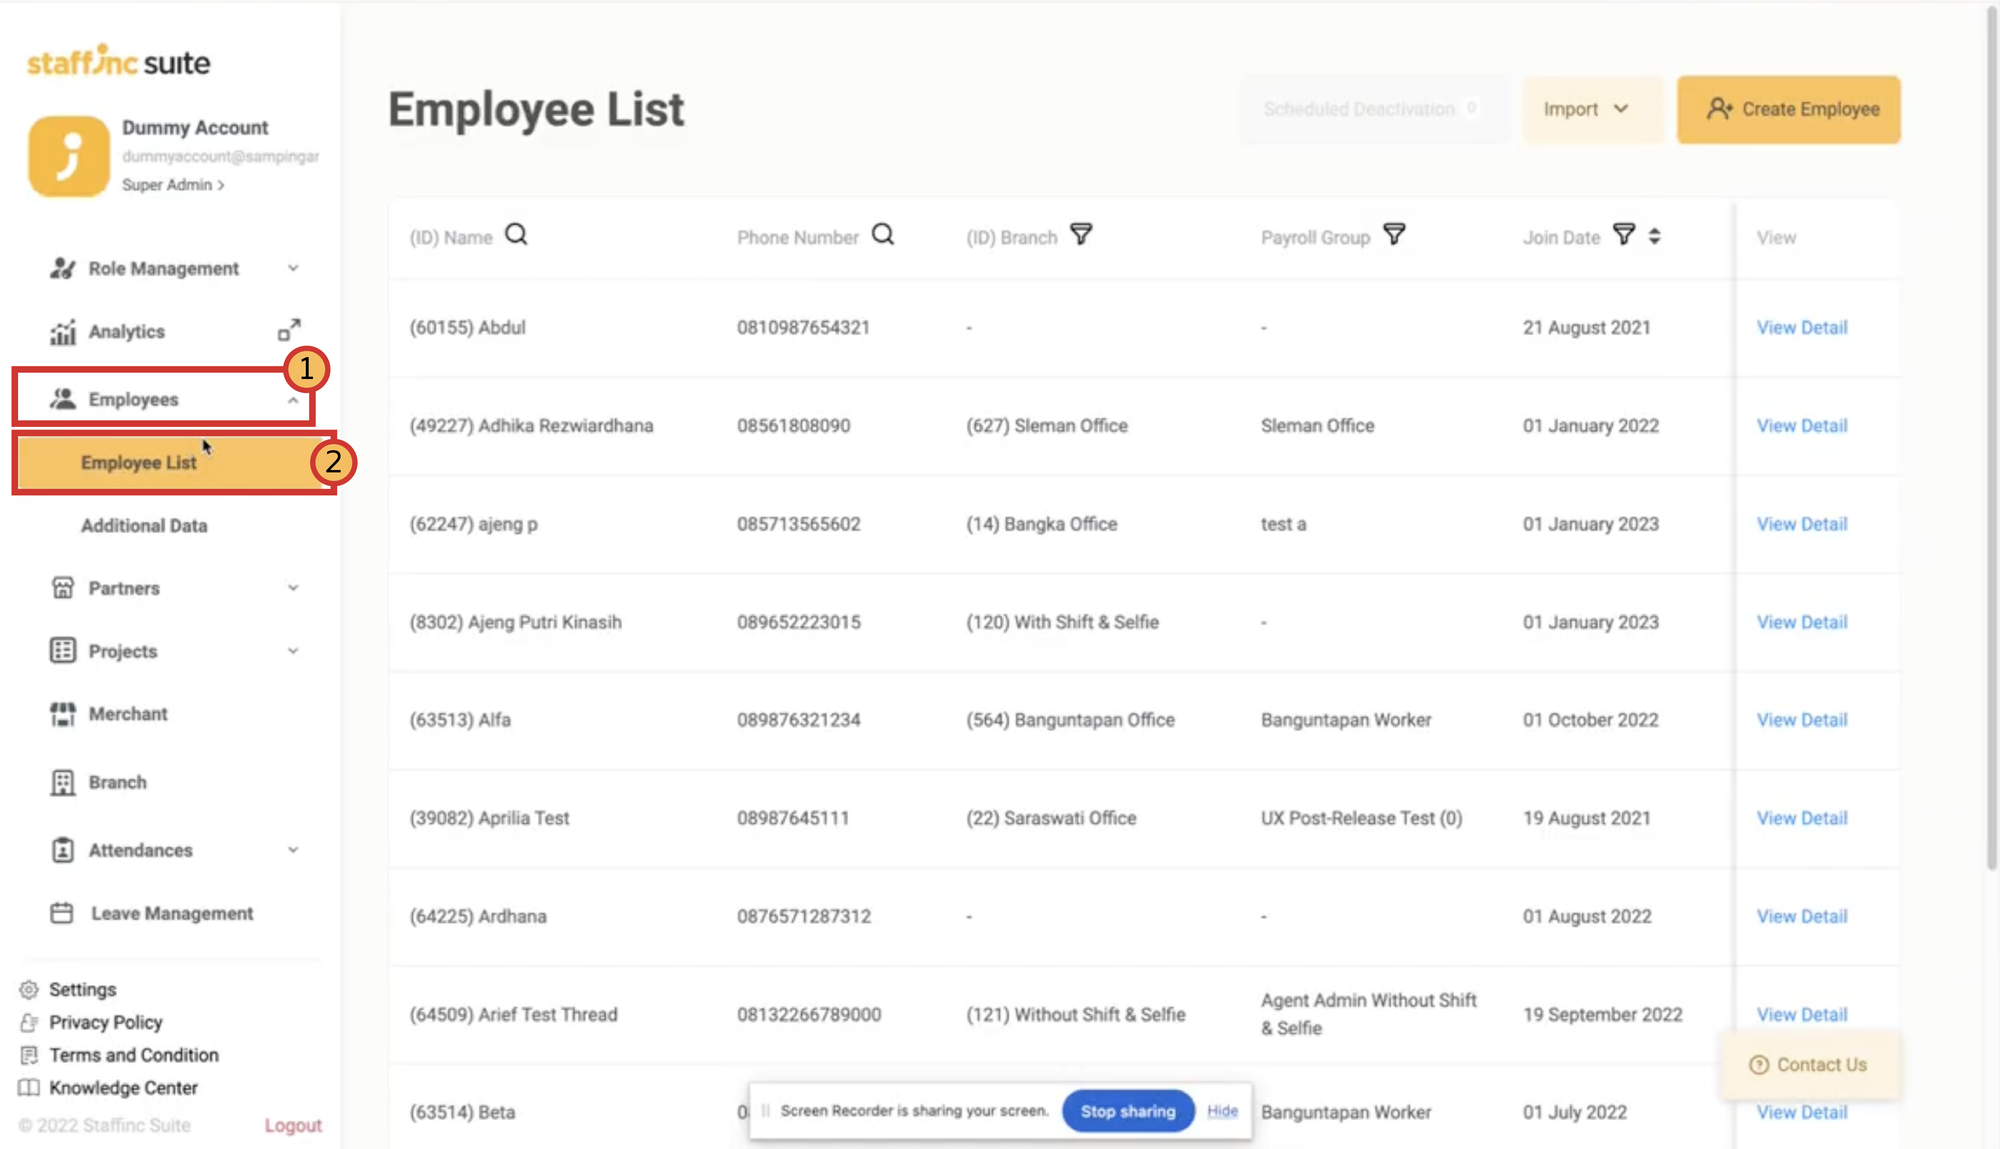
- Open the Employee List menu.
-
2. Create New Employee
- Click the "Create Employee" button in the top right corner.
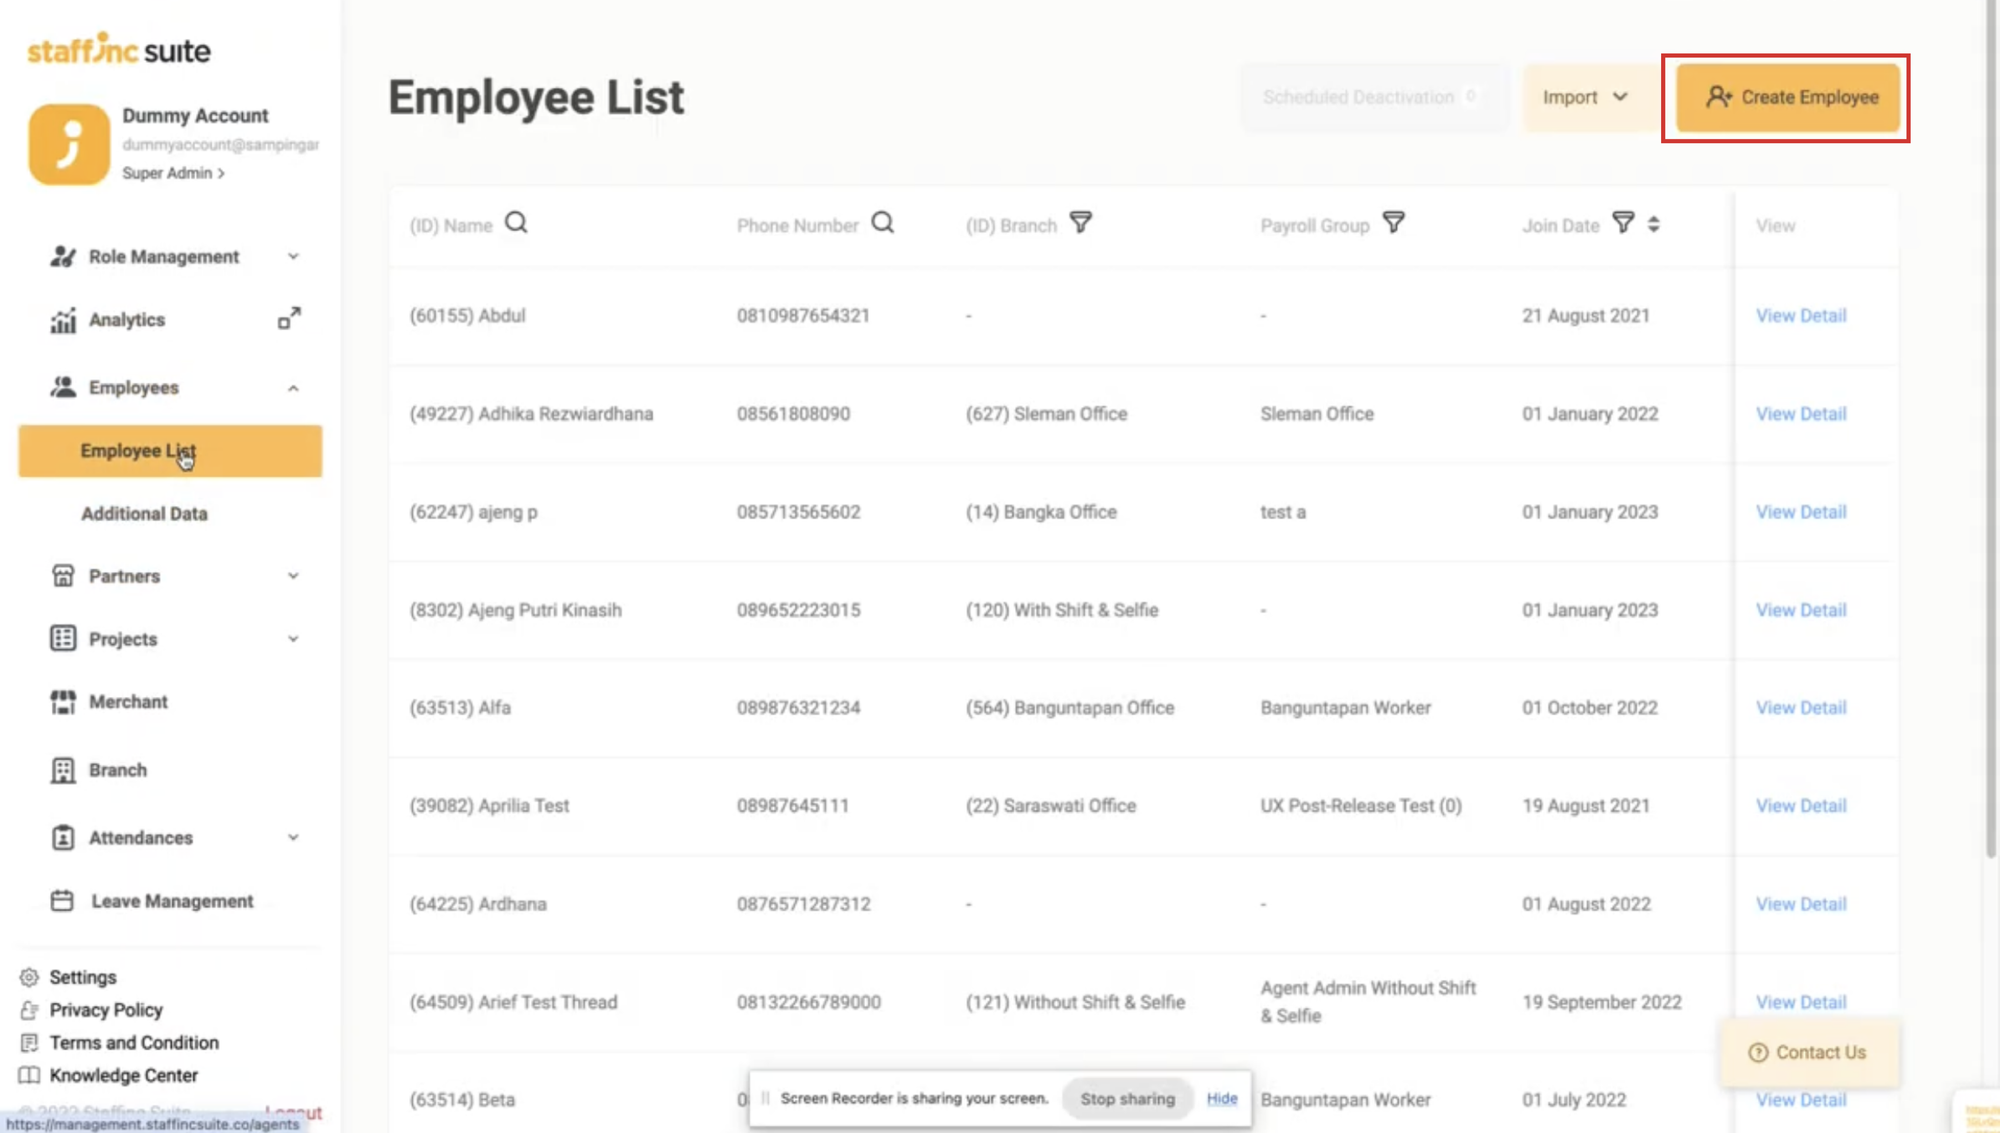
- Click the "Create Employee" button in the top right corner.
-
3. Create New Employee Page
- You will be directed to the Create New Employee page.

- You will be directed to the Create New Employee page.
-
4. Fill in Mandatory Data
- Name and Phone Number are required fields that must be filled in to activate the account creation.
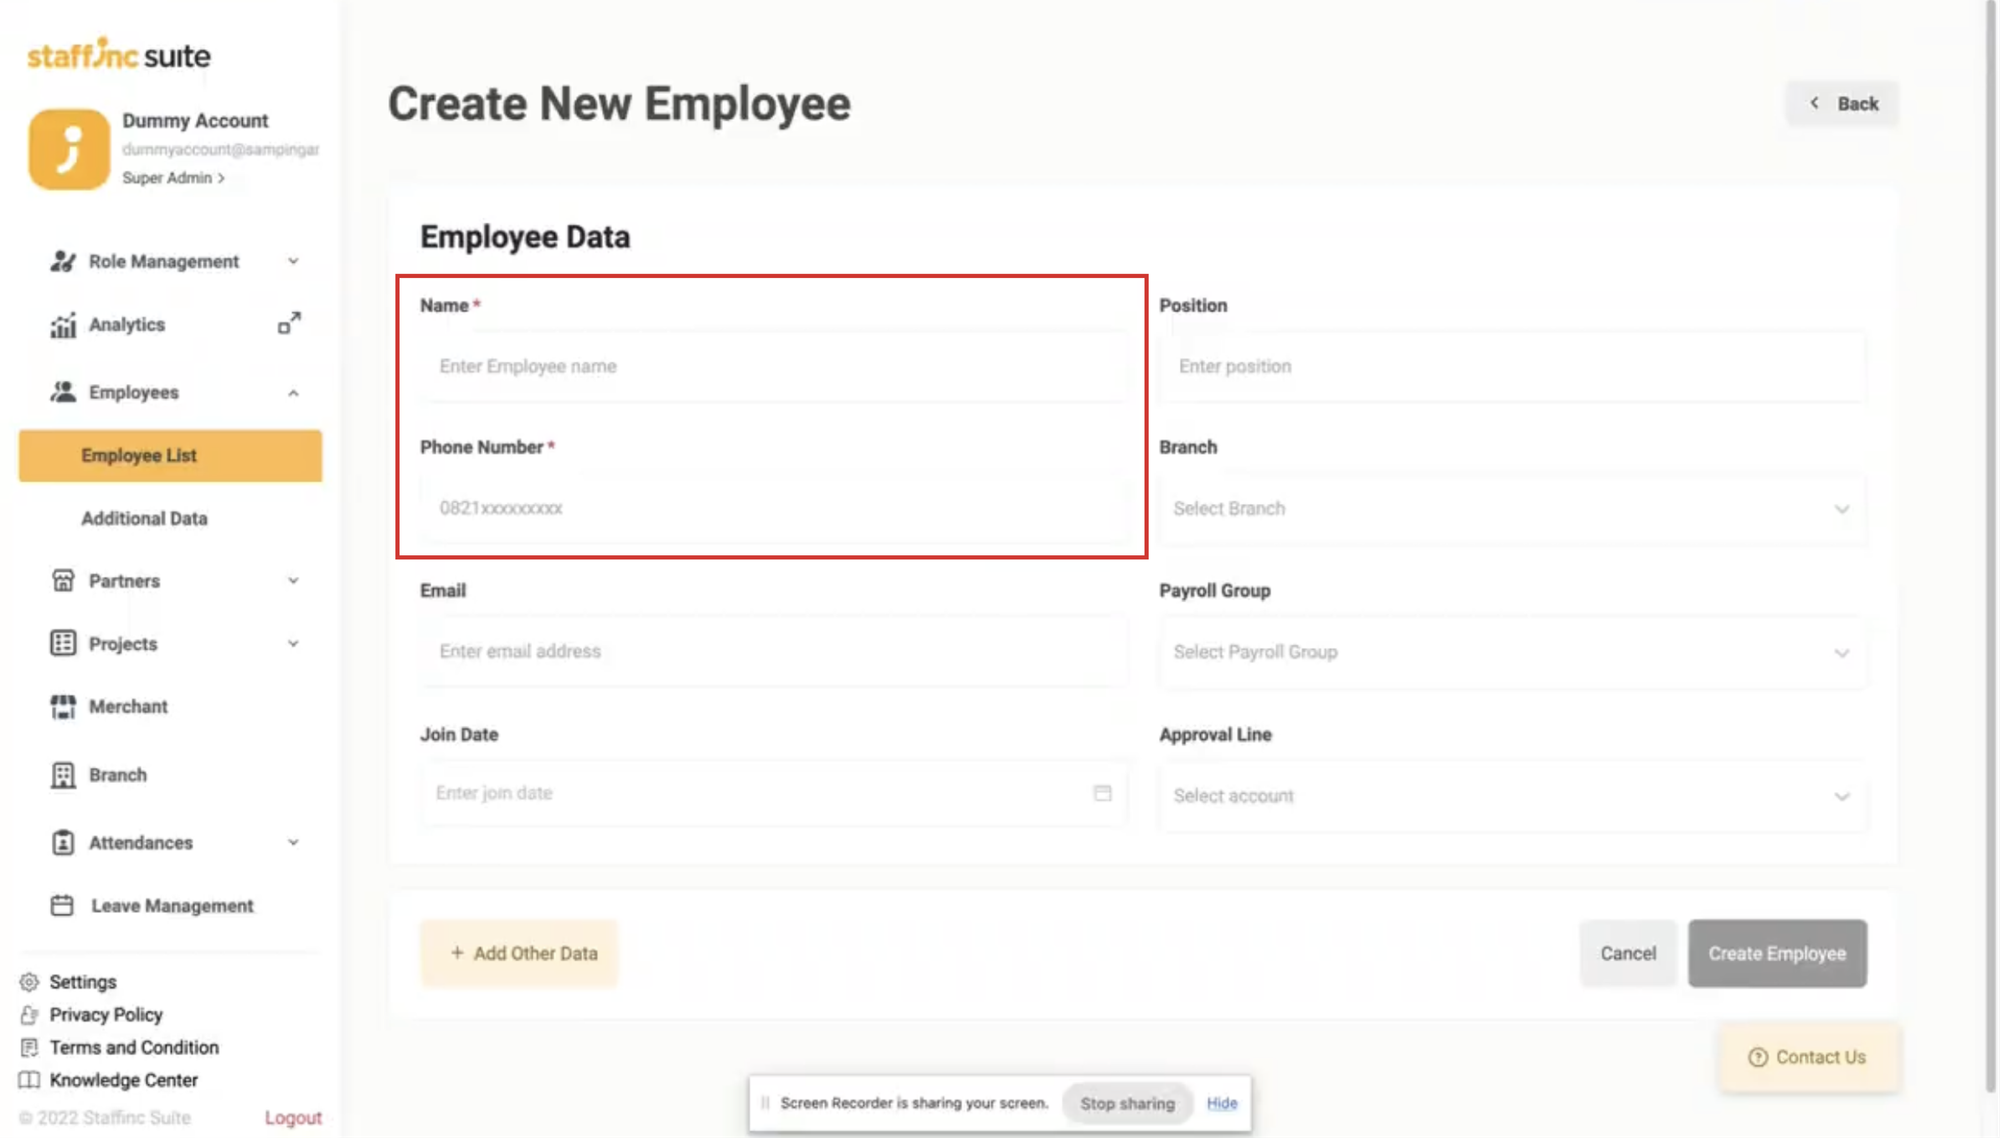
- Name and Phone Number are required fields that must be filled in to activate the account creation.
-
5. Select Branch
- Click on "Branch" and choose the appropriate branch or work location. You can search for the branch by typing its name in the search box. Filling out this data is highly recommended.
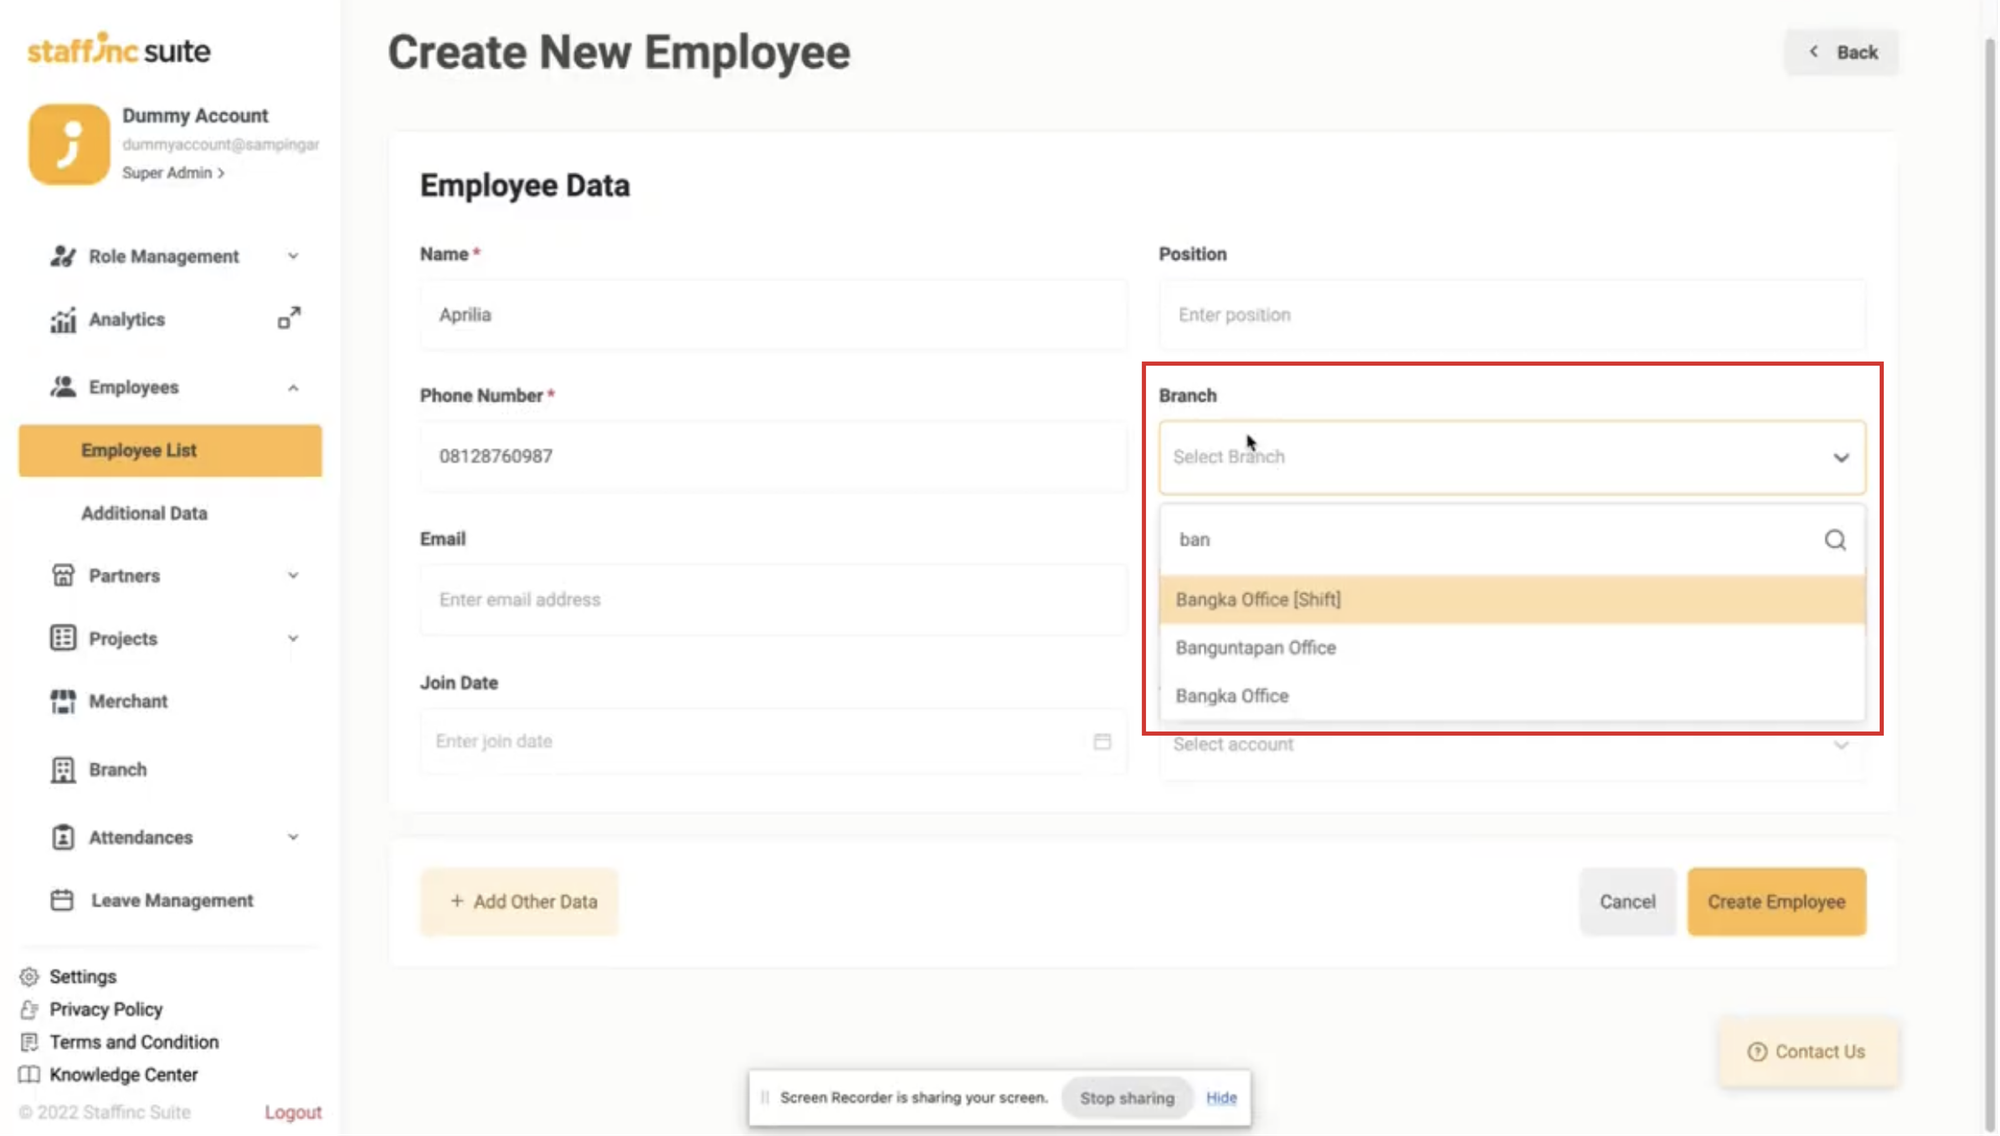
- Click on "Branch" and choose the appropriate branch or work location. You can search for the branch by typing its name in the search box. Filling out this data is highly recommended.
-
6. Select Payroll Group
- Fill in the "Payroll Group". The available payroll groups correspond to the selected branch data above.
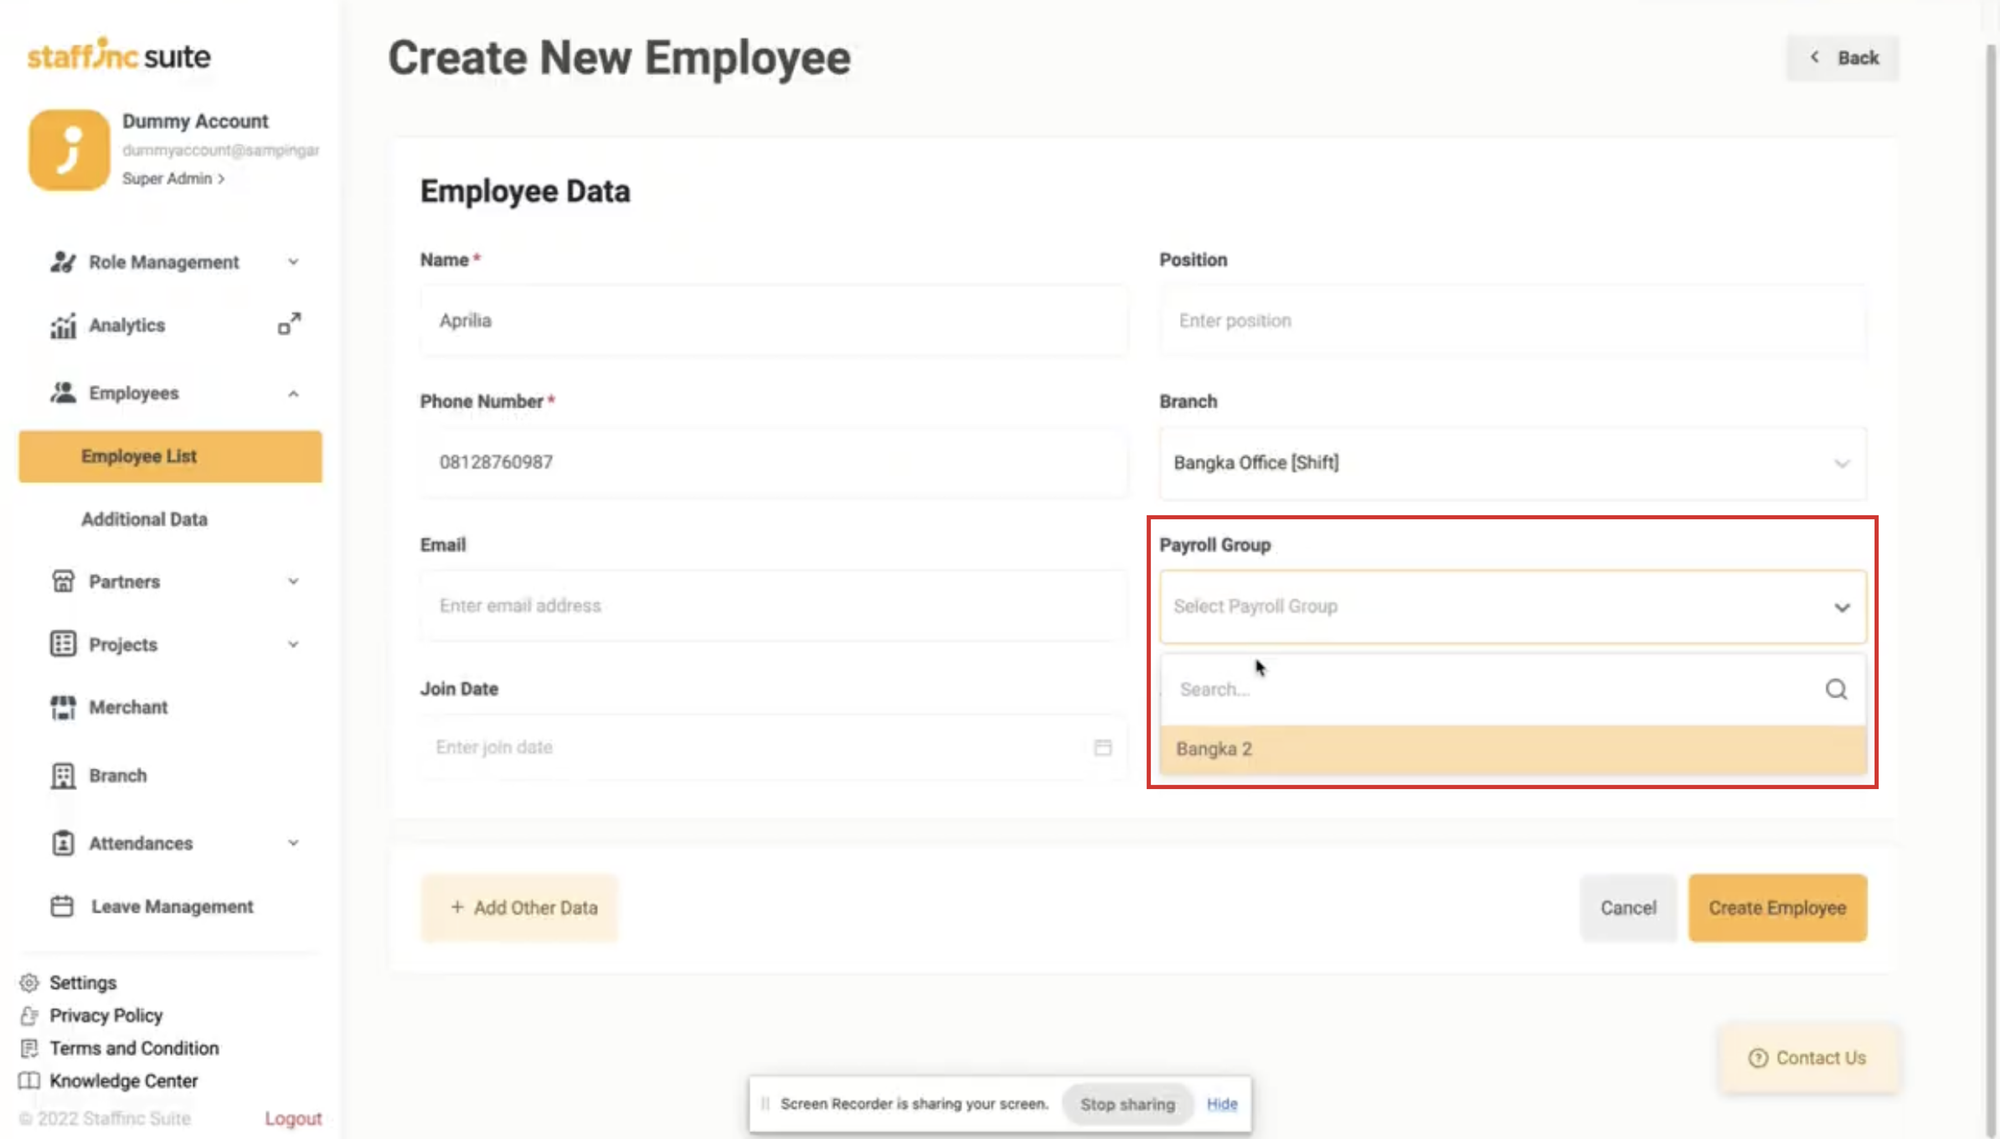
- Fill in the "Payroll Group". The available payroll groups correspond to the selected branch data above.
-
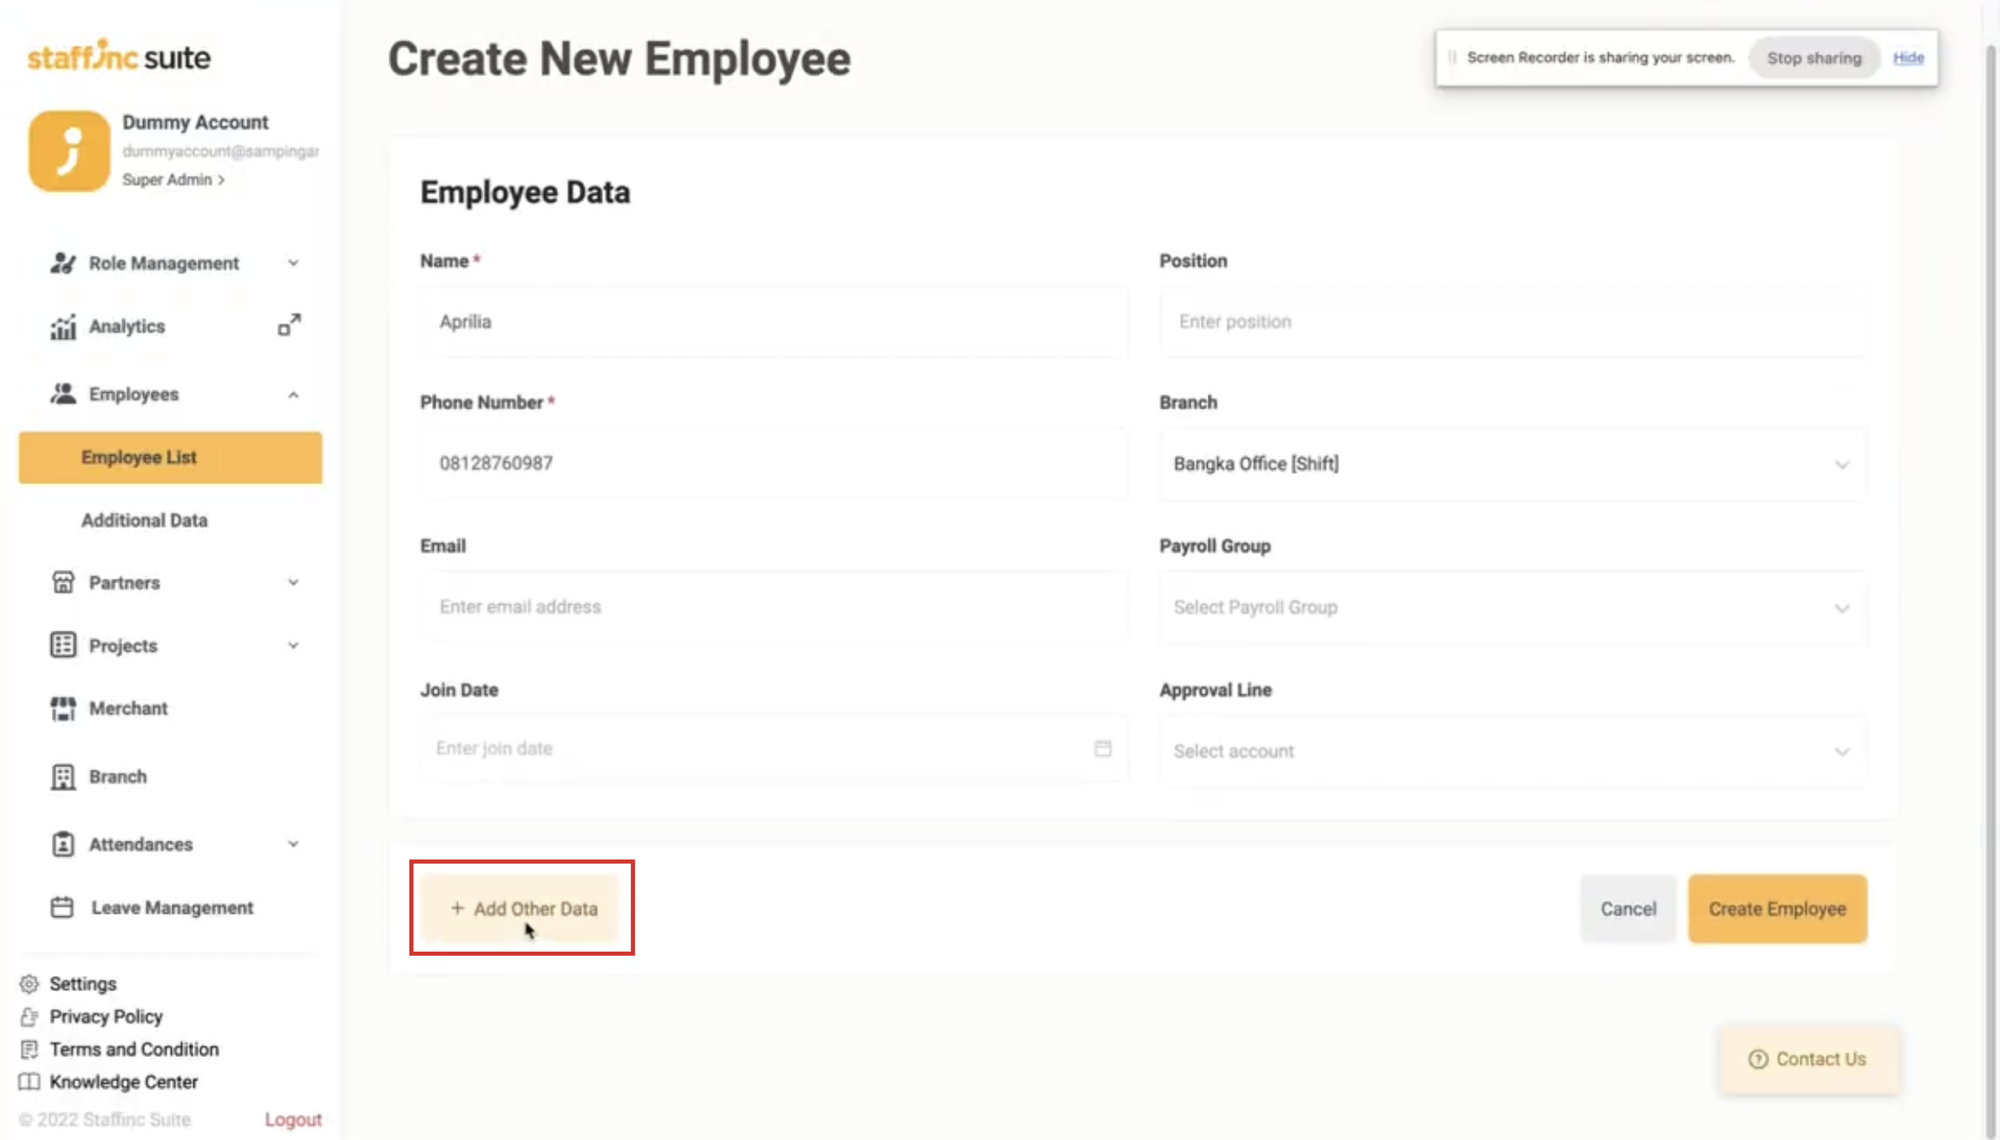
7. Create Employee Button
- If all required data is filled in, the "Create Employee" button will change color and become clickable.
- If all required data is filled in, the "Create Employee" button will change color and become clickable.
- 8. Fill in Optional Data
-
You can fill in other optional data by clicking "+Add Other Data". Some fields you can fill in include:
-
1. Personal Data
This includes basic information about the employee, such as name, place and date of birth, address, domicile, and more.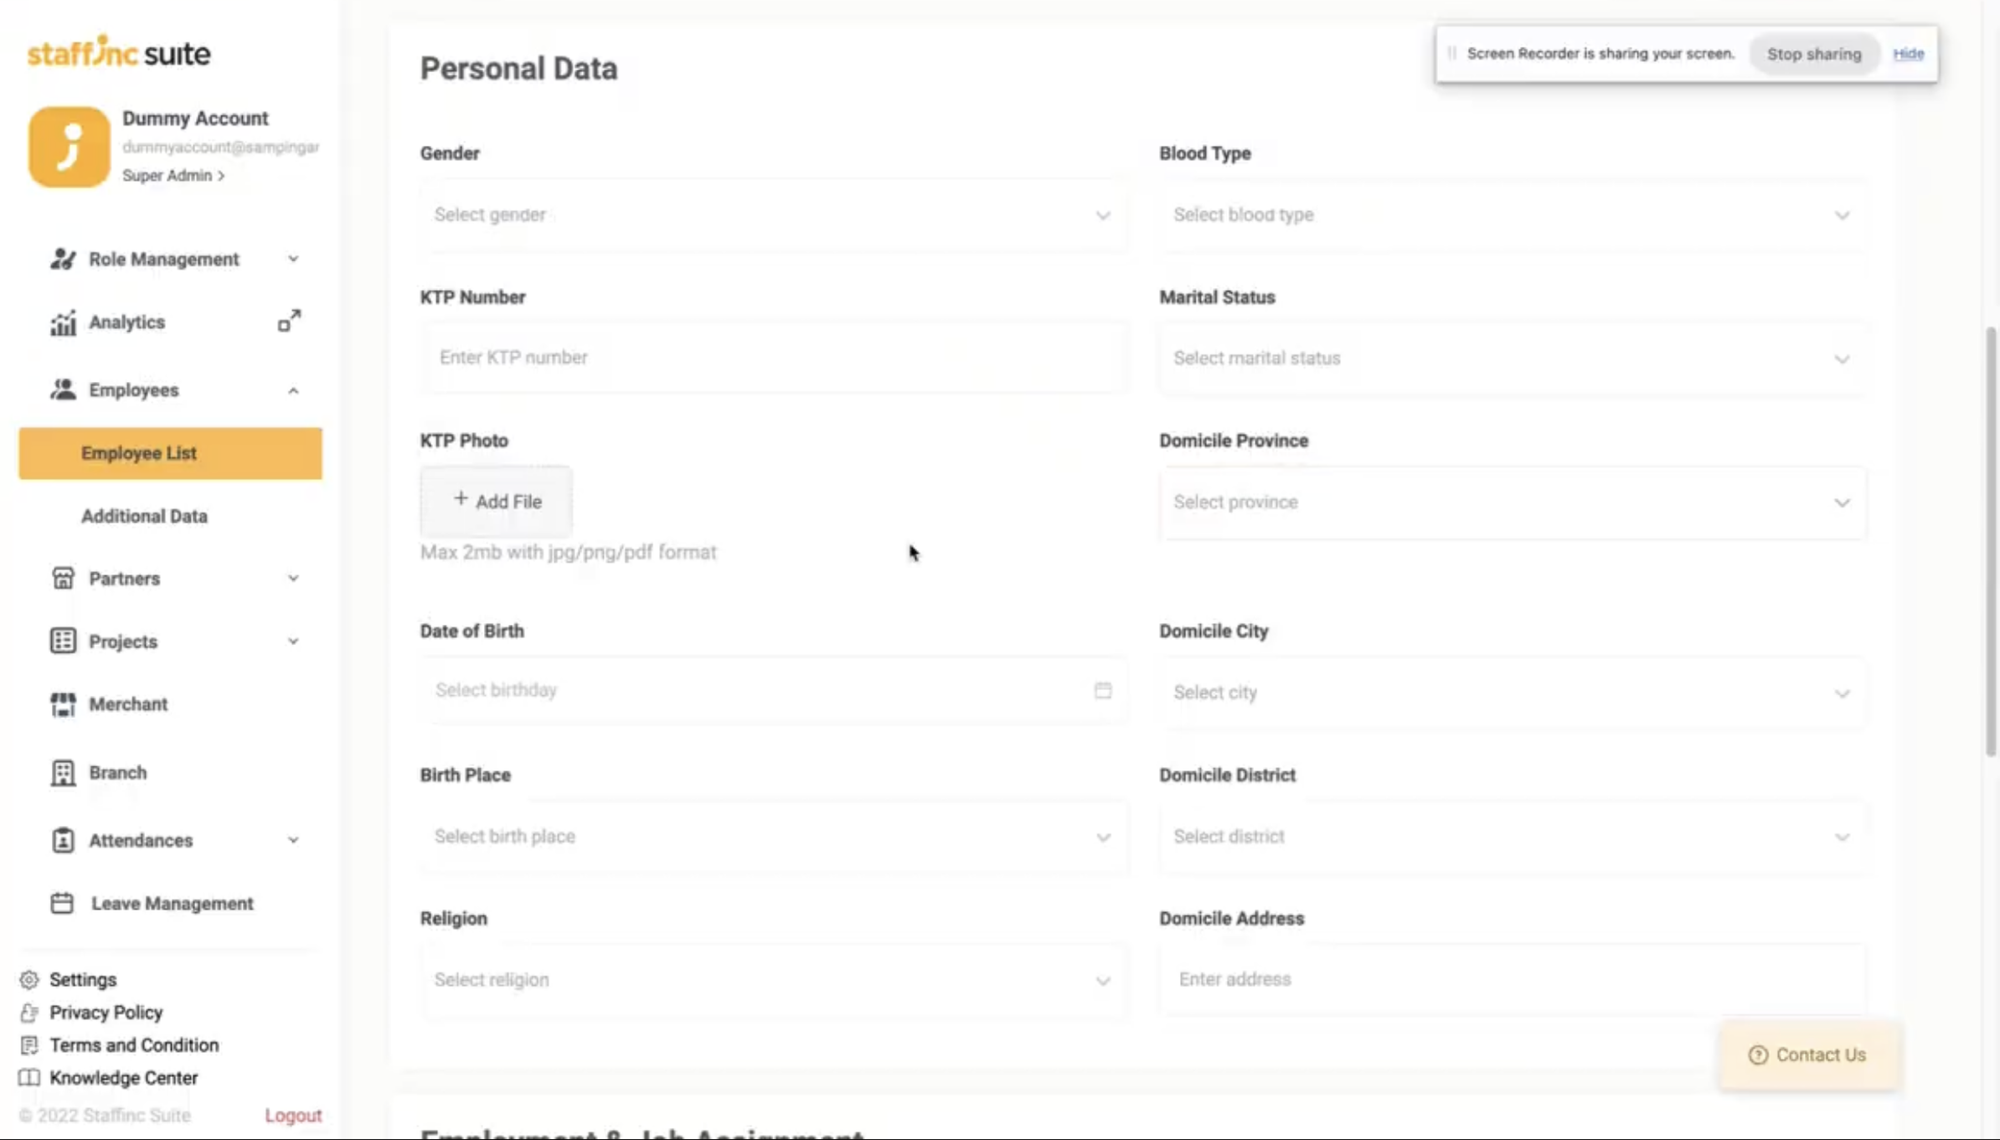
-
2. Employment & Job Assignment Data
This includes information about employment and assignments, such as employment ID, department, employee status, and more.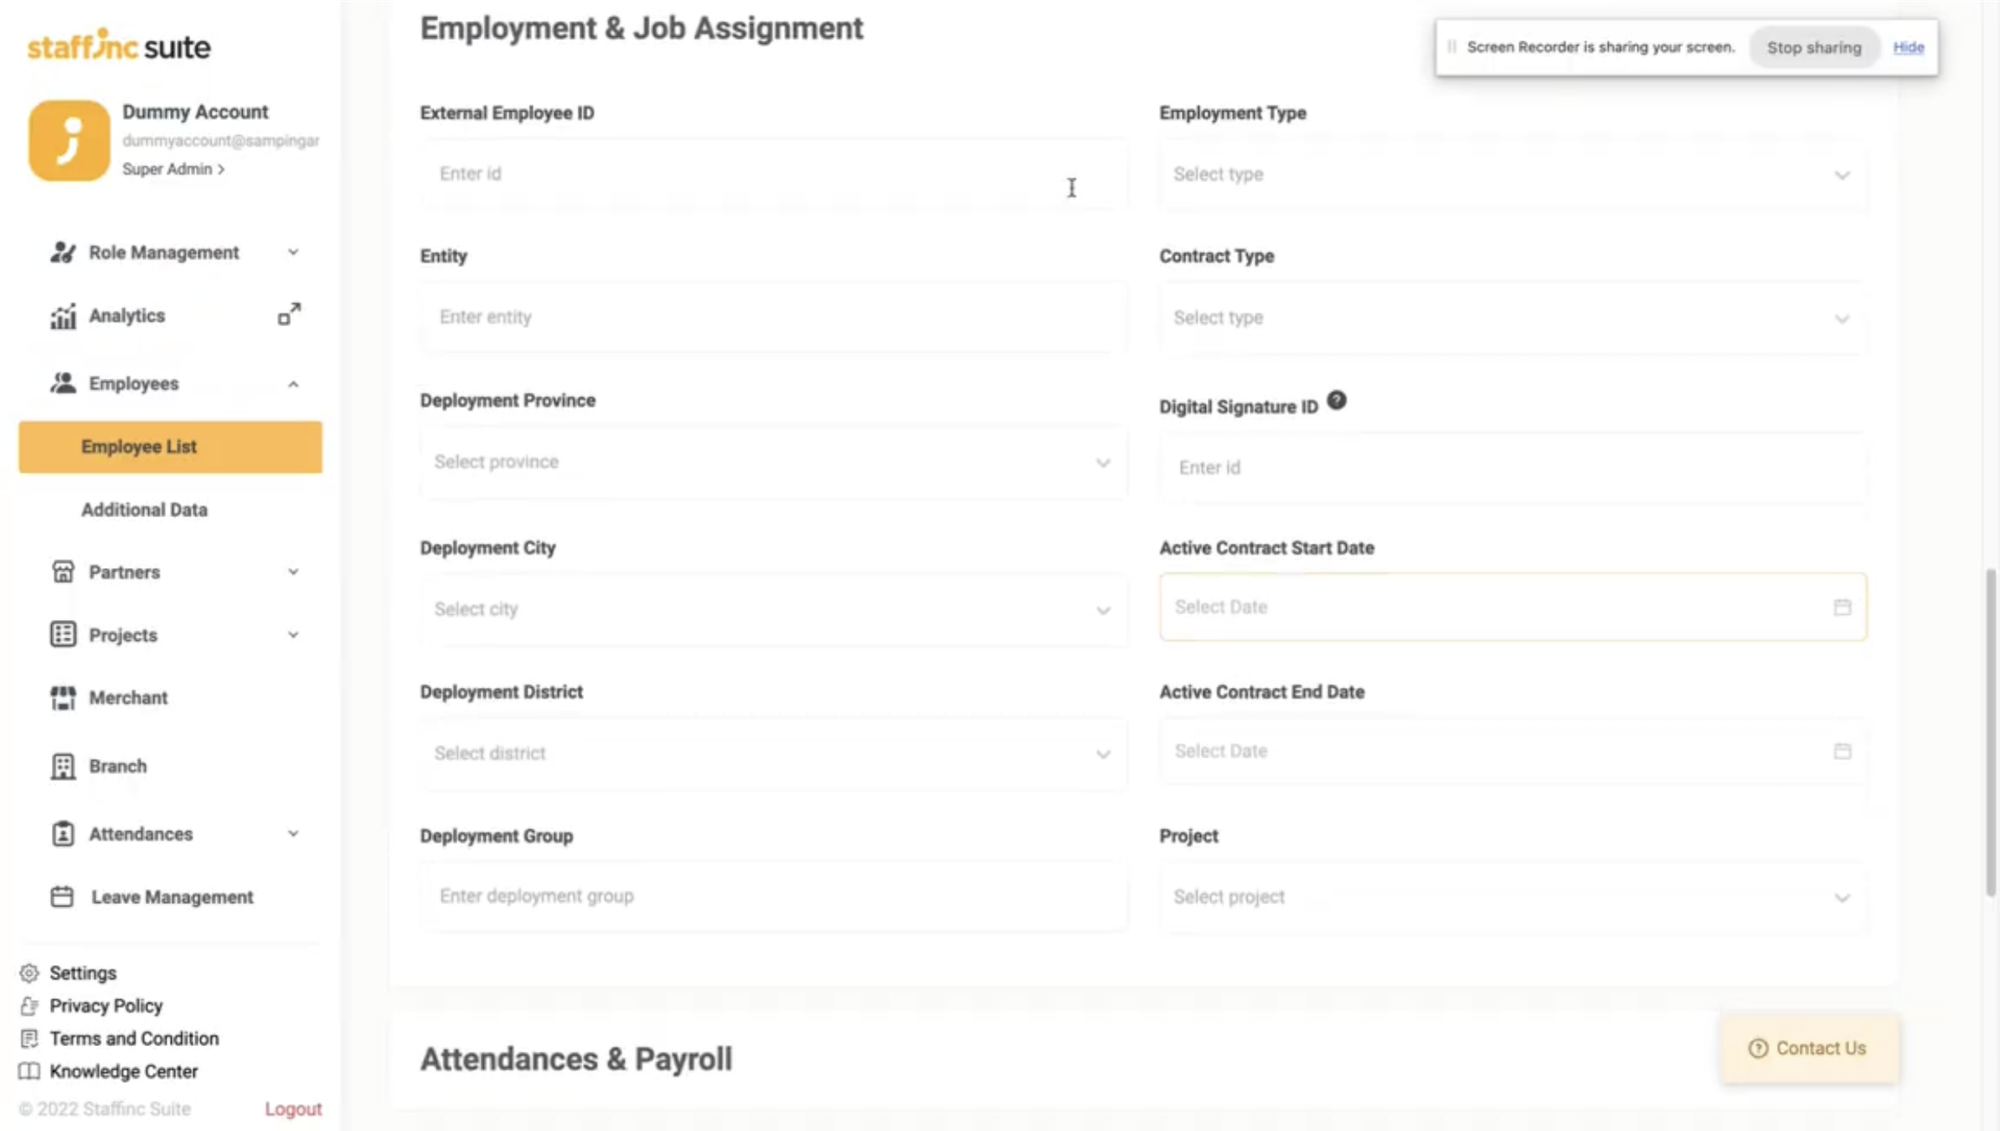
-
3. Attendances & Payroll
This includes information about attendance and payroll, such as Leave Policy.
-
4. Social Security, Tax, and Benefit
This includes information about social security, tax, and other benefits, such as BPJS and NPWP.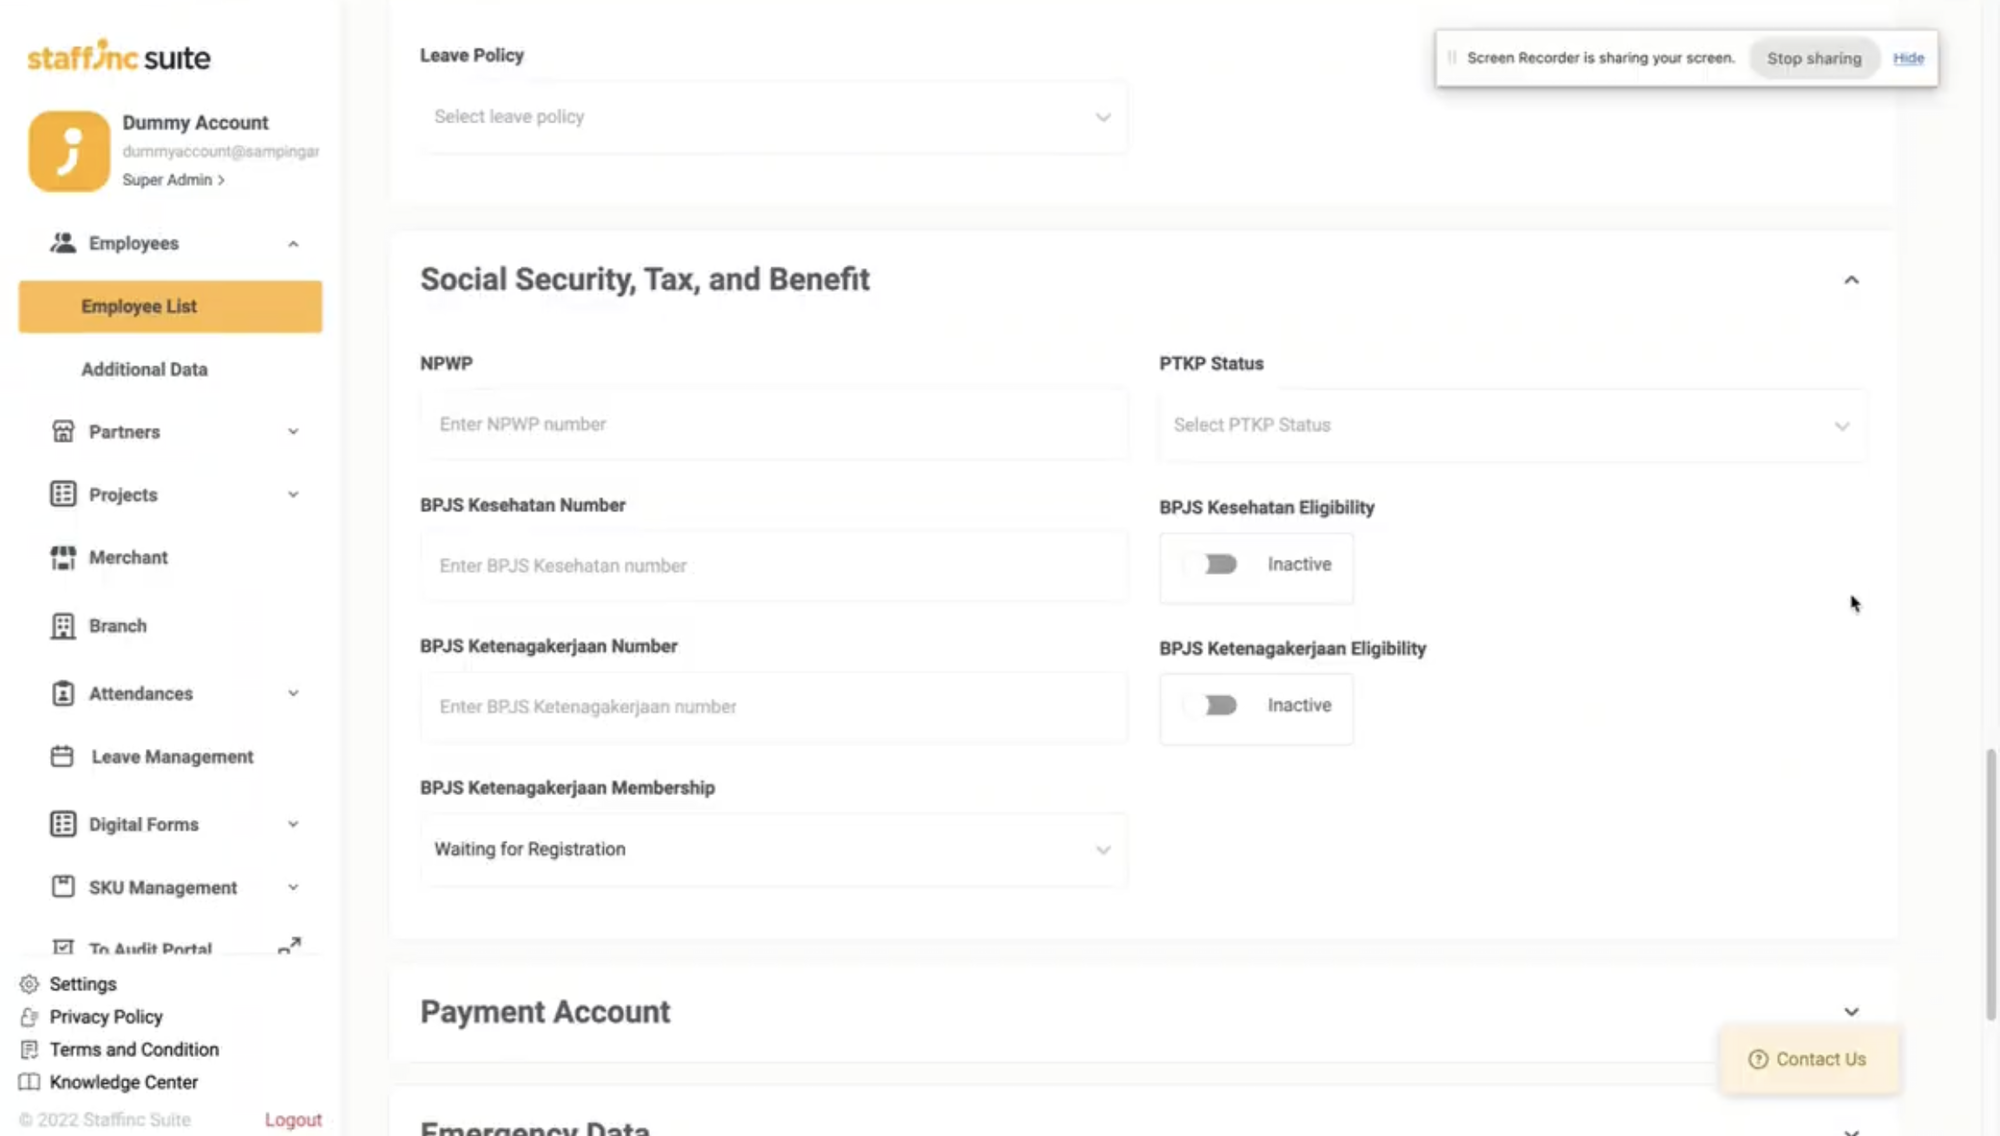
-
5. Payment Account
This includes information about the employee's payment account, such as payment channel, payment account, and more.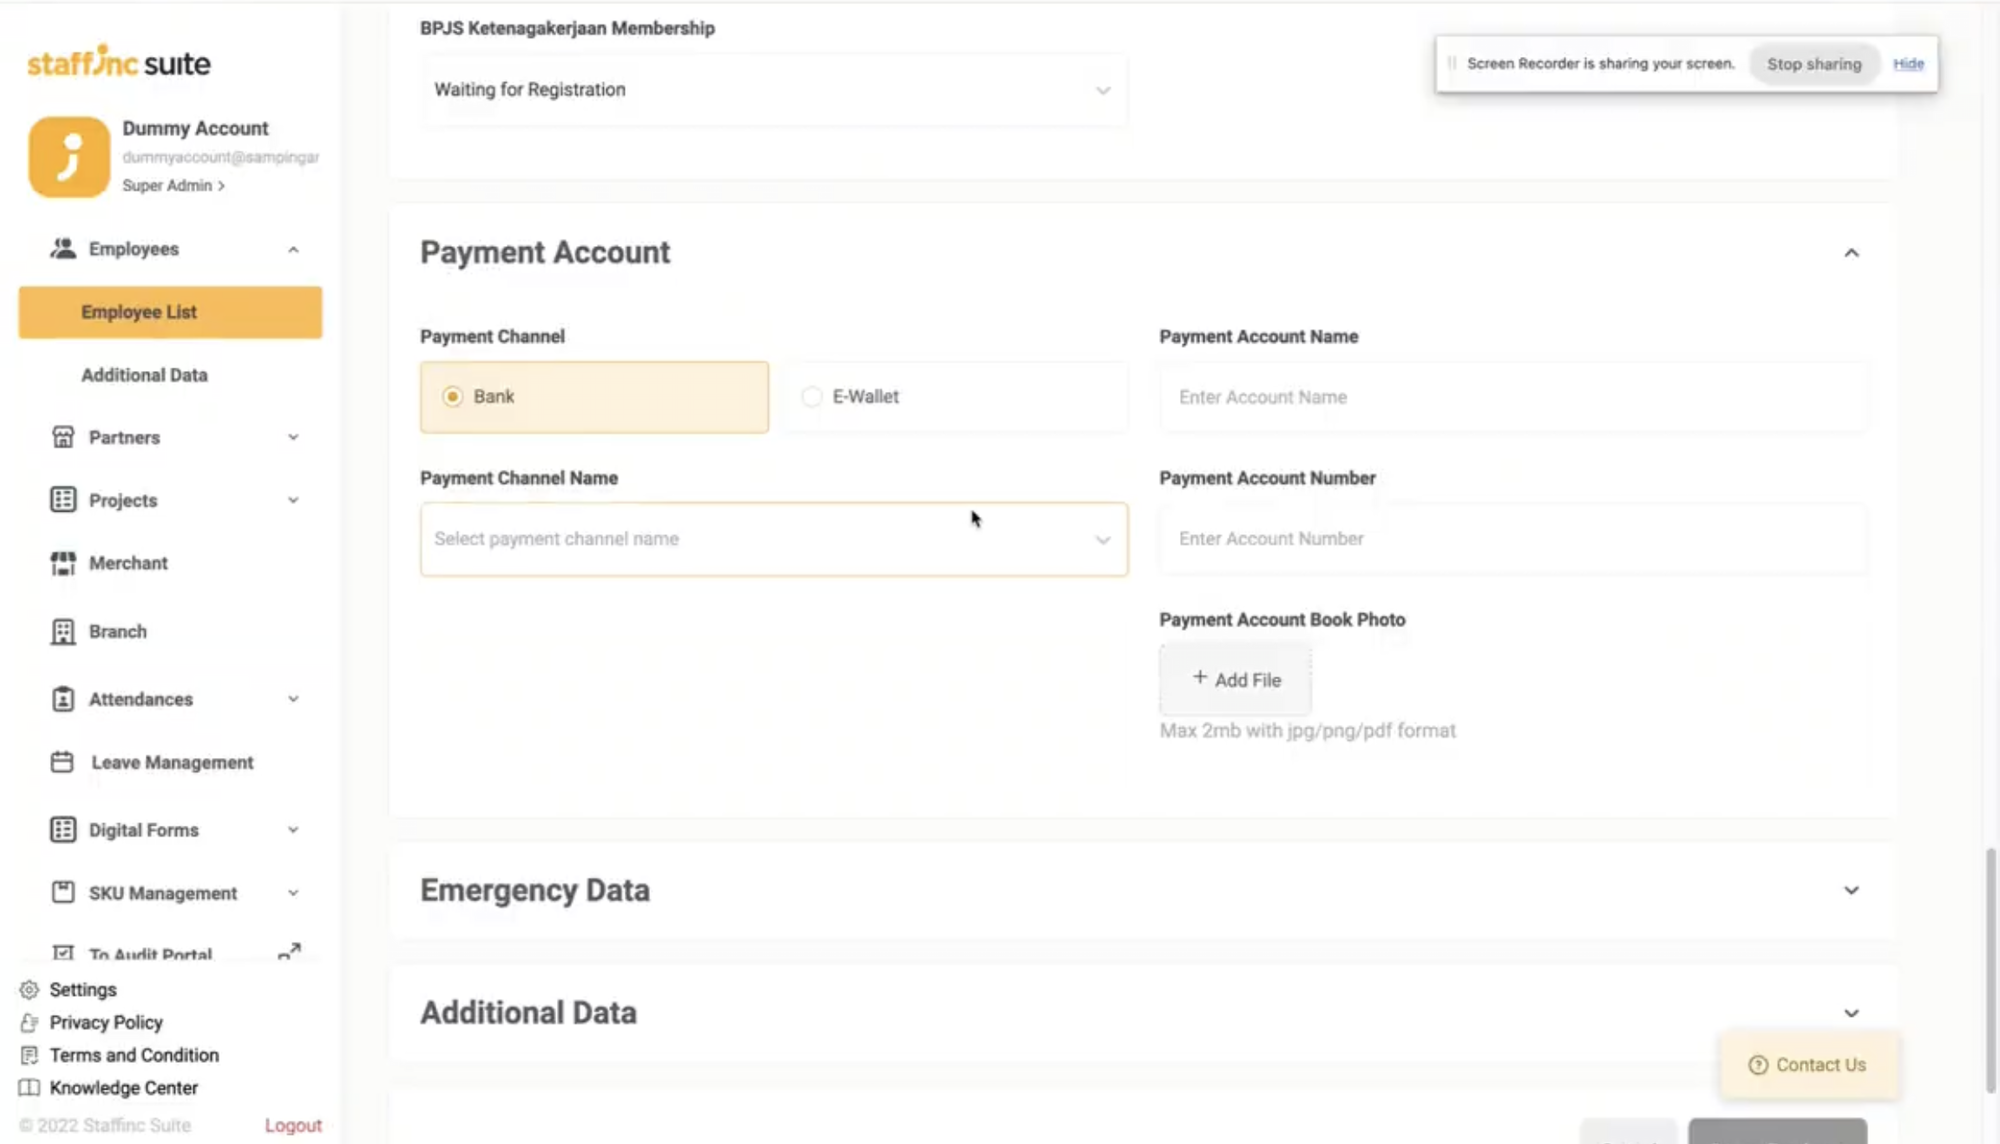
-
6. Emergency Data
This includes emergency contact information, such as relatives' names and contacts.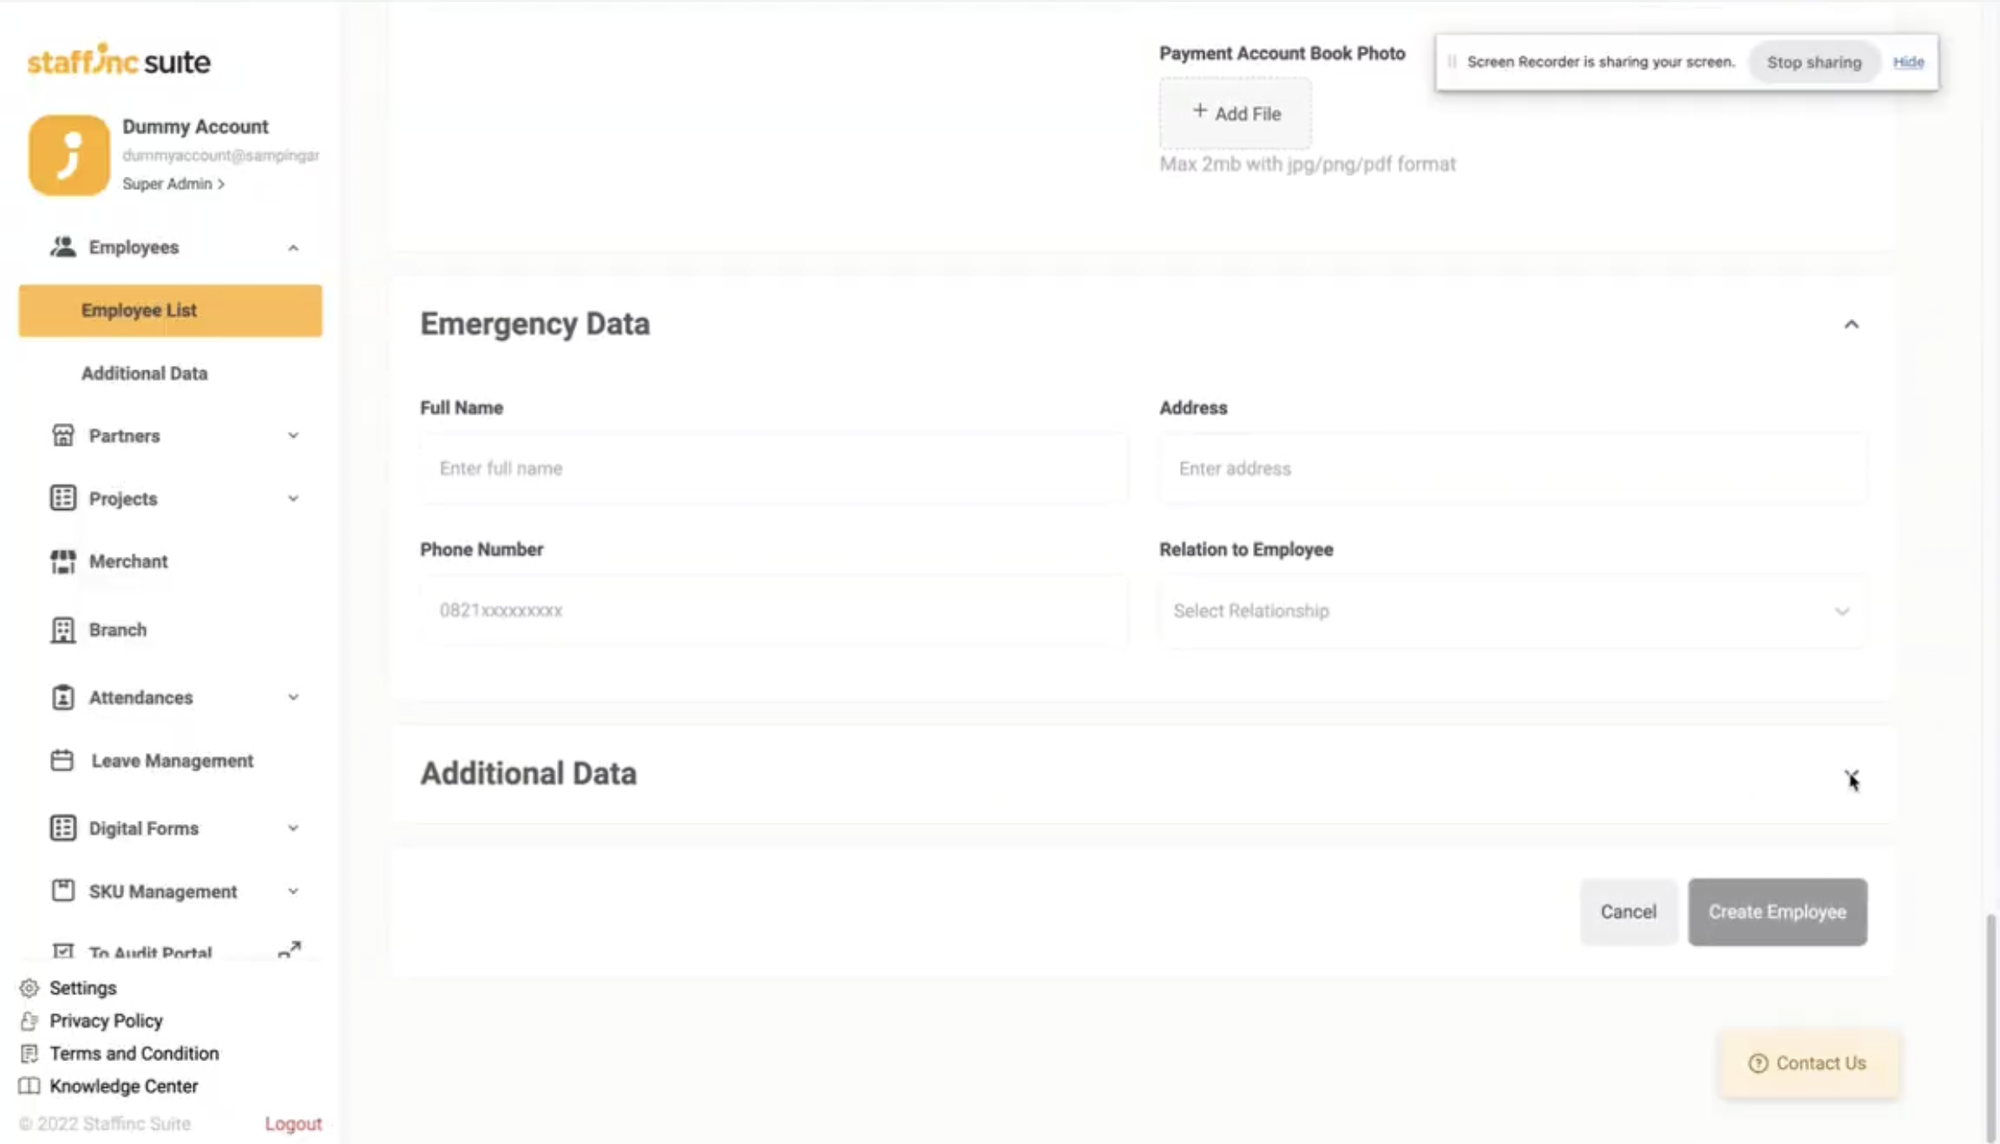
-
-
-
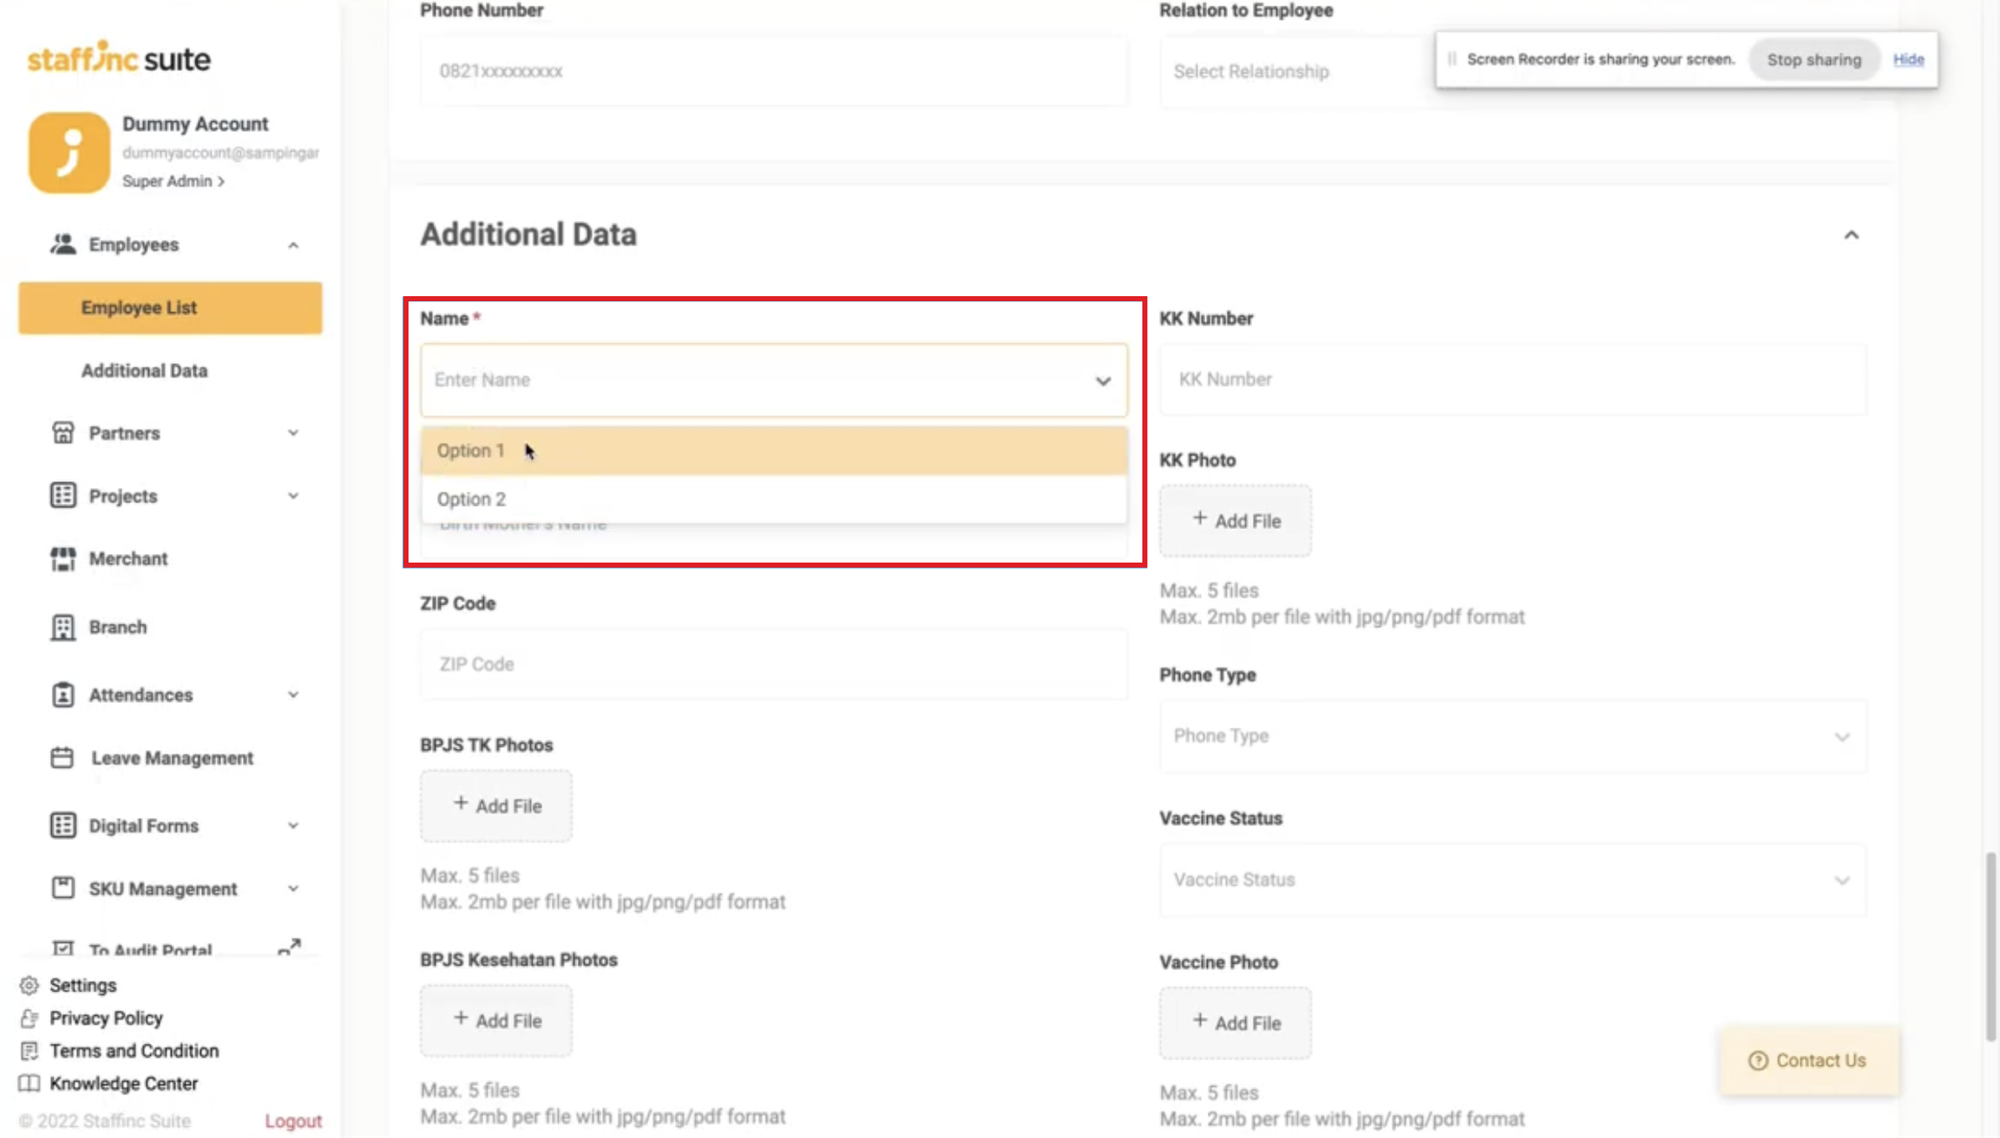
9. Additional Data Fields
-
In the Additional Data fields, click on the options that appear under "Name" as this data is mandatory. This additional field allows the employee to fill in specific data required by the company.
-
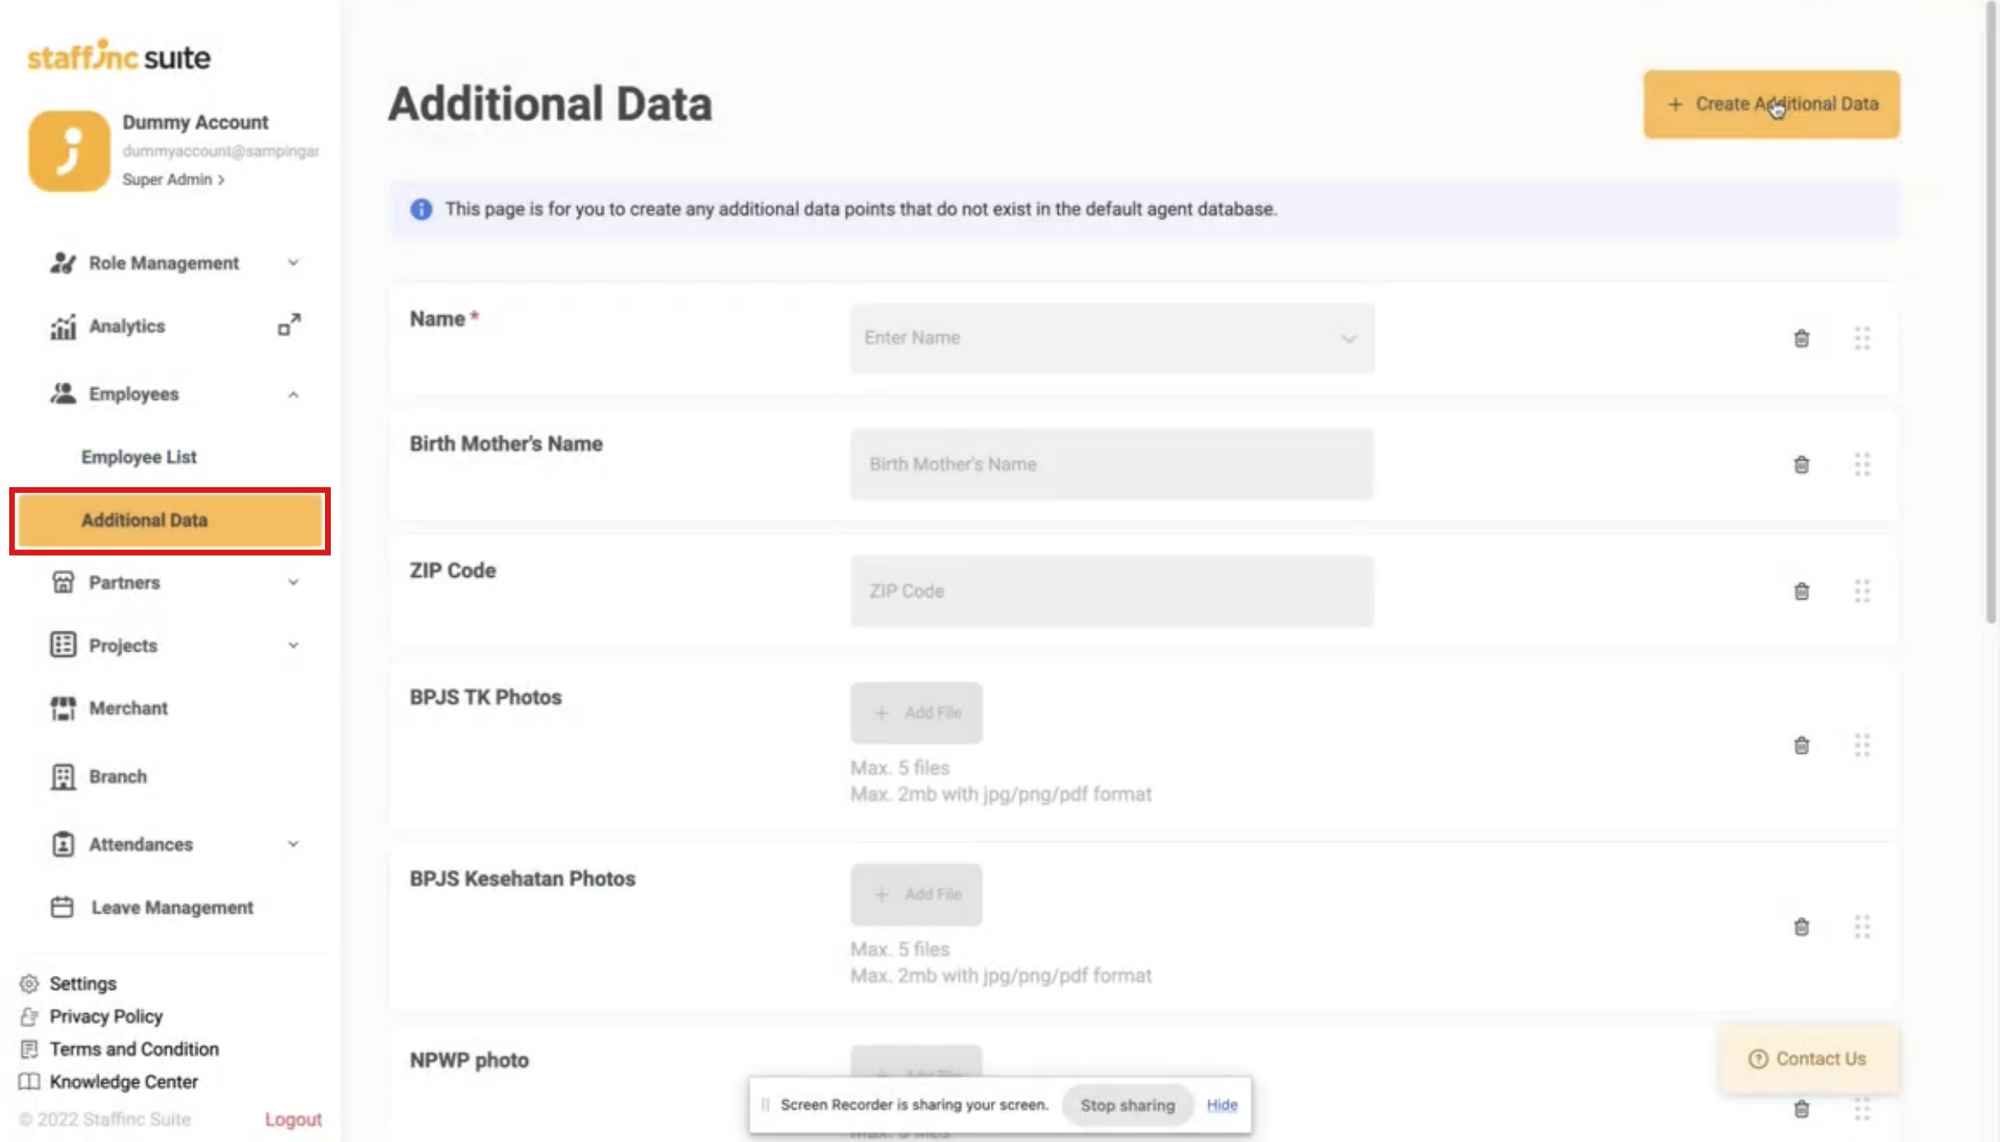
To add data to the Additional Data field, you can select the menu Employees > Additional Data.
-
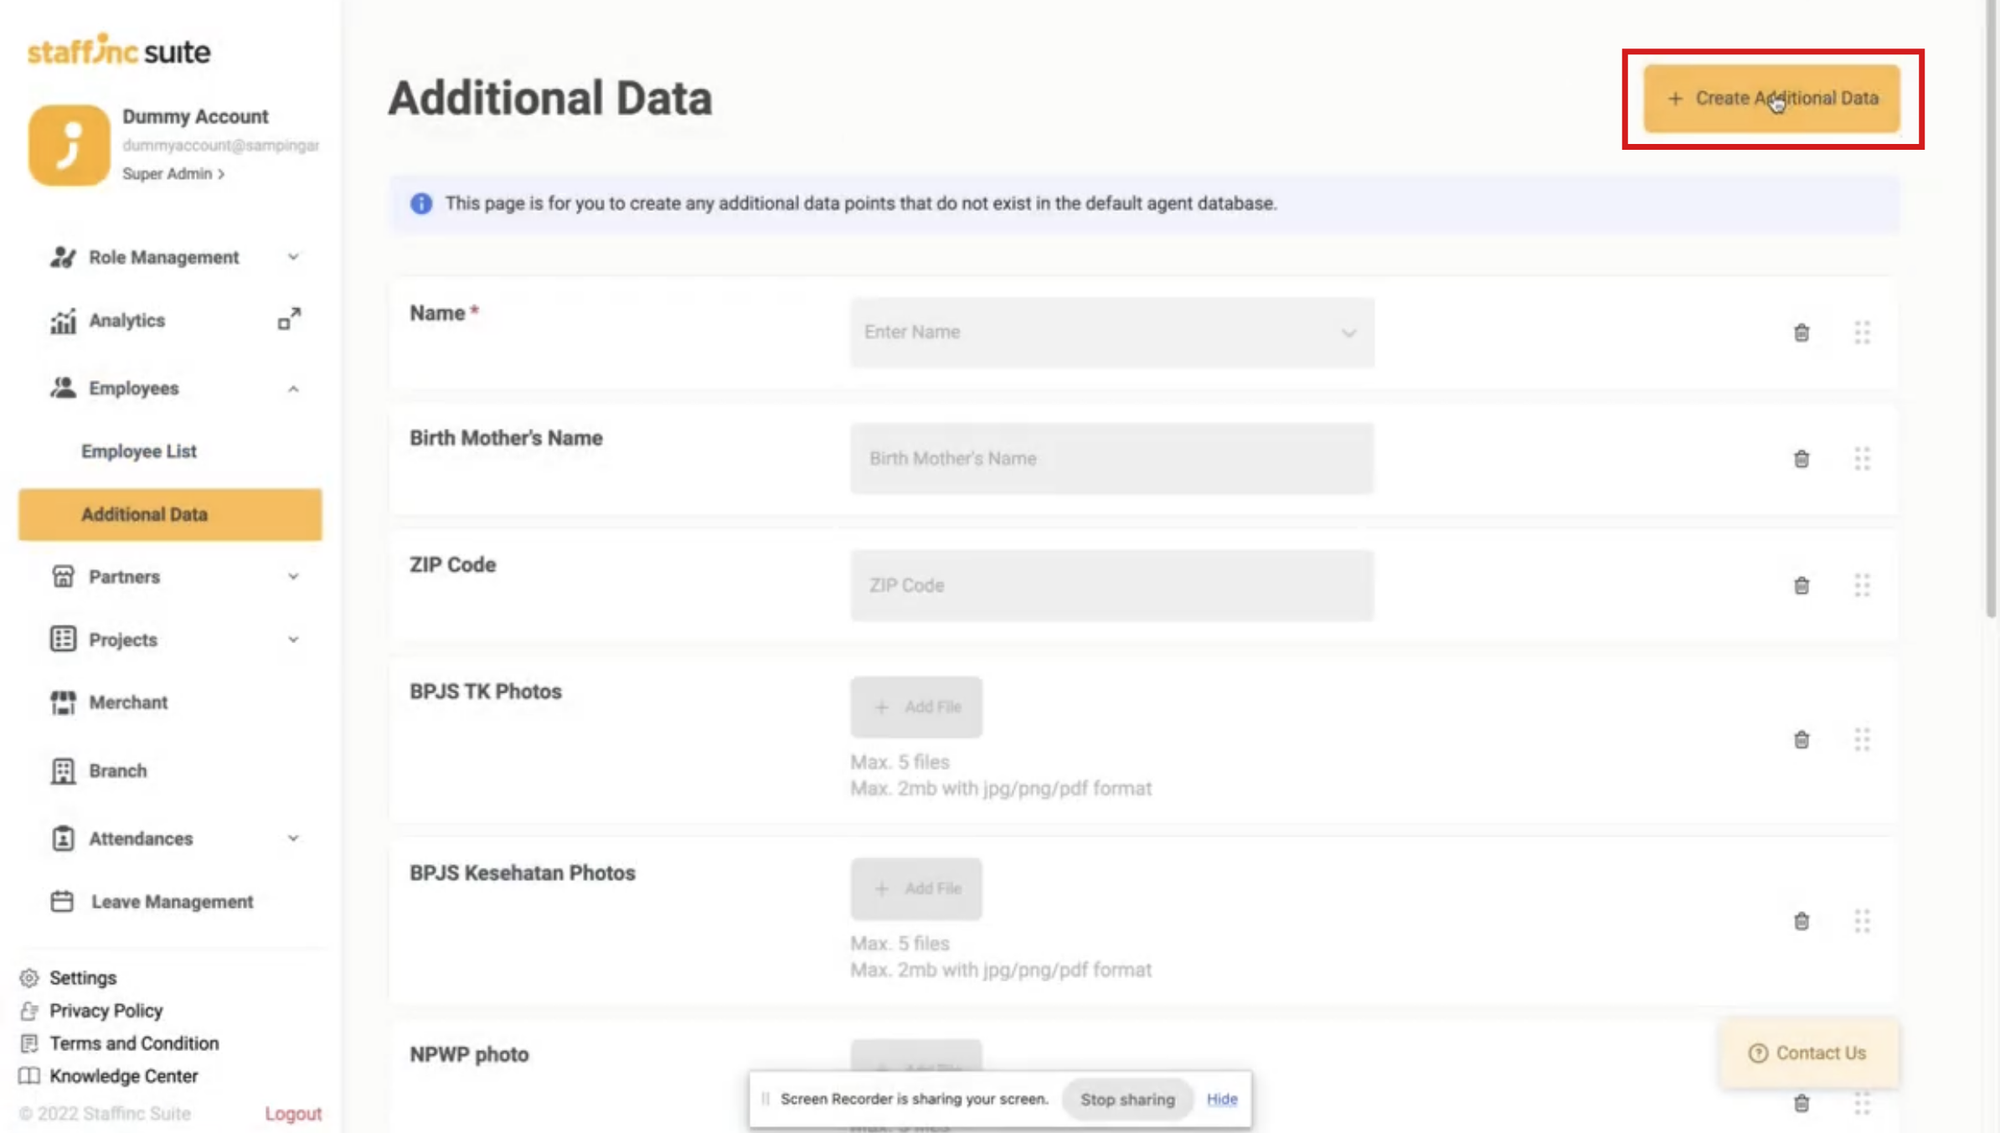
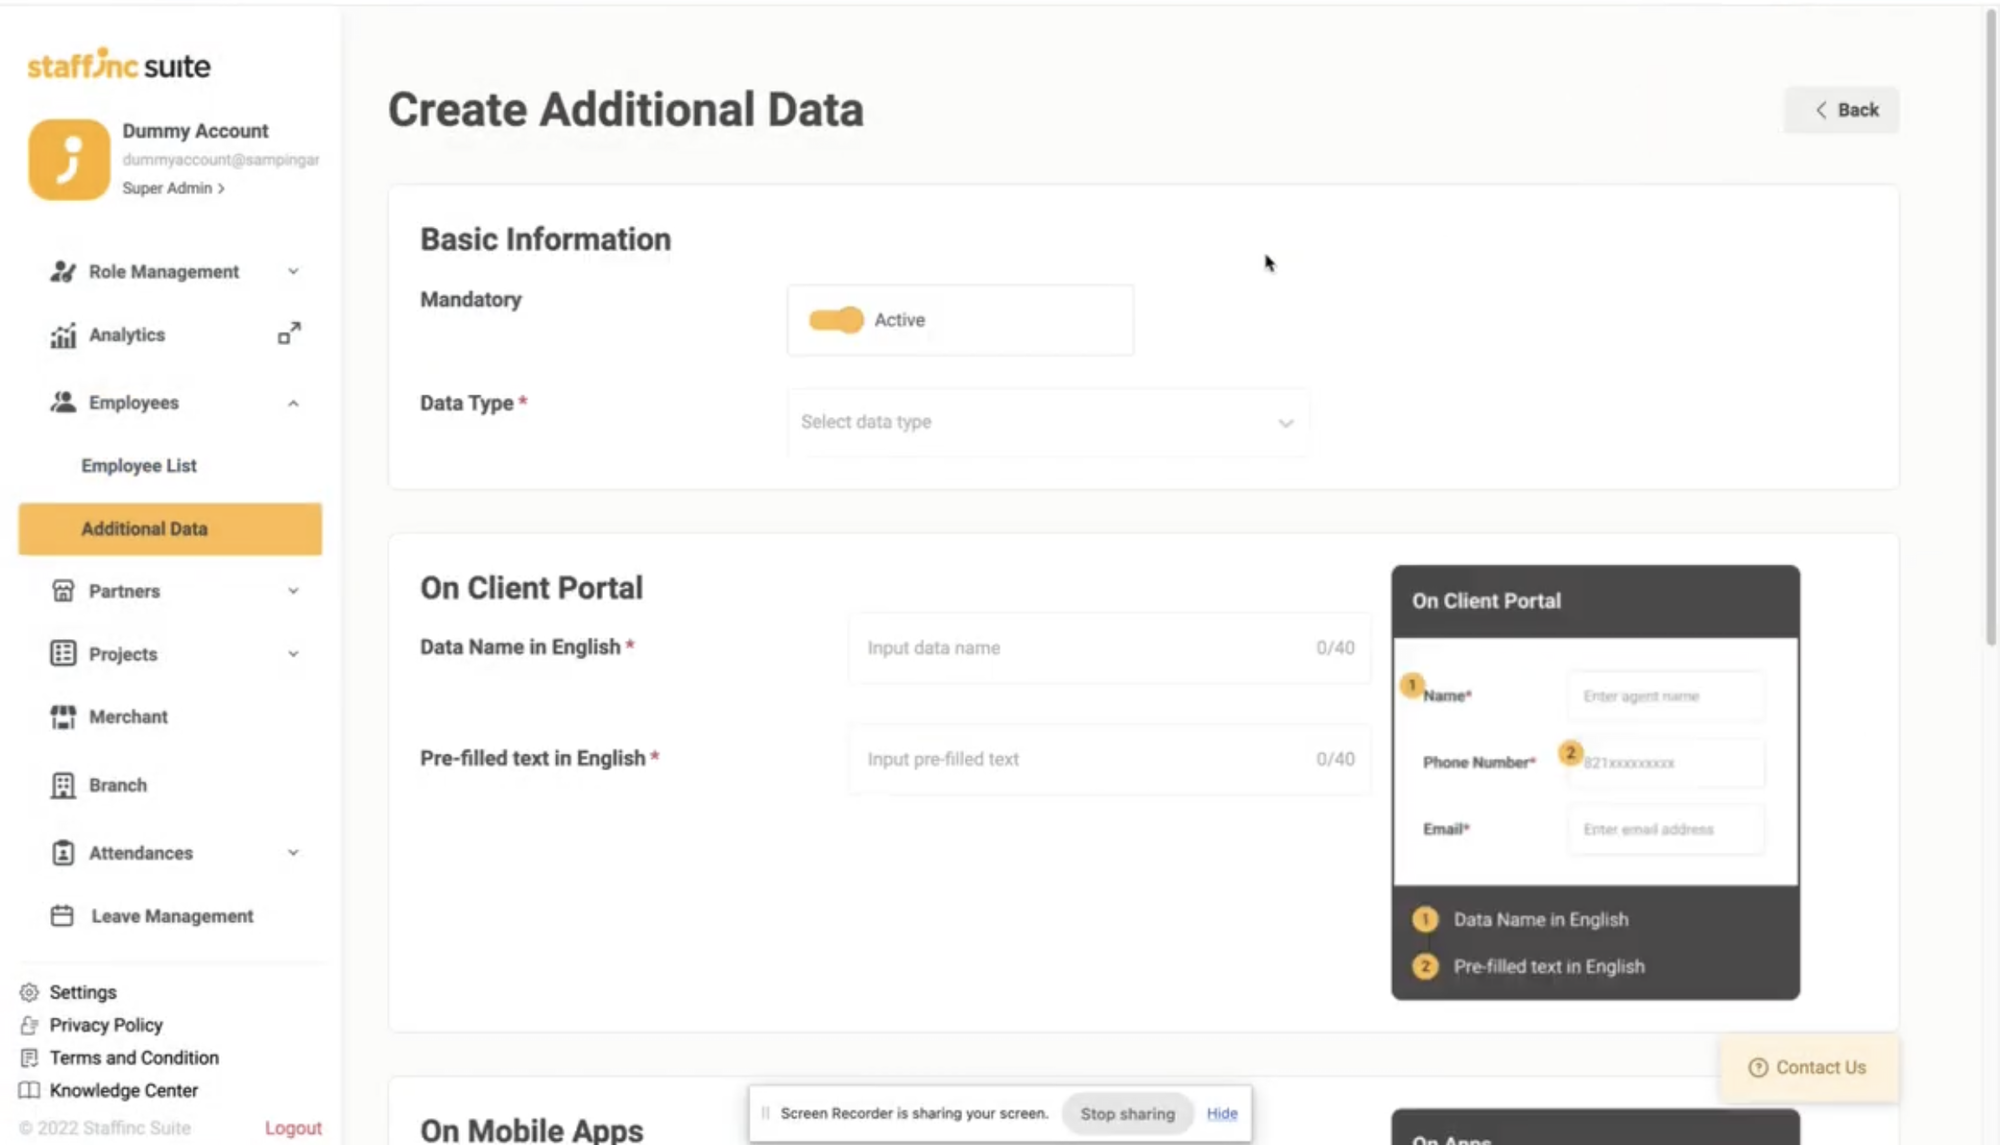
Click +Create Additional Data, then add data as needed. The created data will automatically appear in the Additional Data field.
-
-
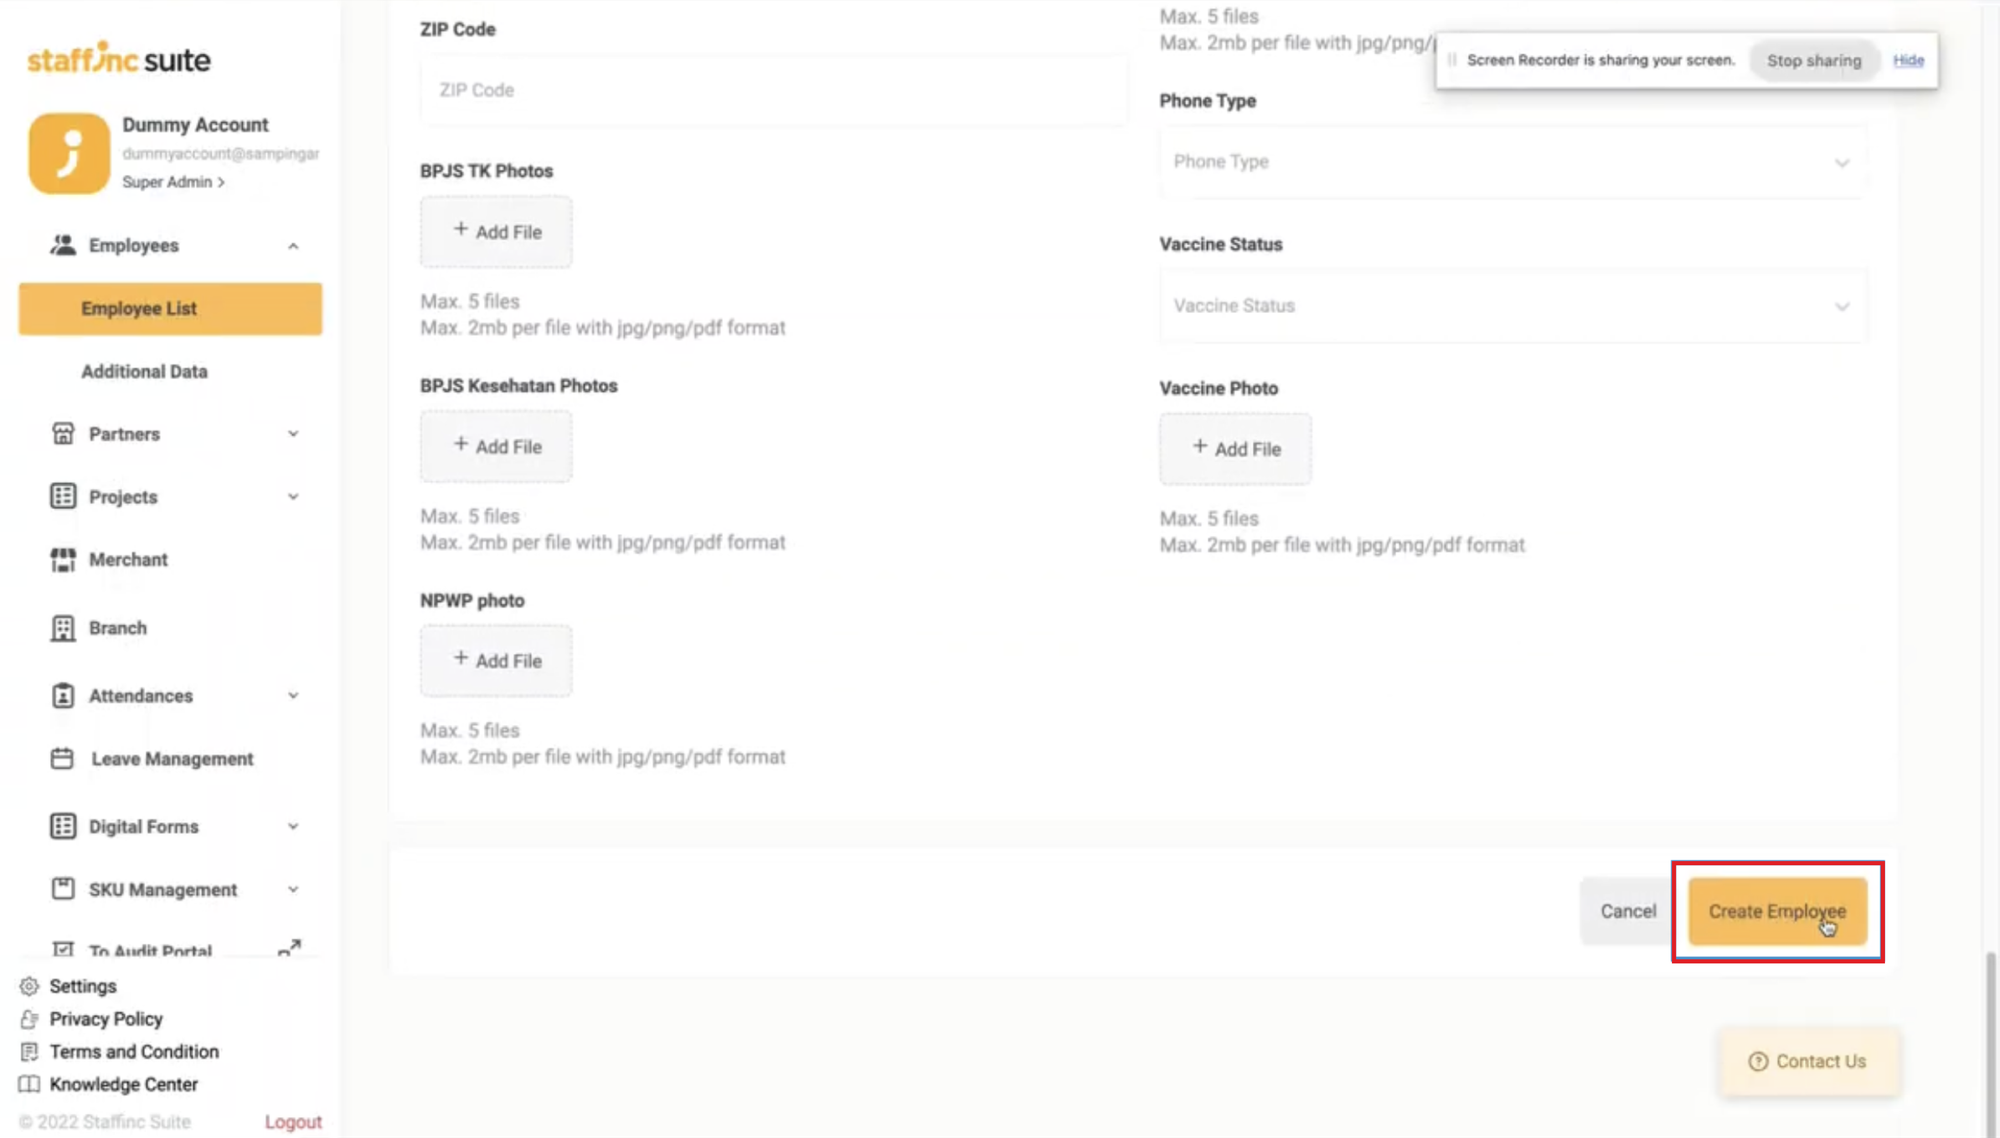
10. Click the Create Employee Button
- Click the "Create Employee" button once all mandatory additional data has been filled in.
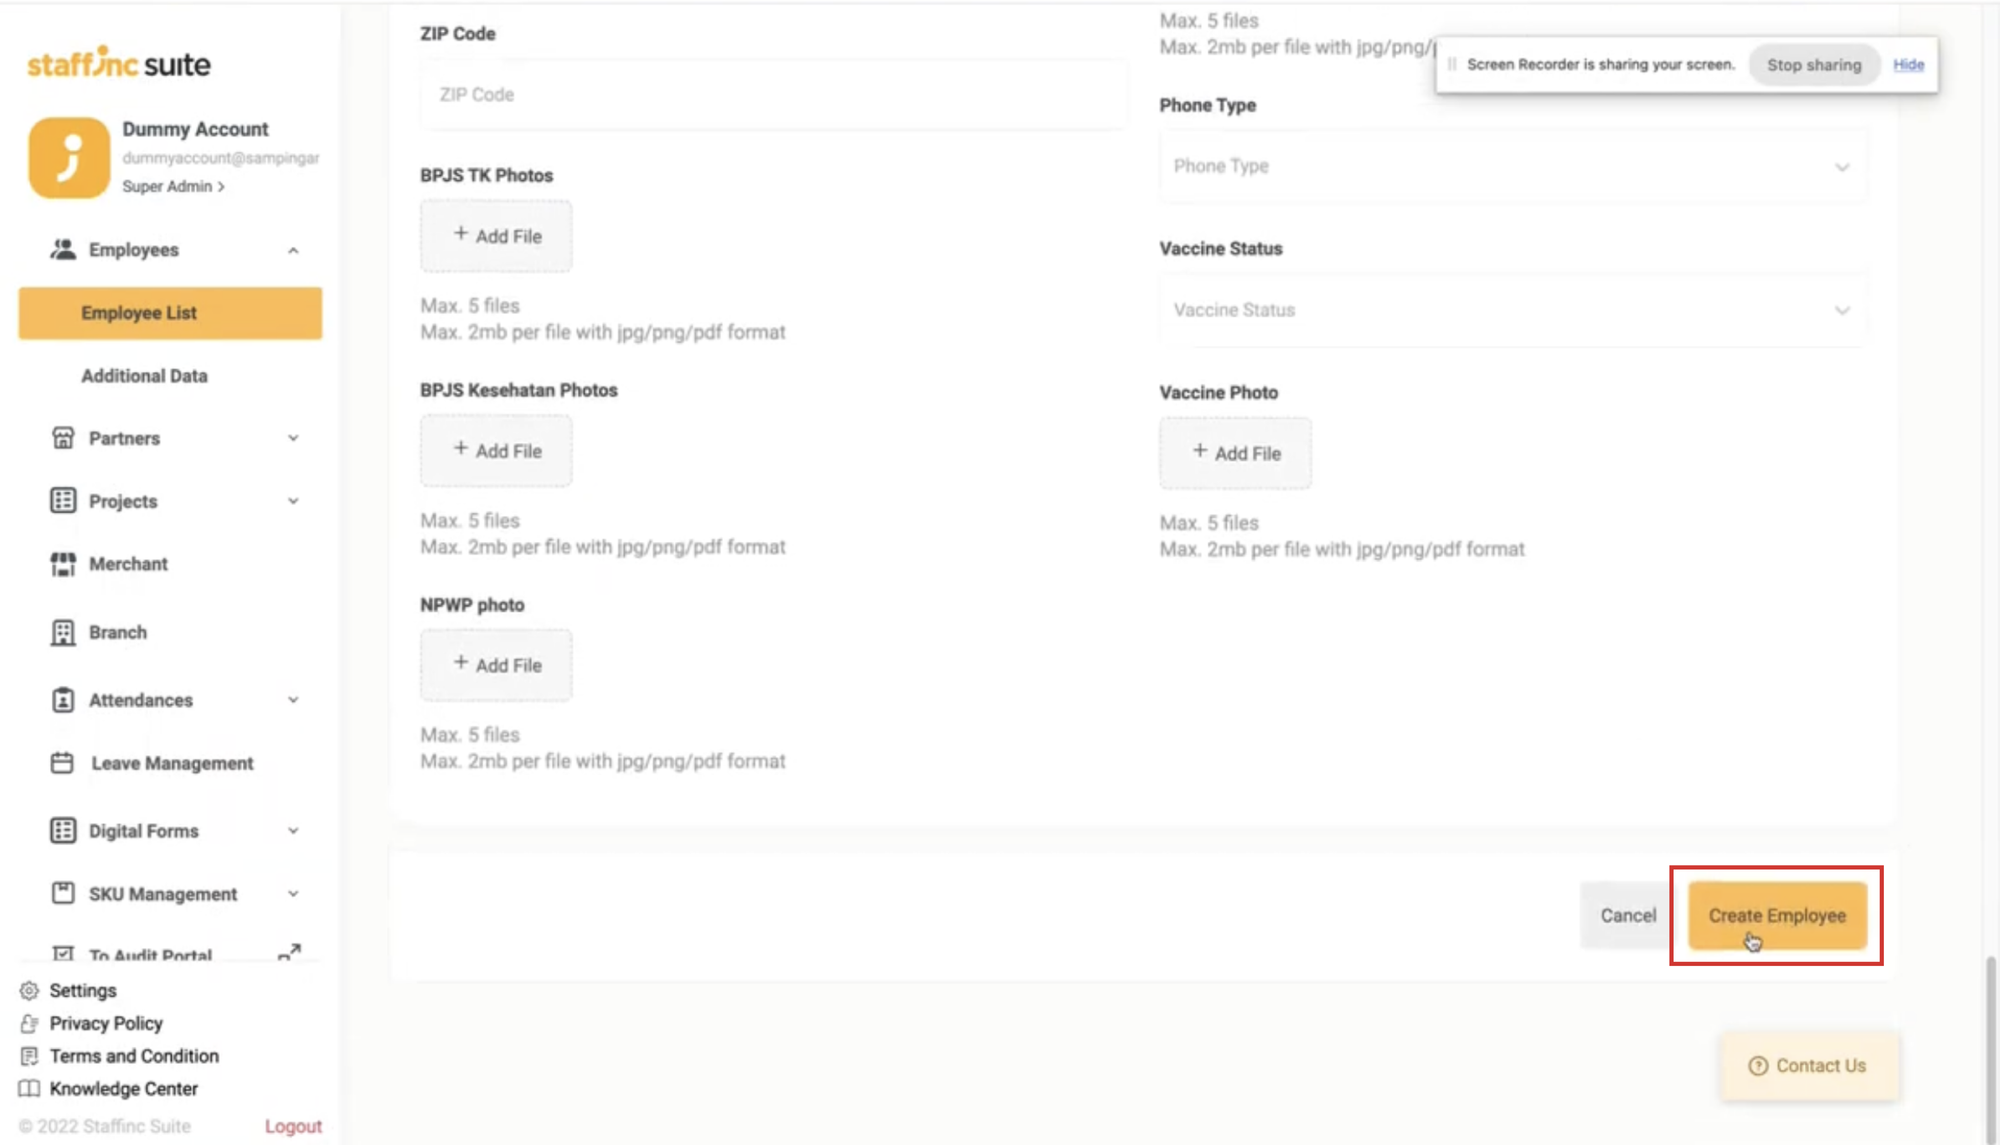
- Click the "Create Employee" button once all mandatory additional data has been filled in.
-
11. Employee Data Display
- Once completed, the employee data will appear in the Employee List in alphabetical order by name.
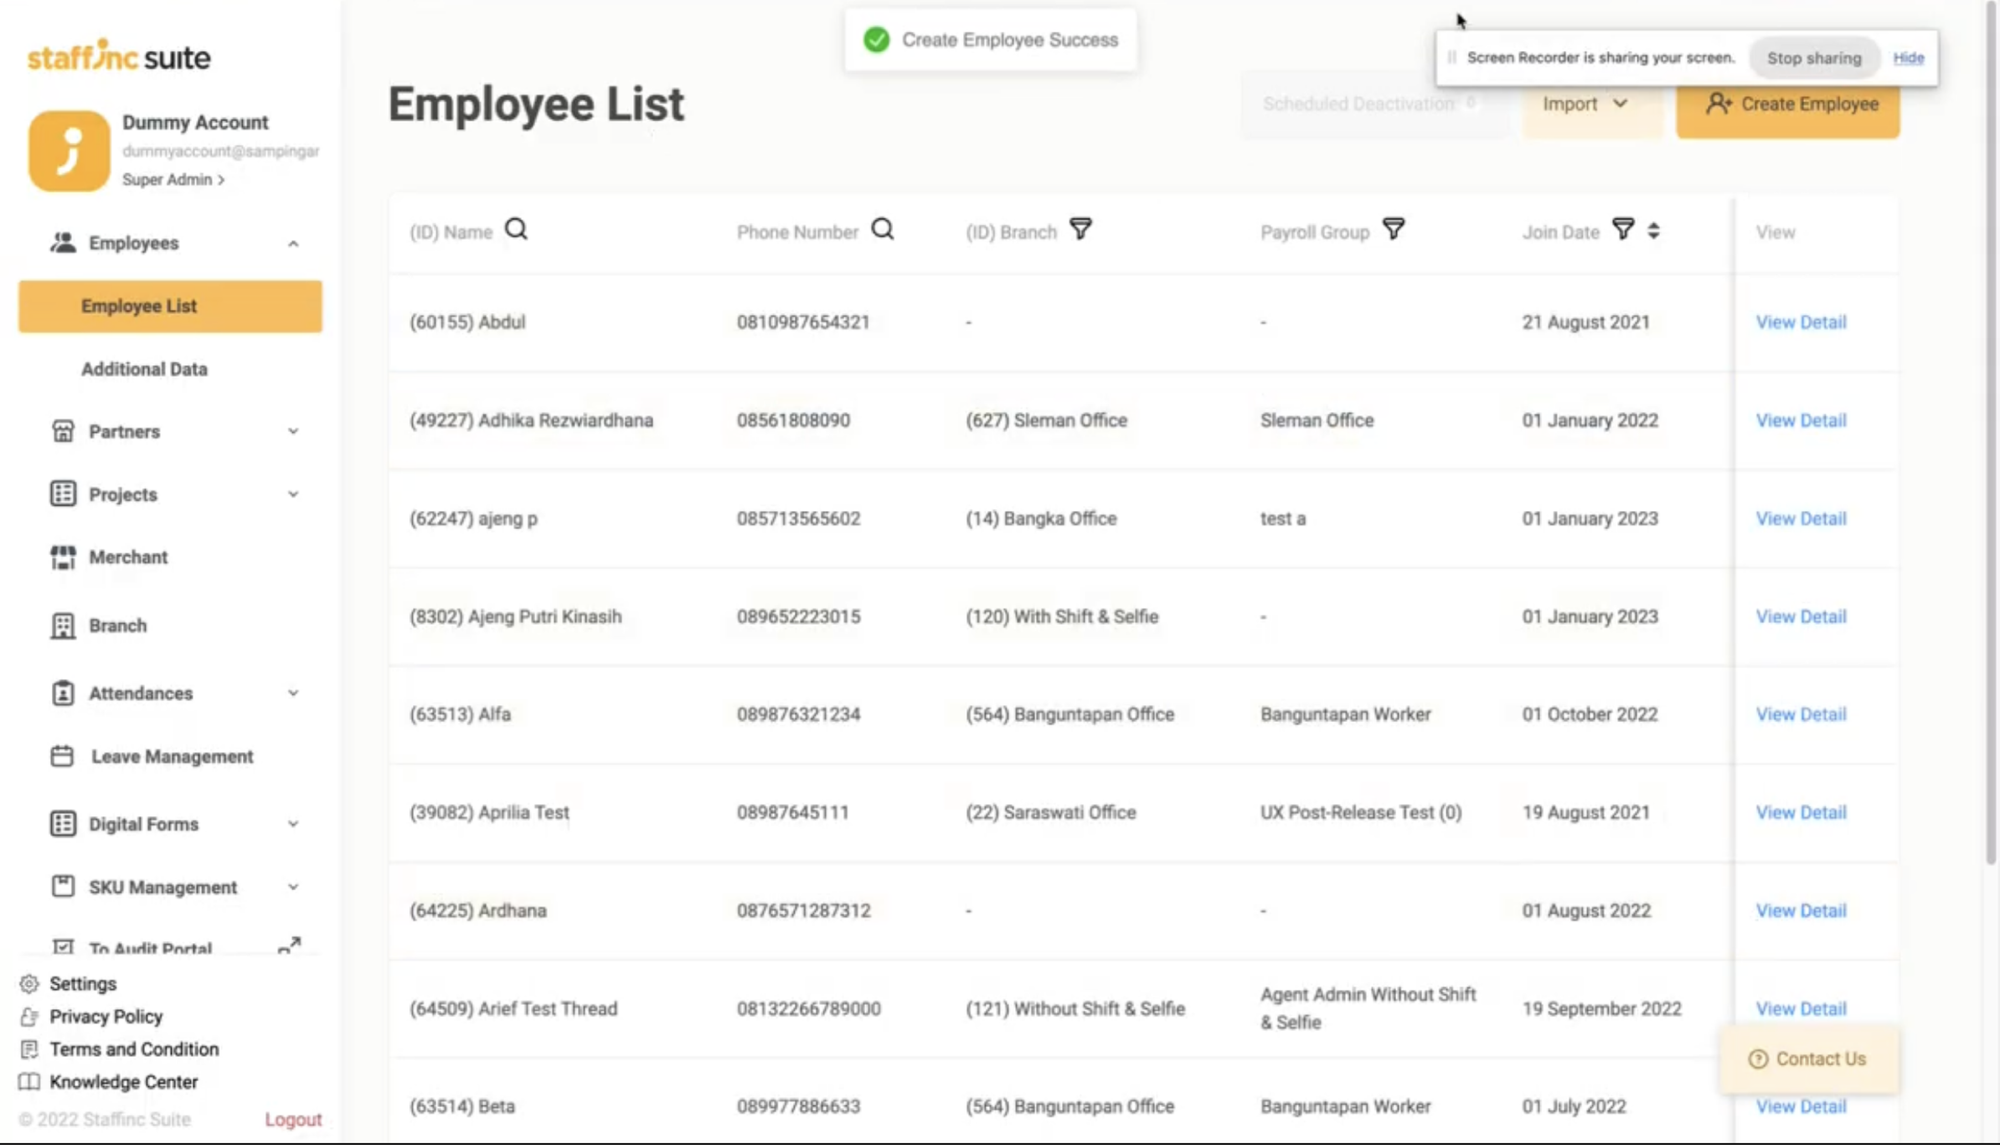
- Once completed, the employee data will appear in the Employee List in alphabetical order by name.
By following the steps above, you can easily add a new employee using the single upload method.