Product Catalog
The Product Catalog is a feature used to manage the list of products available for sale or use in your business. Here are the steps to access, create, edit, and manage the product catalog in your system:
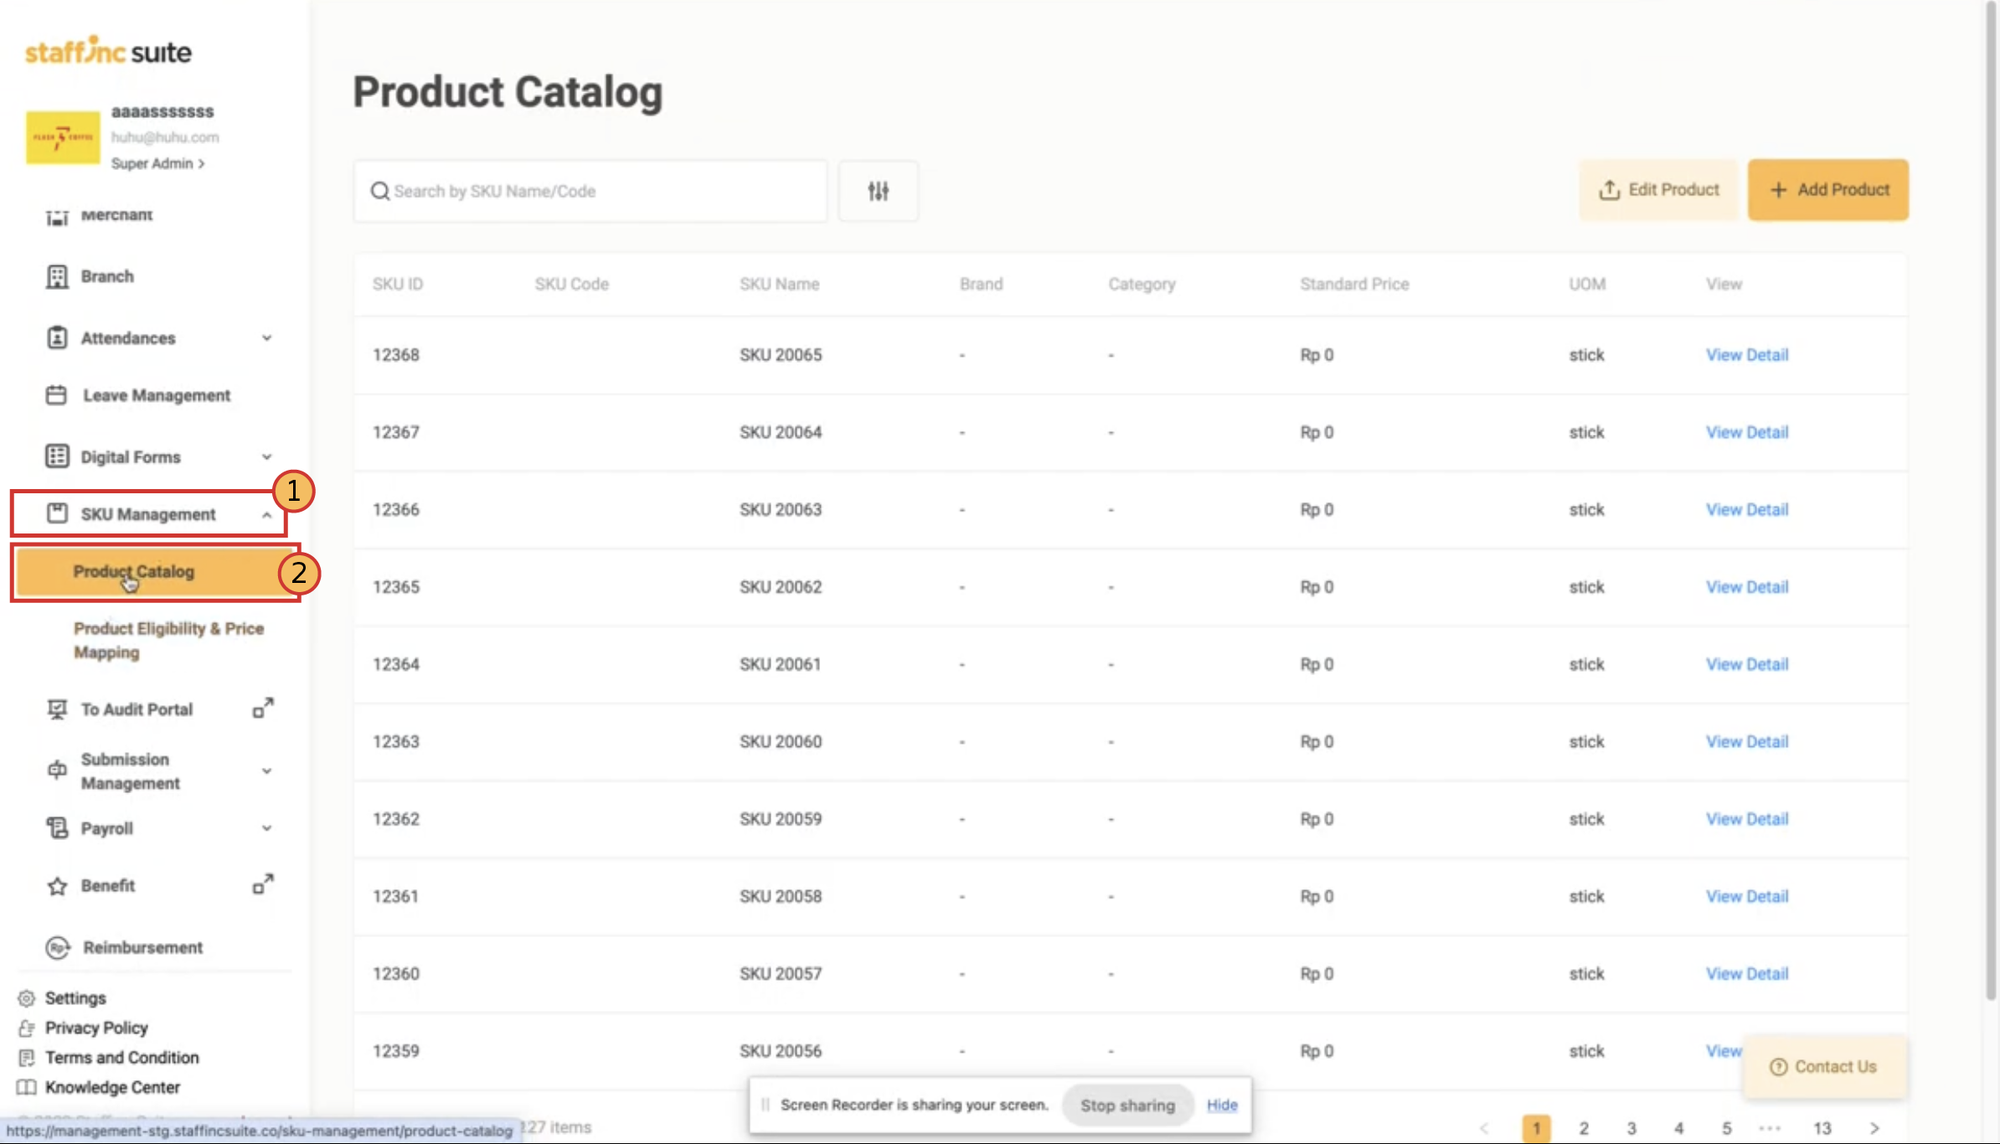
Accessing the Product Catalog Page
- Open the application and log in to your account.
- Click on SKU Management > Product Catalog.
- You will be directed to the page containing the Product Catalog list.
Search and Filter Features
Search by SKU Name/Code
Click the Search by SKU Name/Code button to search the registered catalog. 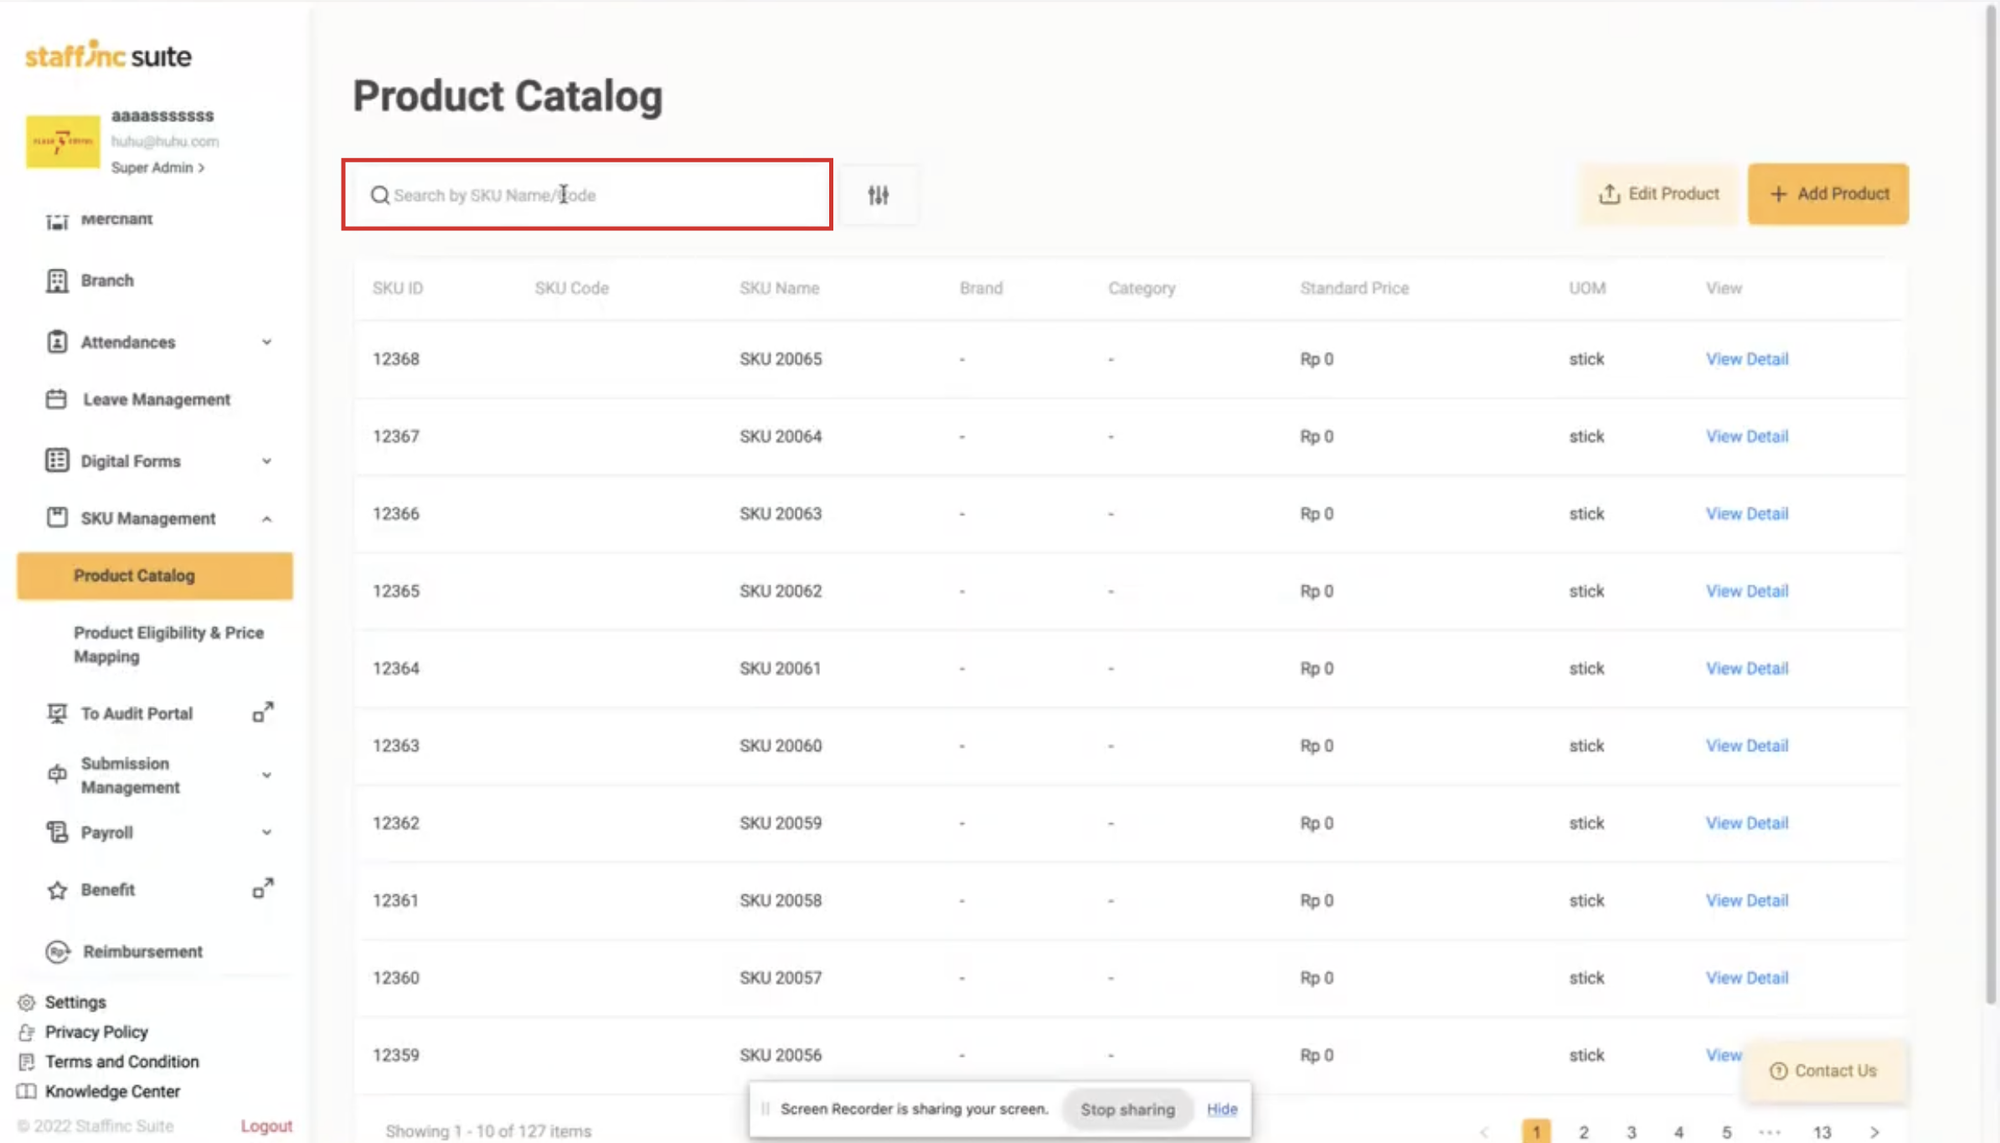
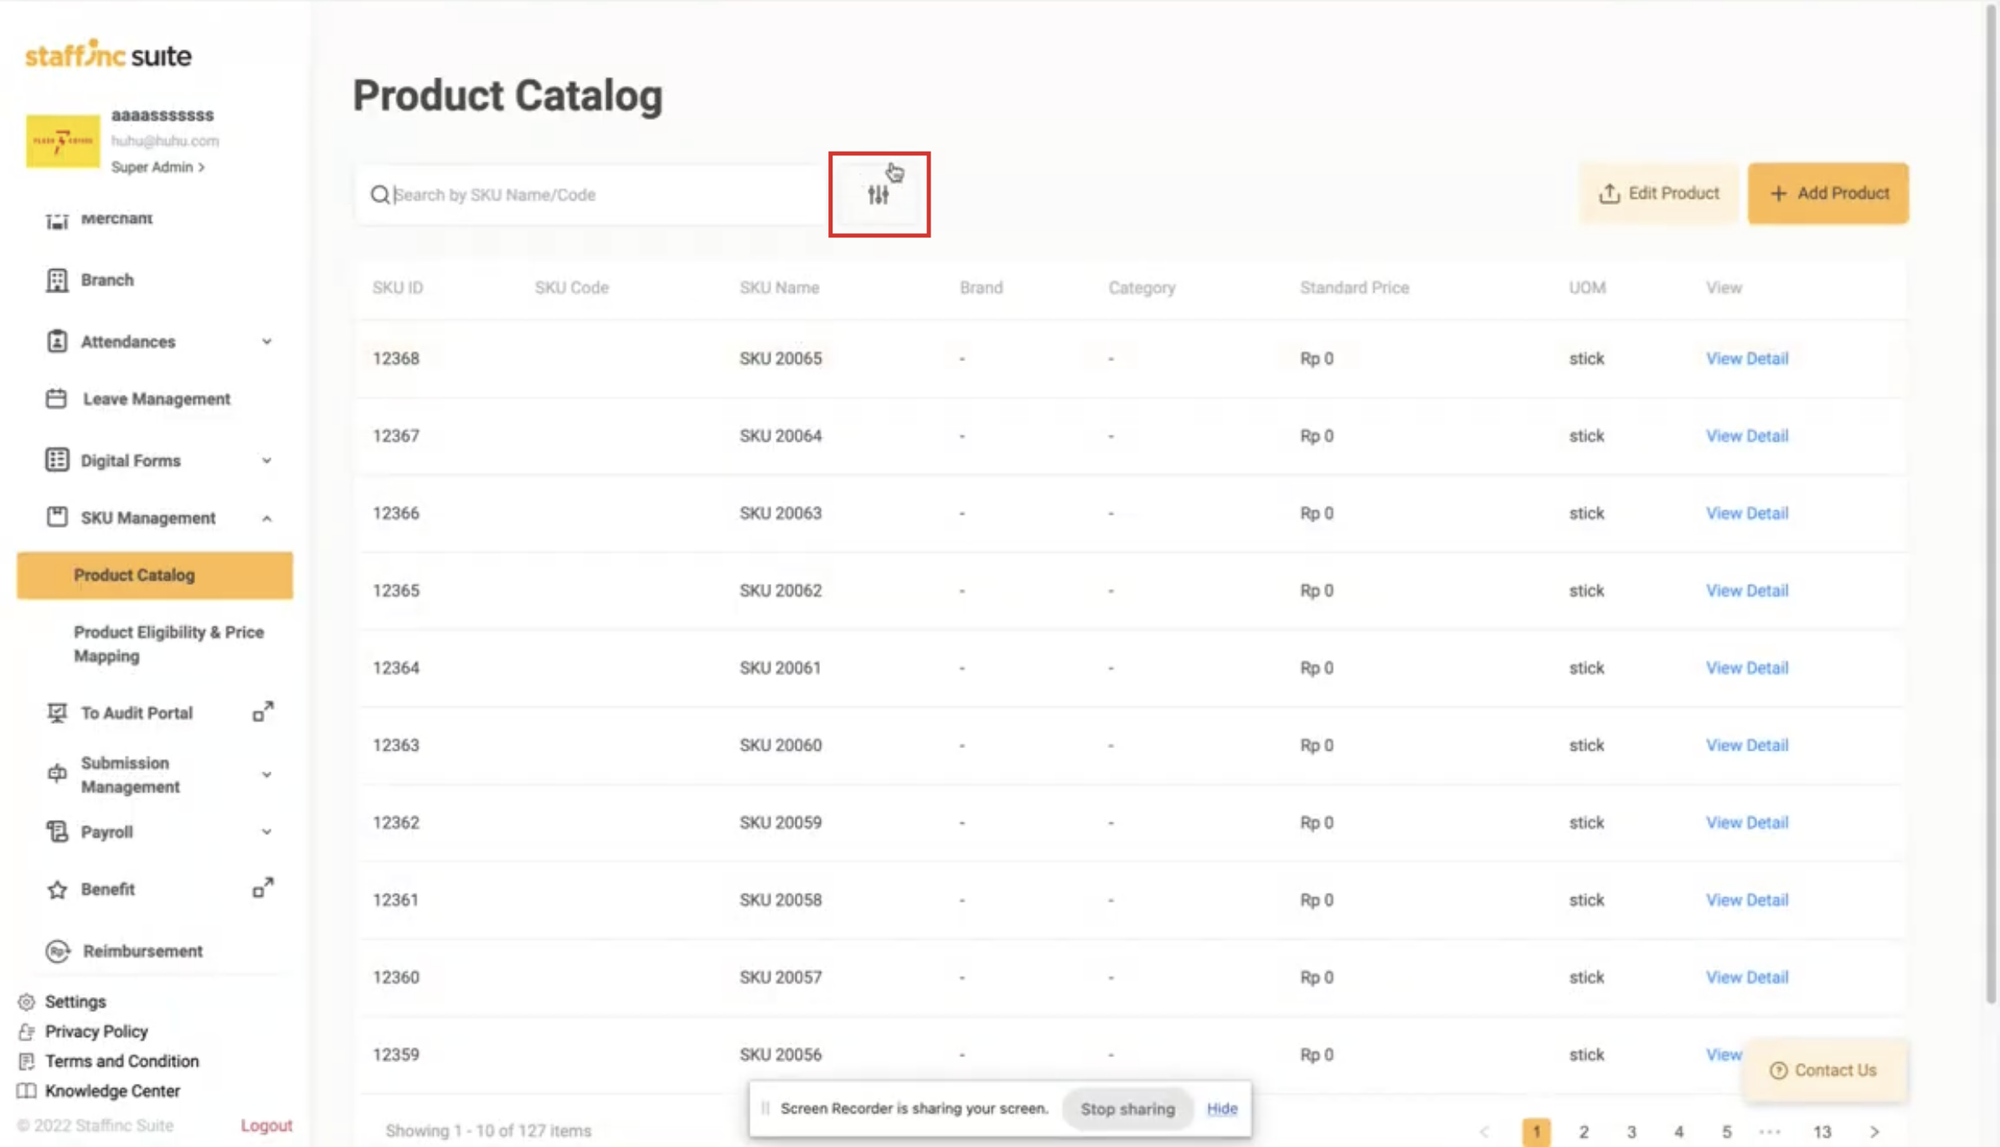
Filter
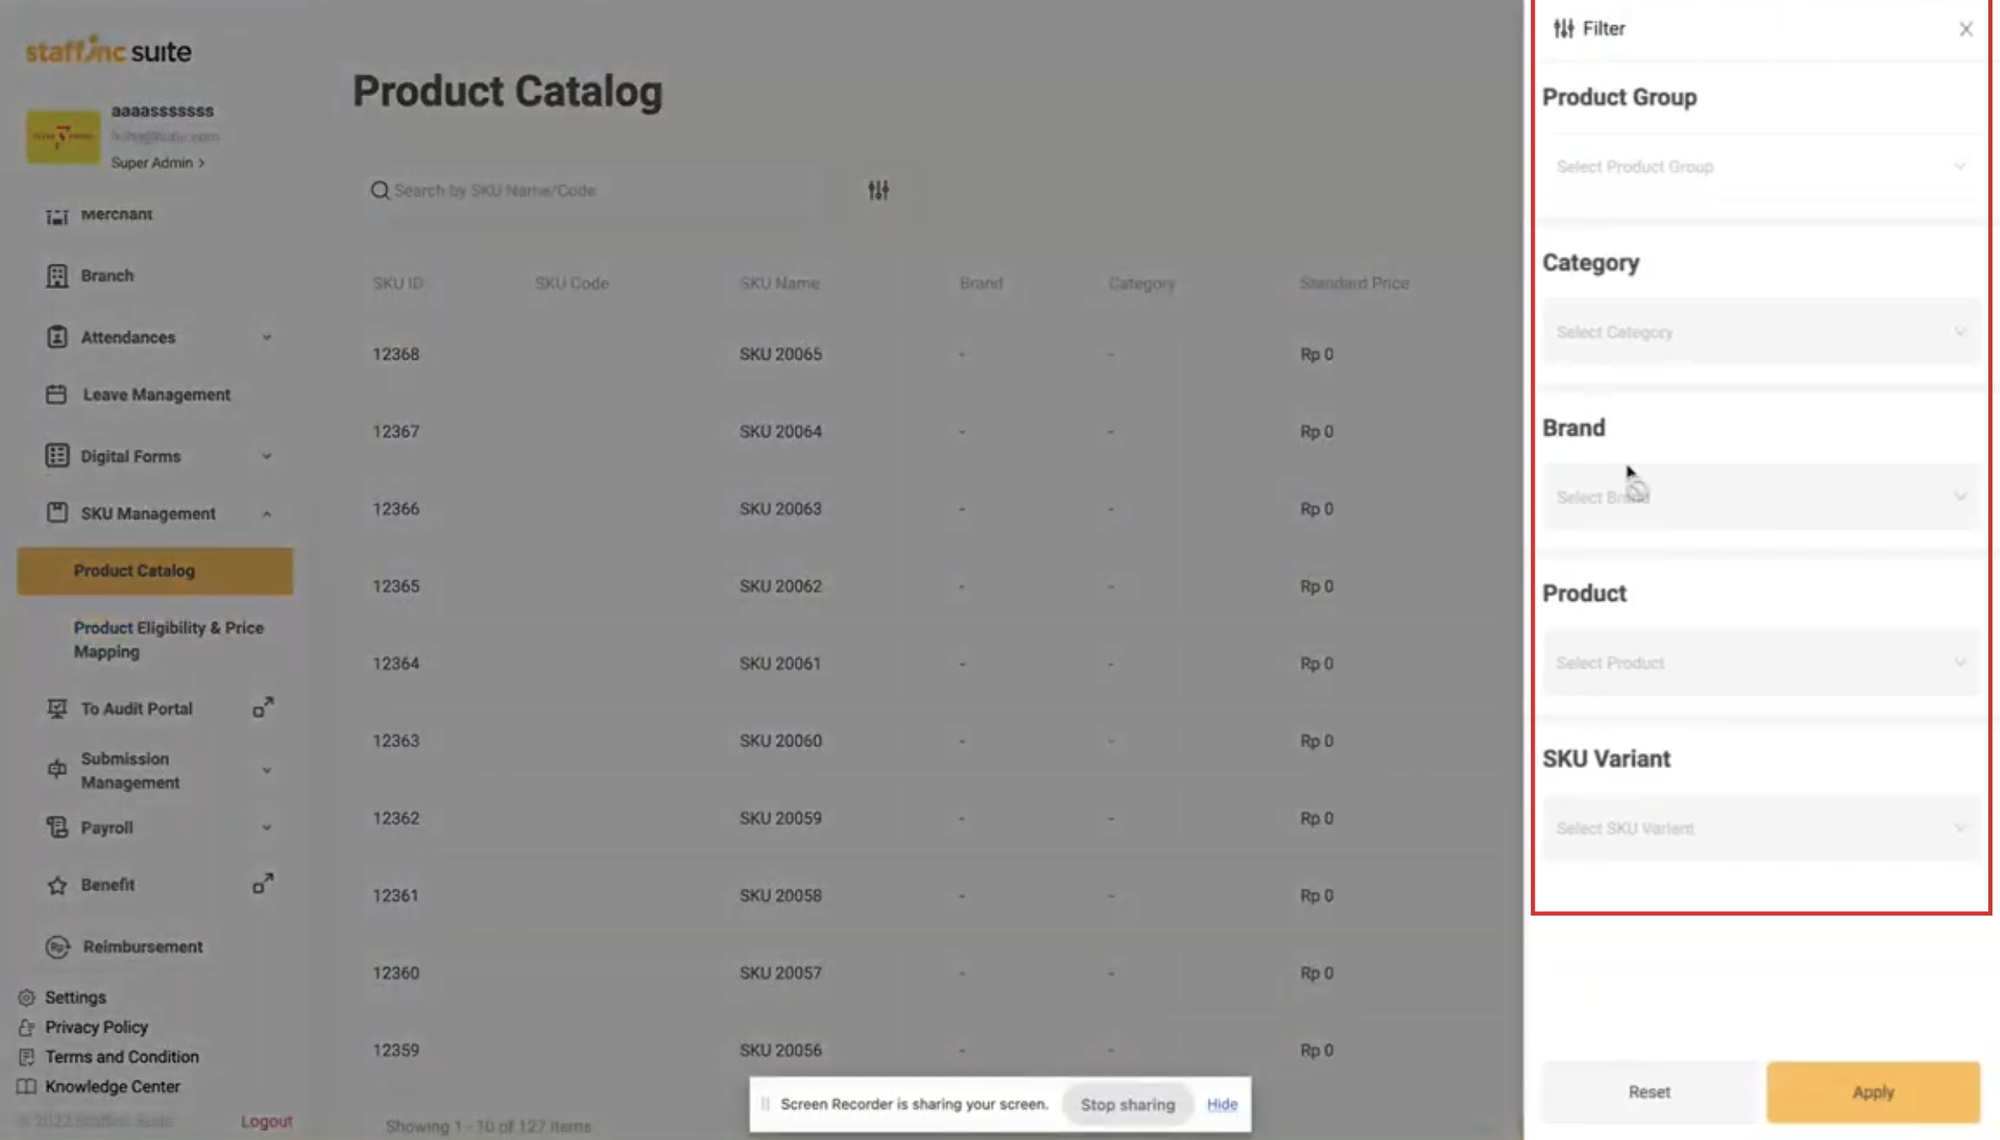
- Click the filter icon to get a list of products in specific groups using:
- Product Group
- Category
- Brand
- Product
- SKU Variant
A. Creating a New Product
1. Click Add New Product
- Click the Add New Product button.

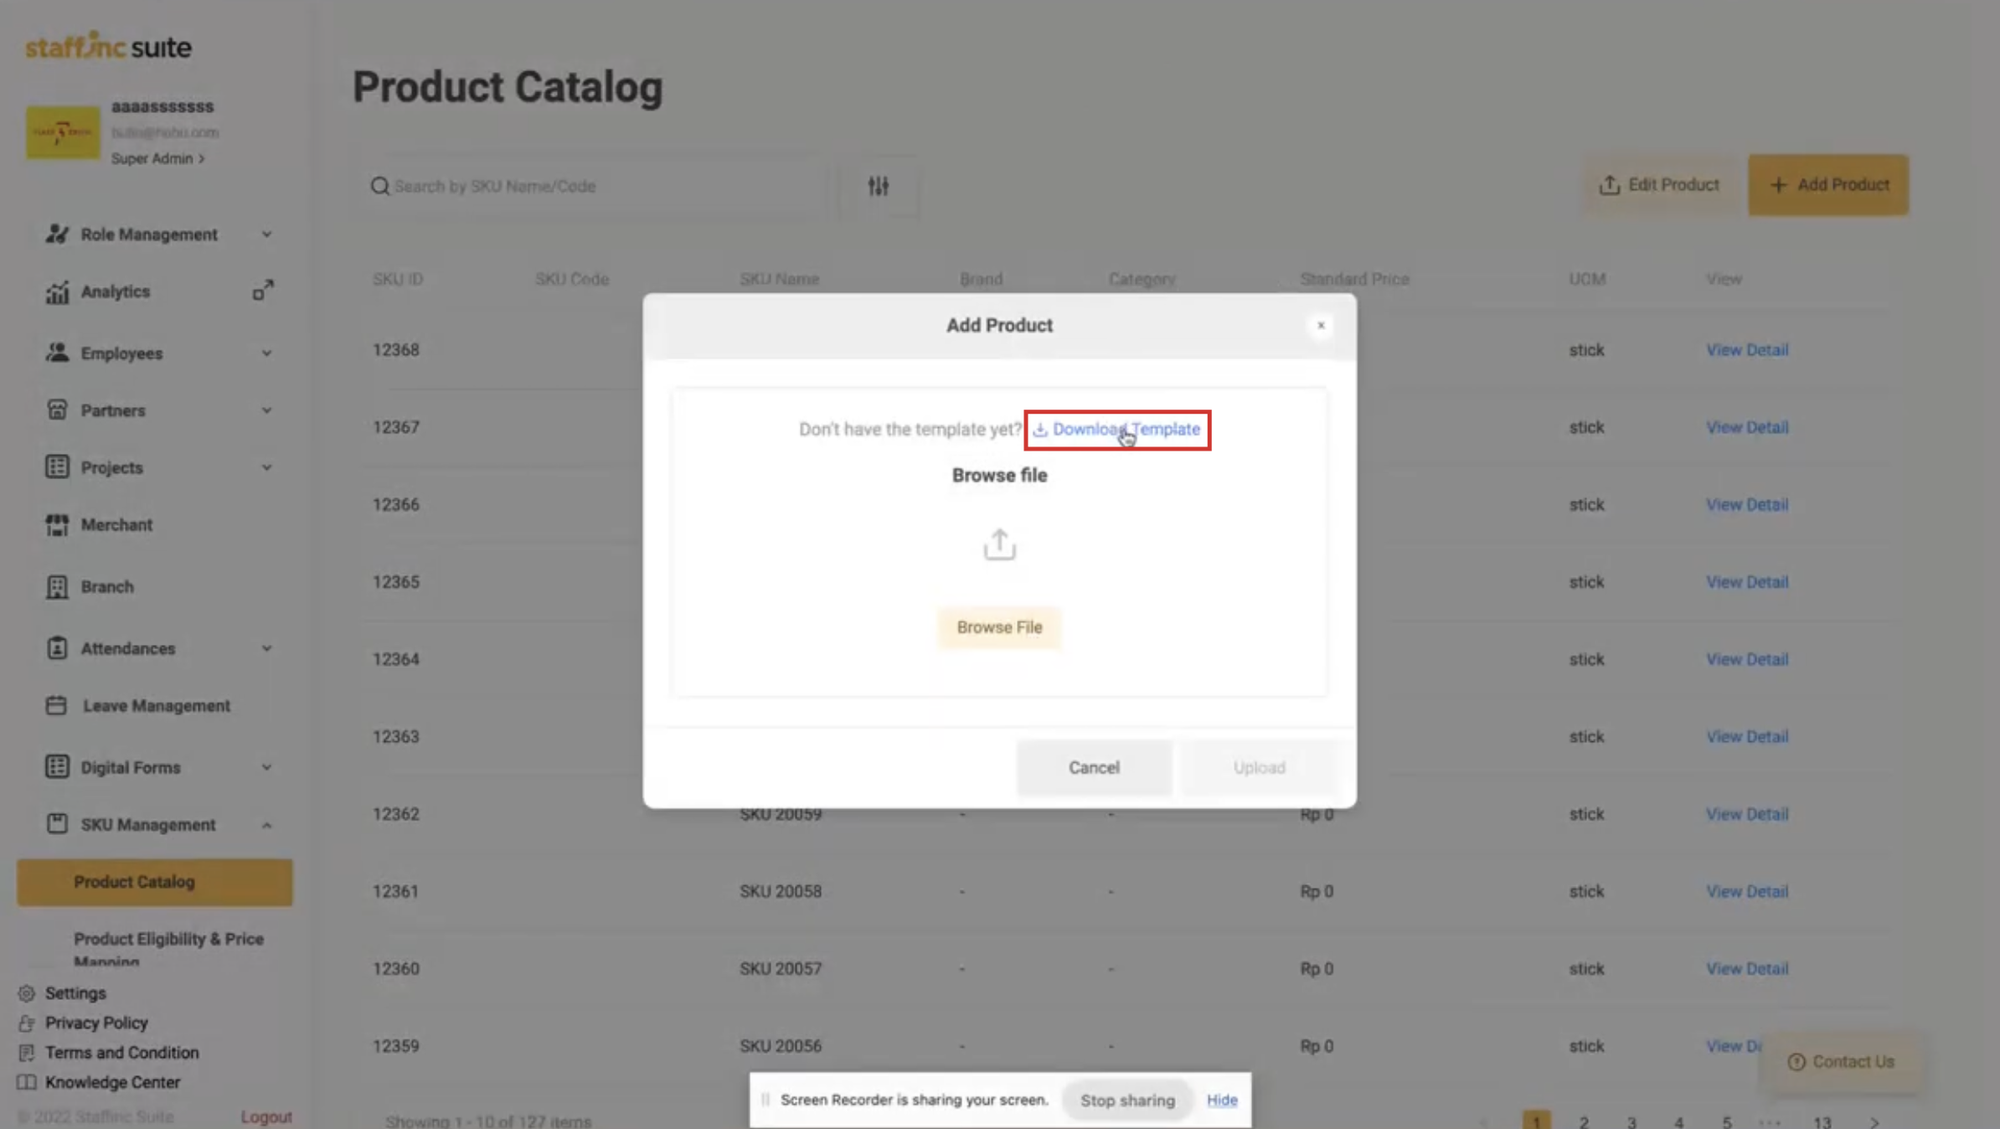
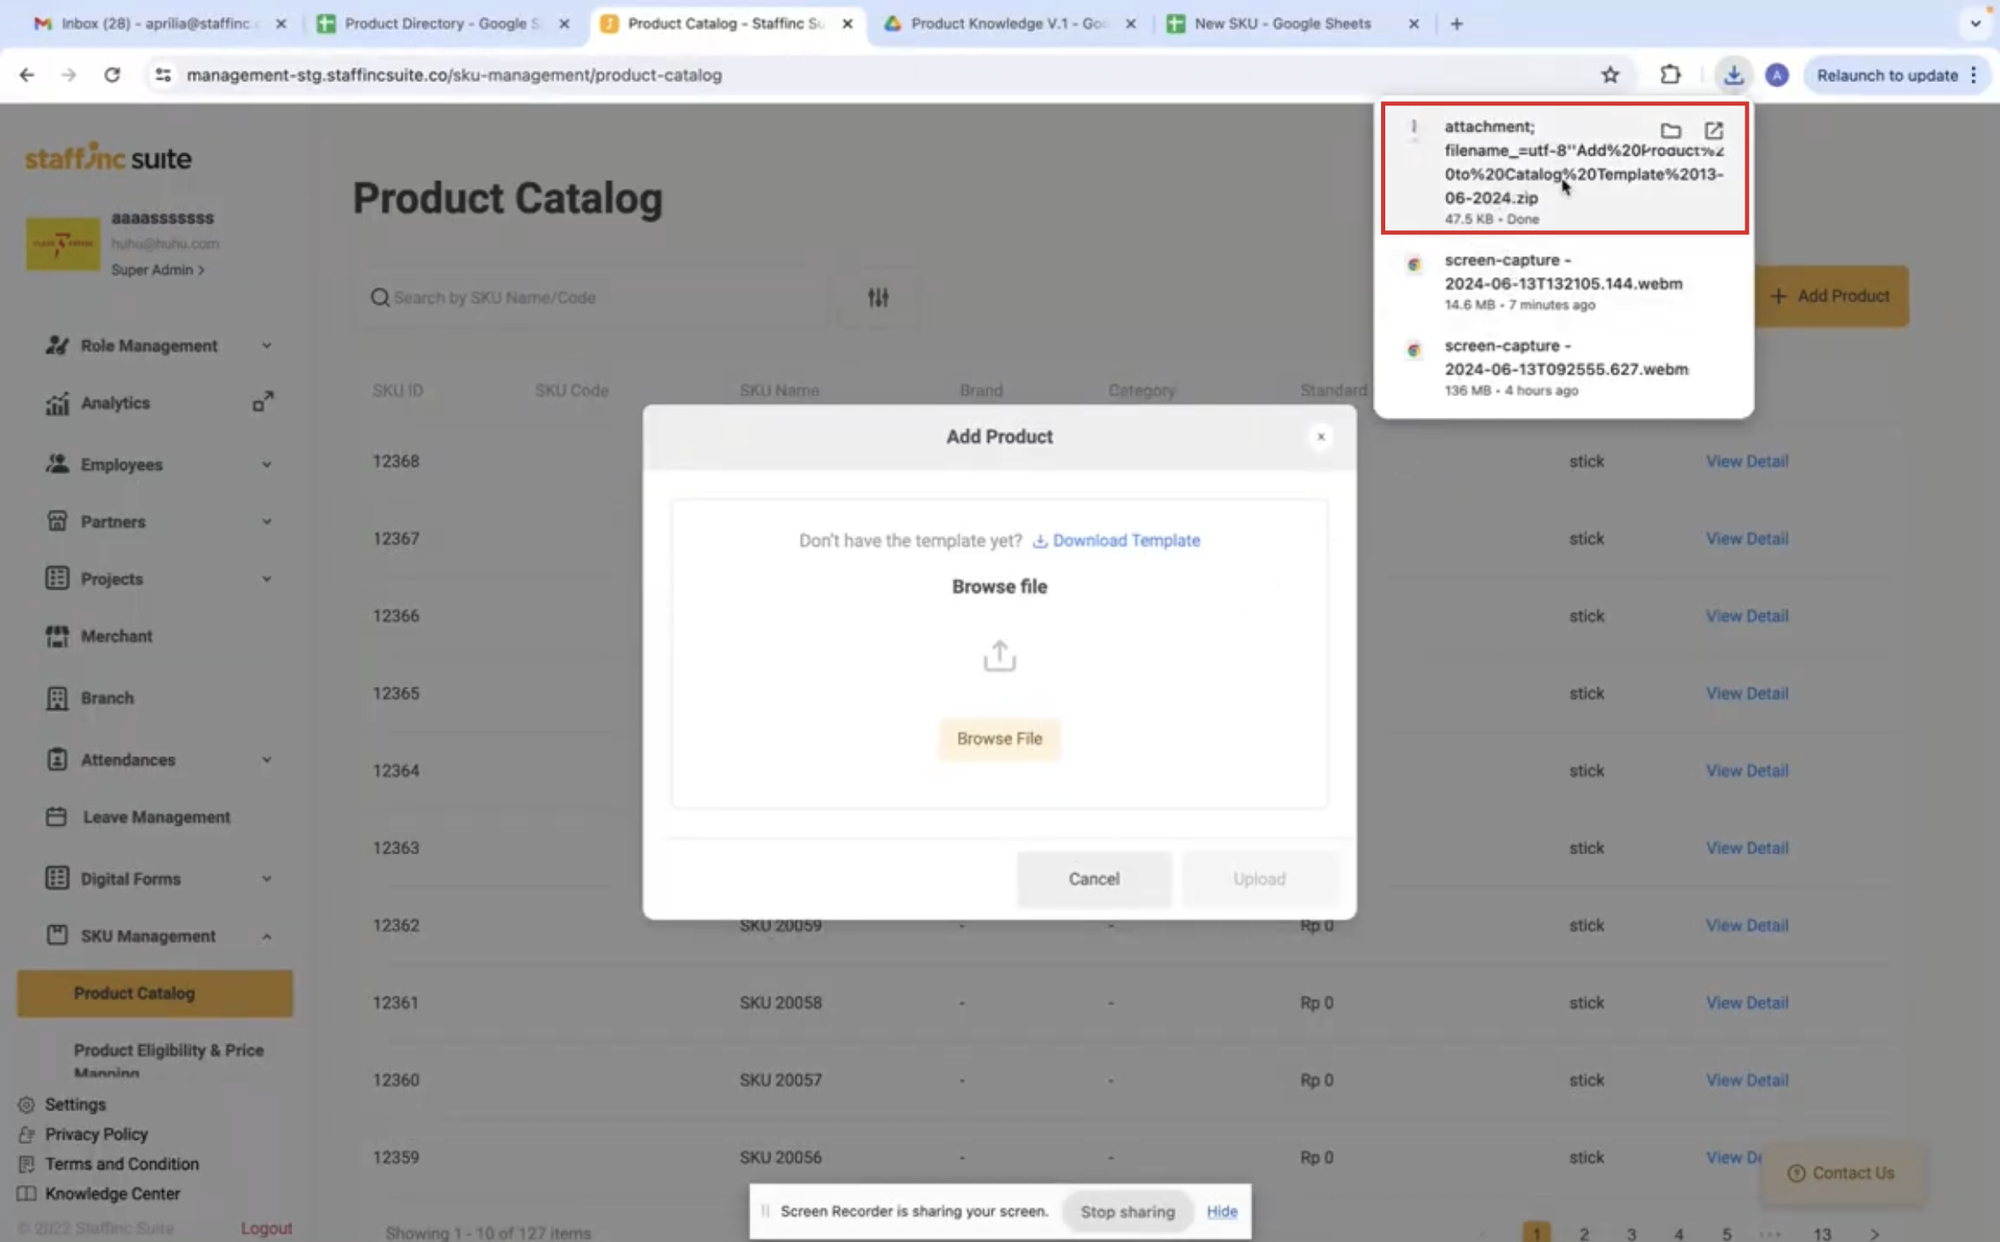
2. Download Template
- Click Download Template, then extract the ZIP file using the password format: [Client ID][Client Name] (e.g., 247MPO - redBus). You can also ask the Staffinc admin for the password.
3. Fill in the Template
- Open the template file with Microsoft Excel or spreadsheet.
- Fill in the template with your product information on the upload template sheet. There are a total of 16 data points. Mandatory fields are SKU Name and UOM.
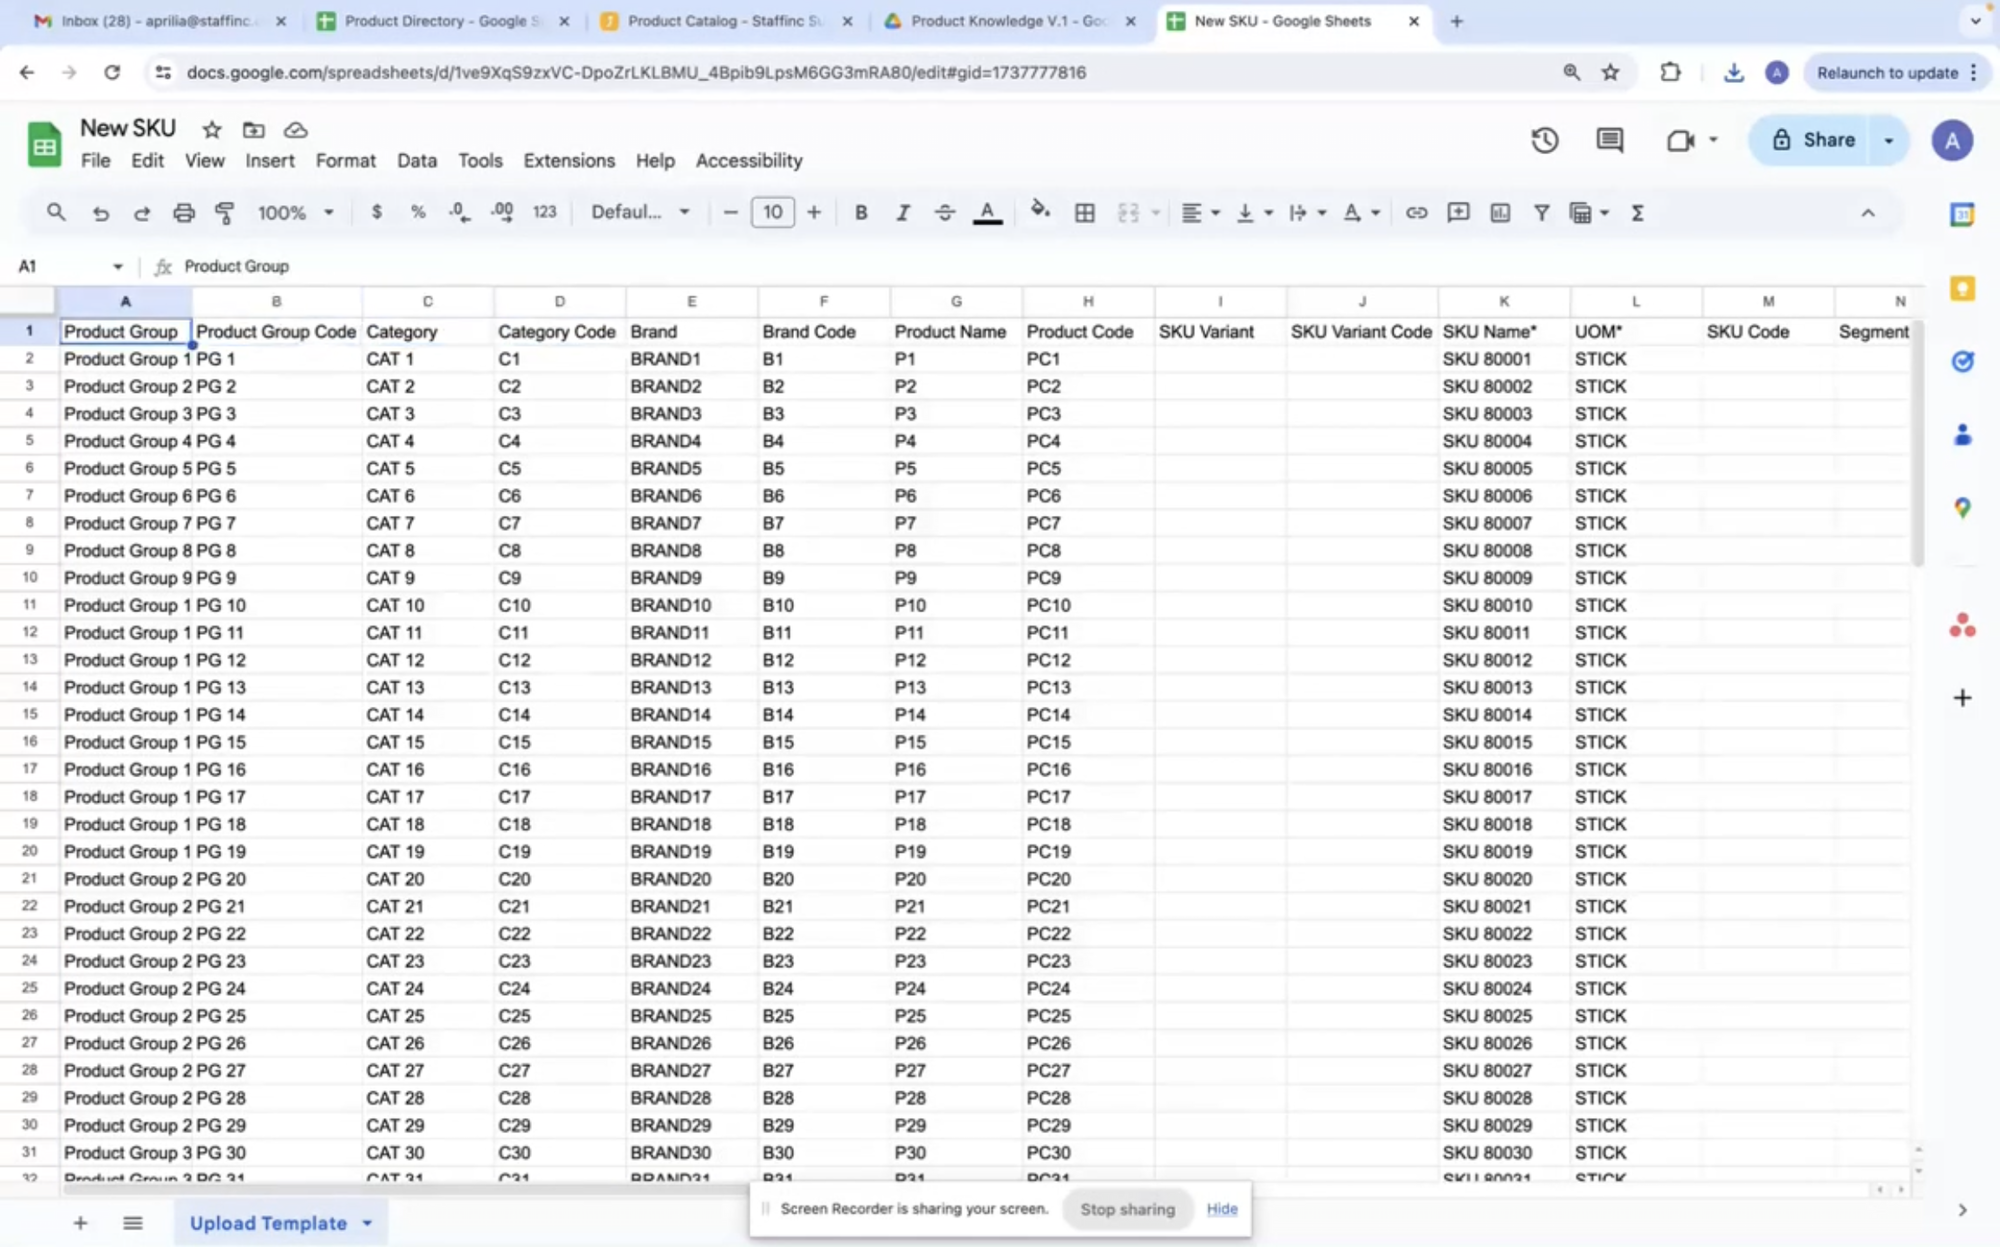
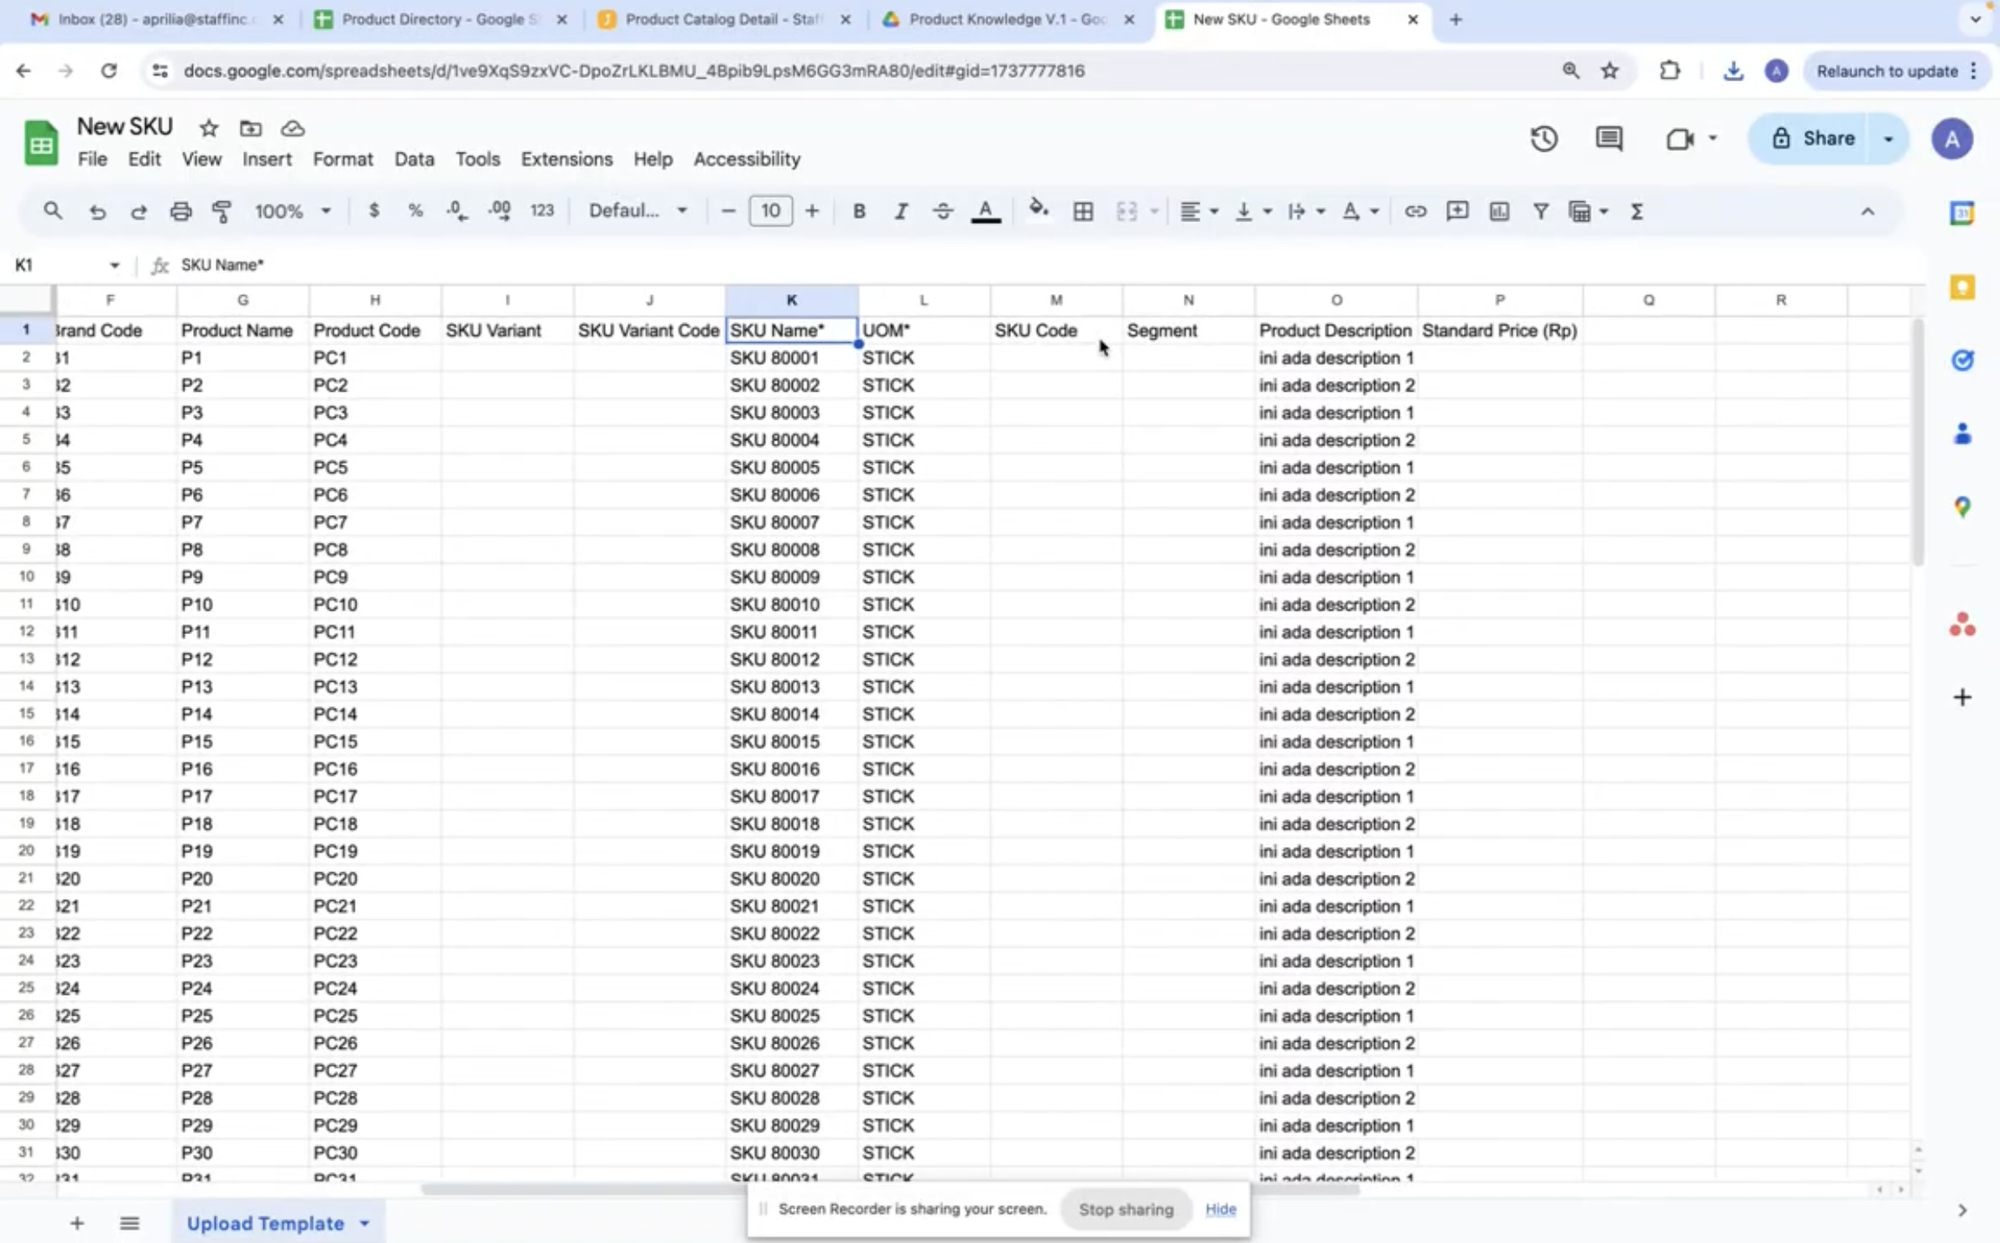
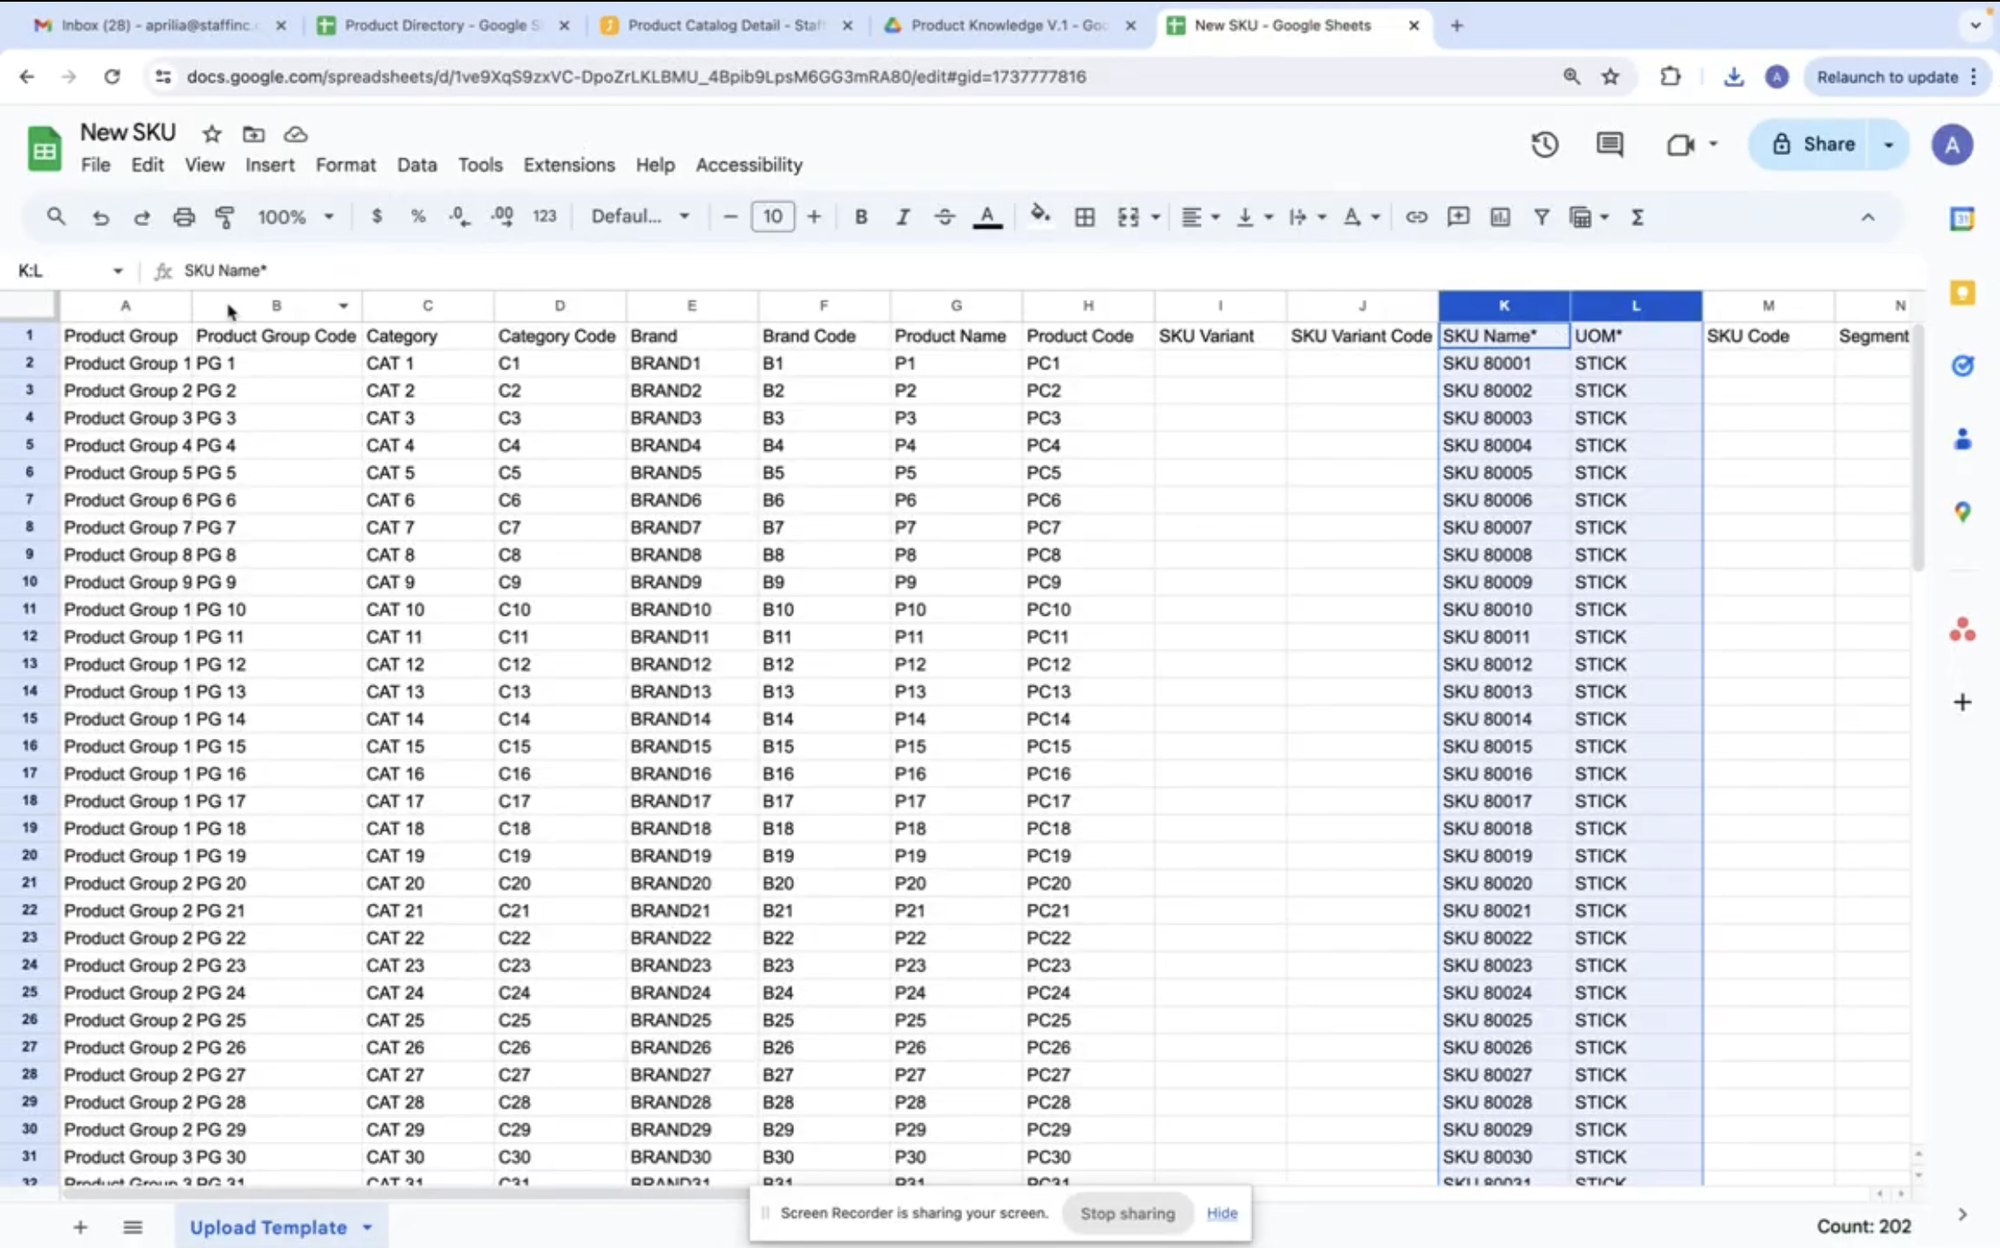
After completing the template, save the file in CSV format. 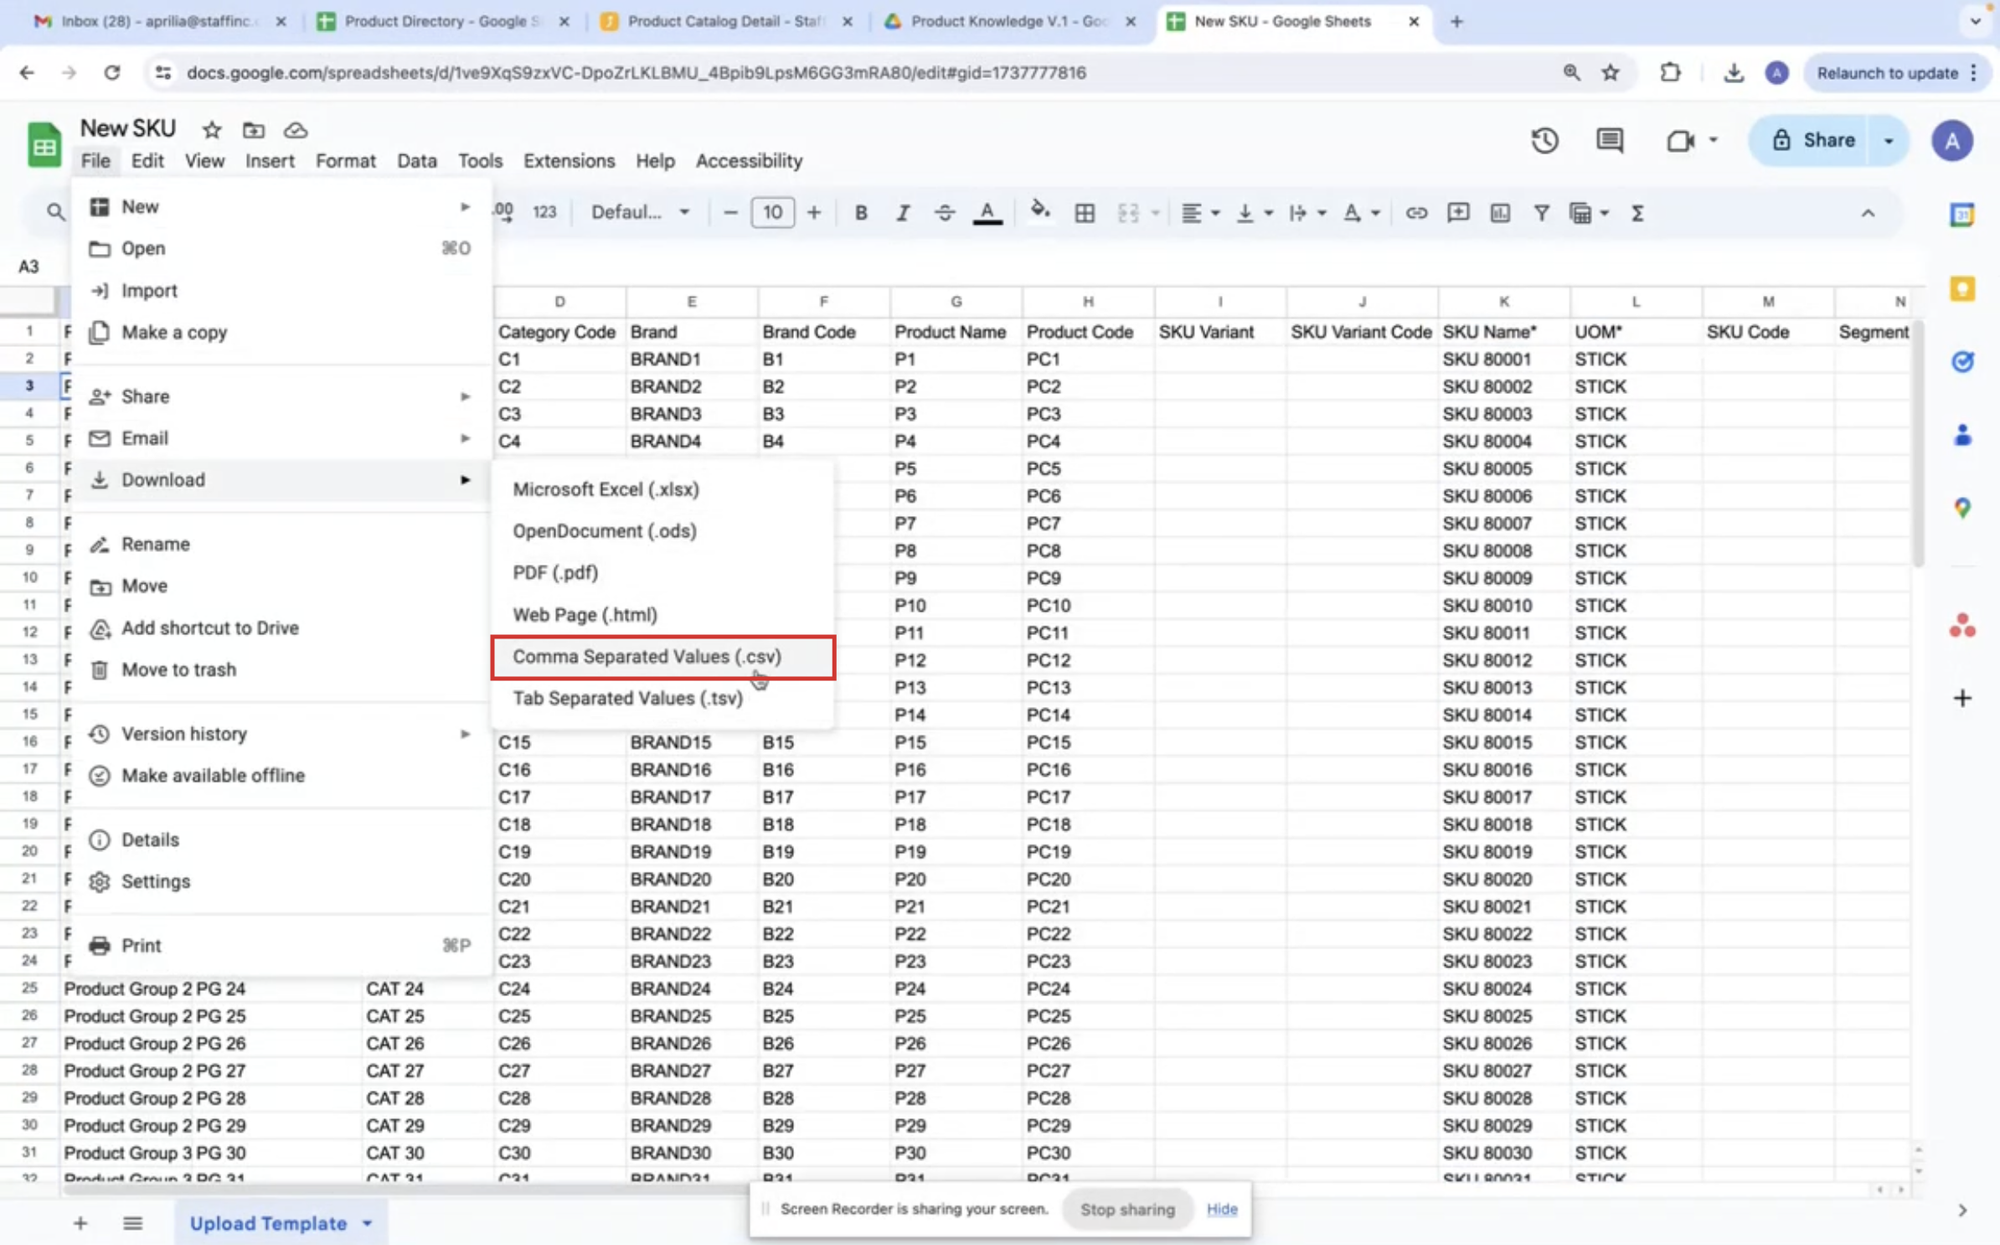
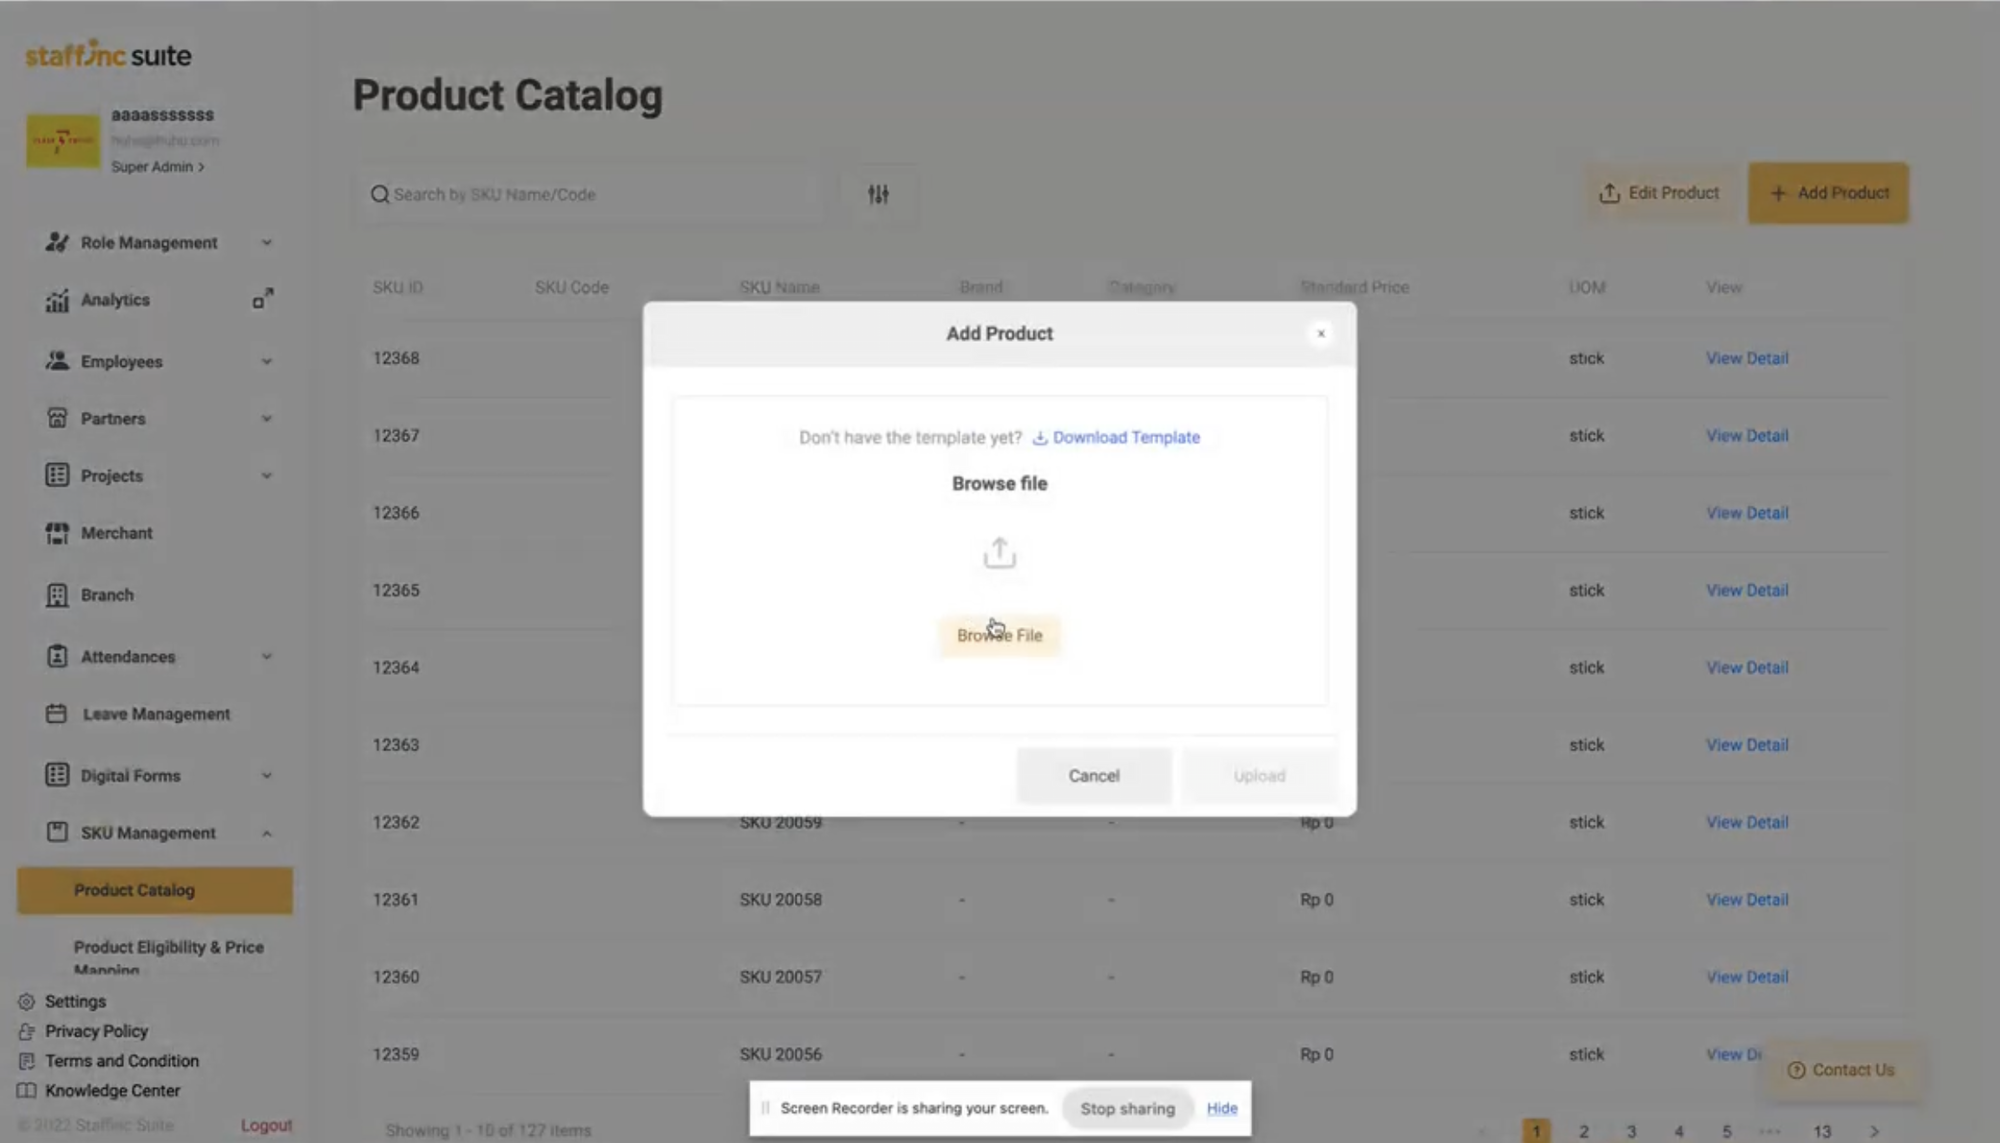
4. Upload Template
-
In the Add Product window, click Browse File to upload the CSV file.
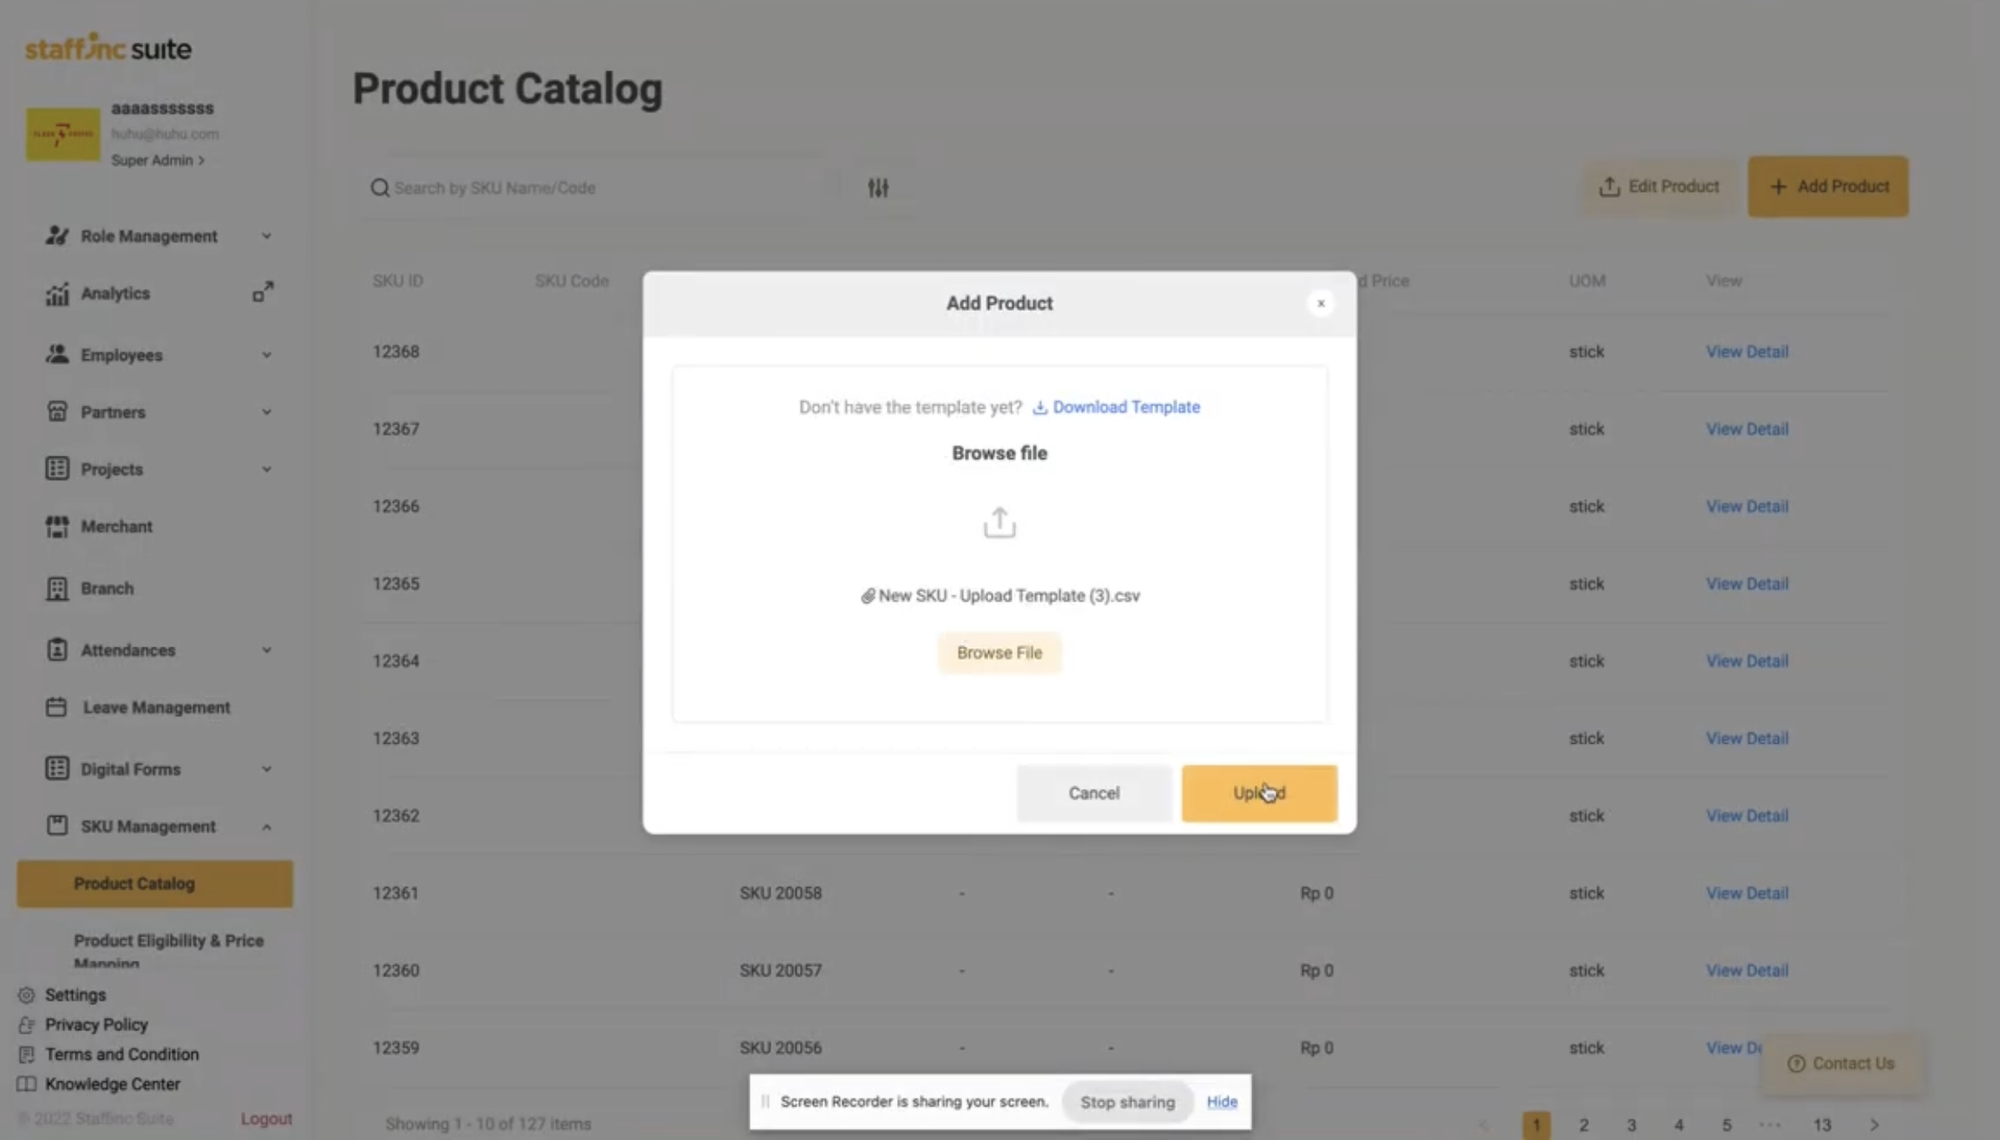
-
After selecting the file, click Upload.
-
If the Upload Results window appears and there are failed data, click Download Failed Data.
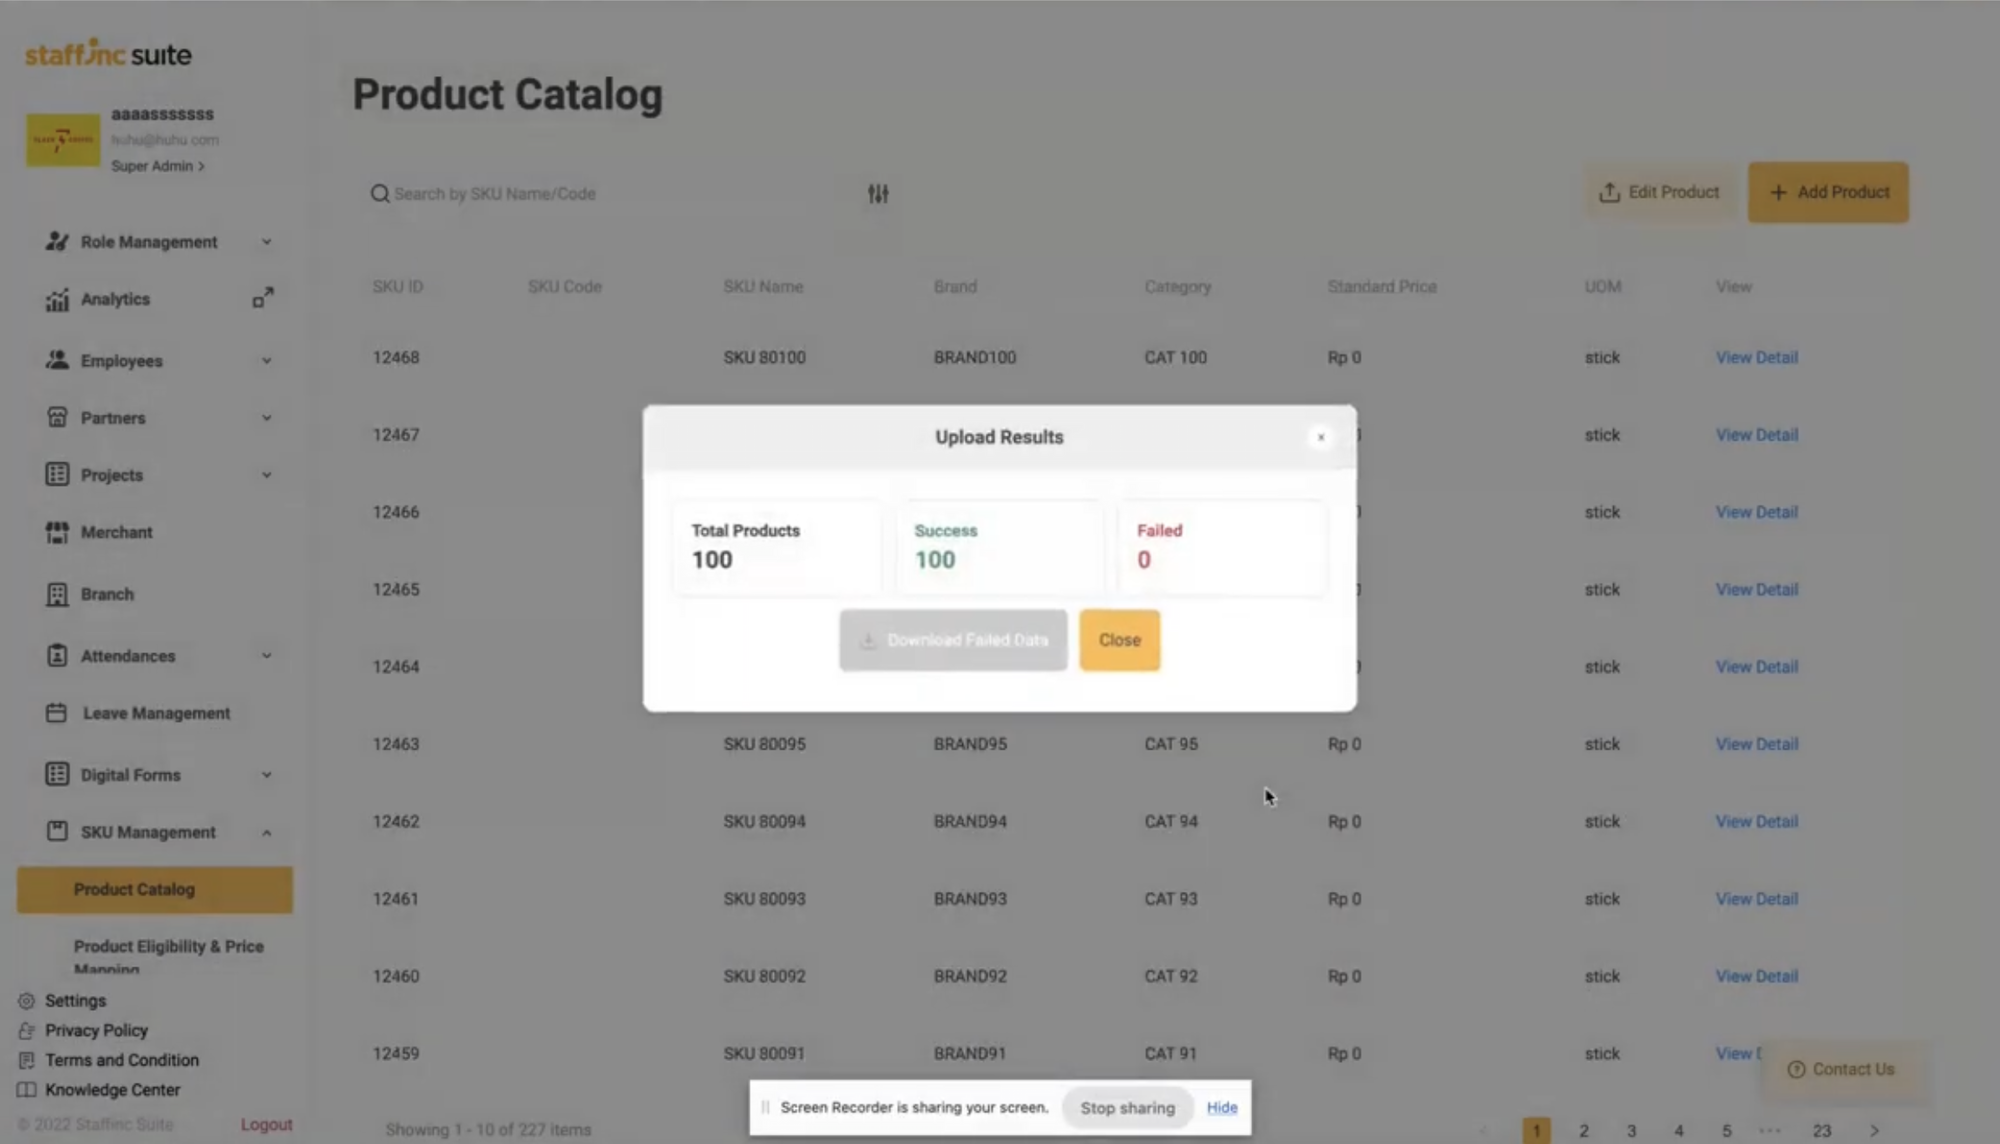
-
After finishing, click the Close button.
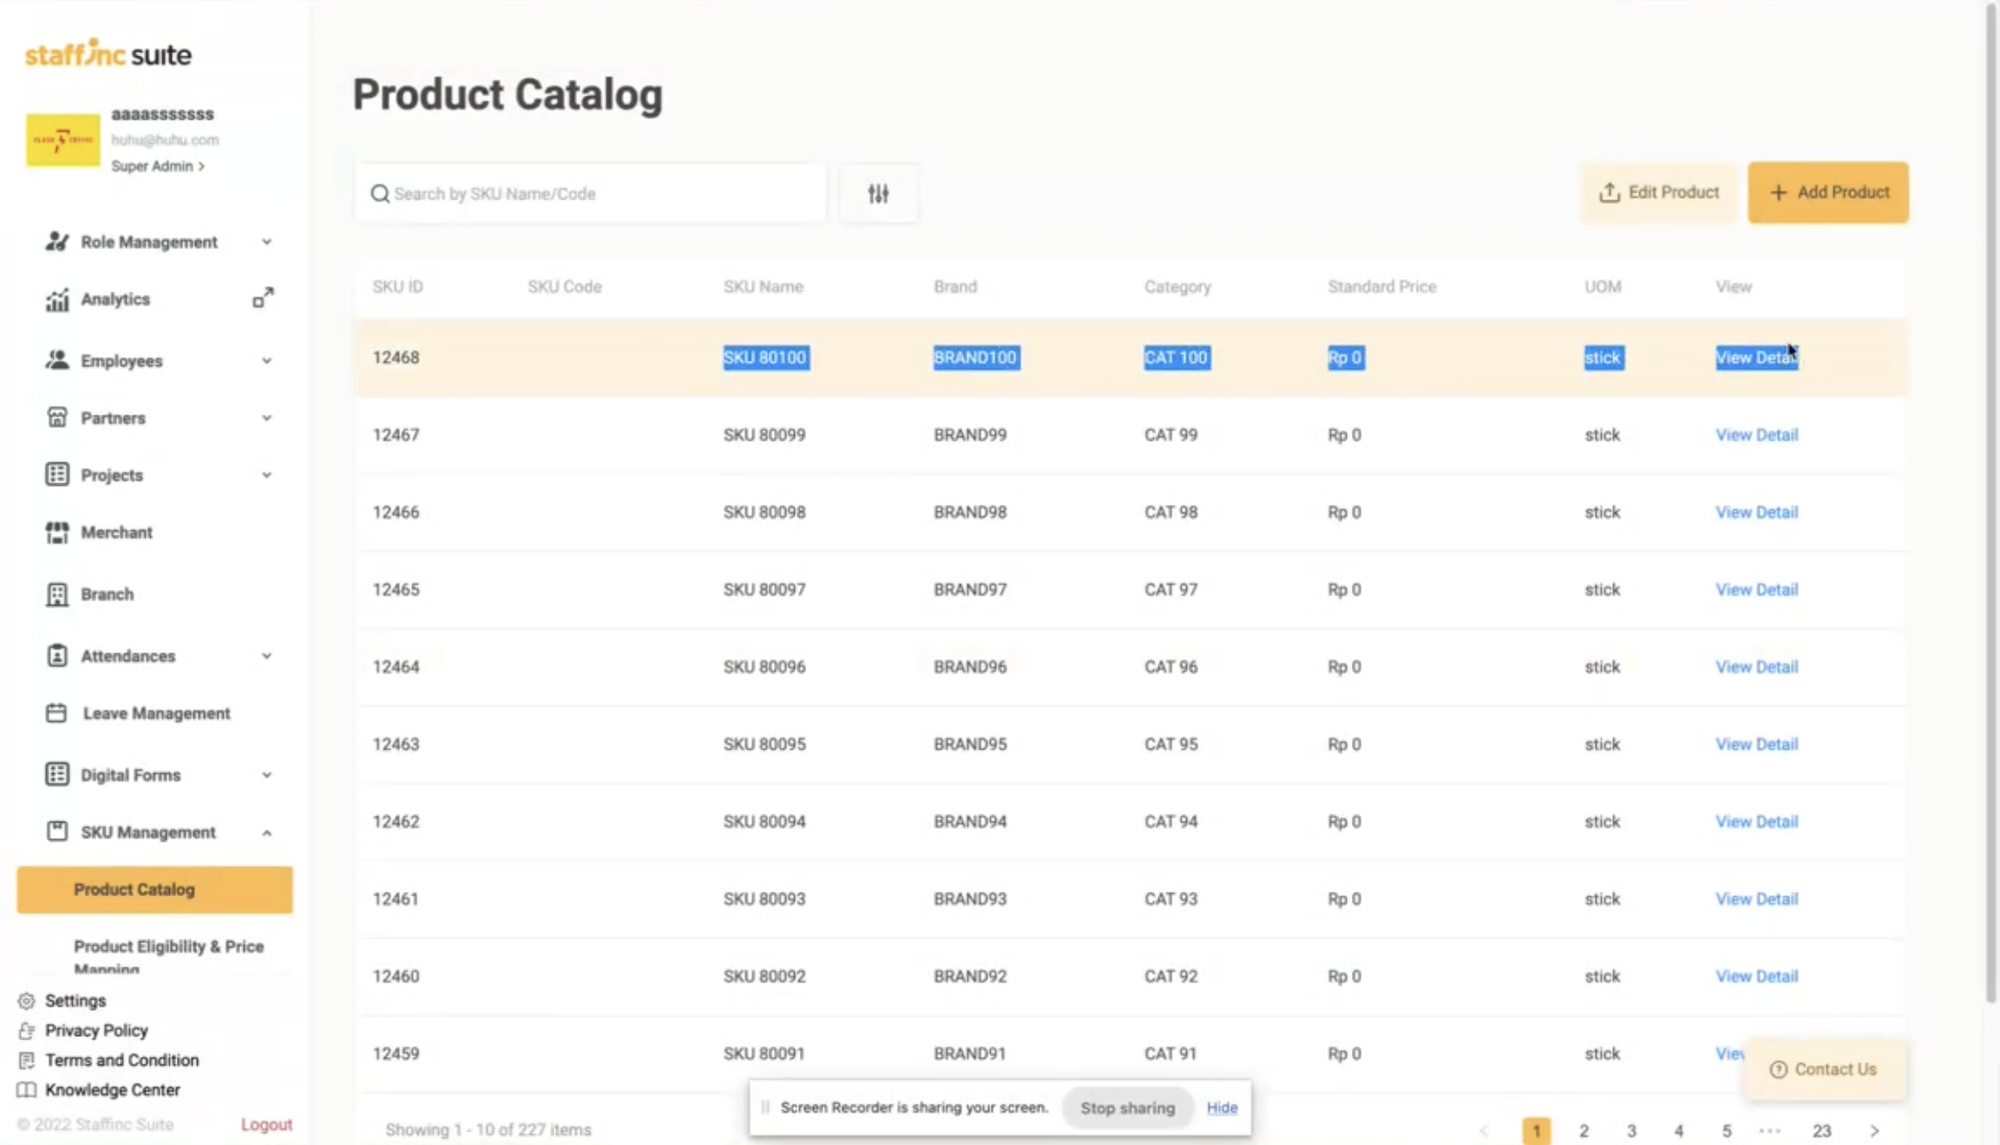
-
The newly uploaded data will appear in the Product Catalog list.
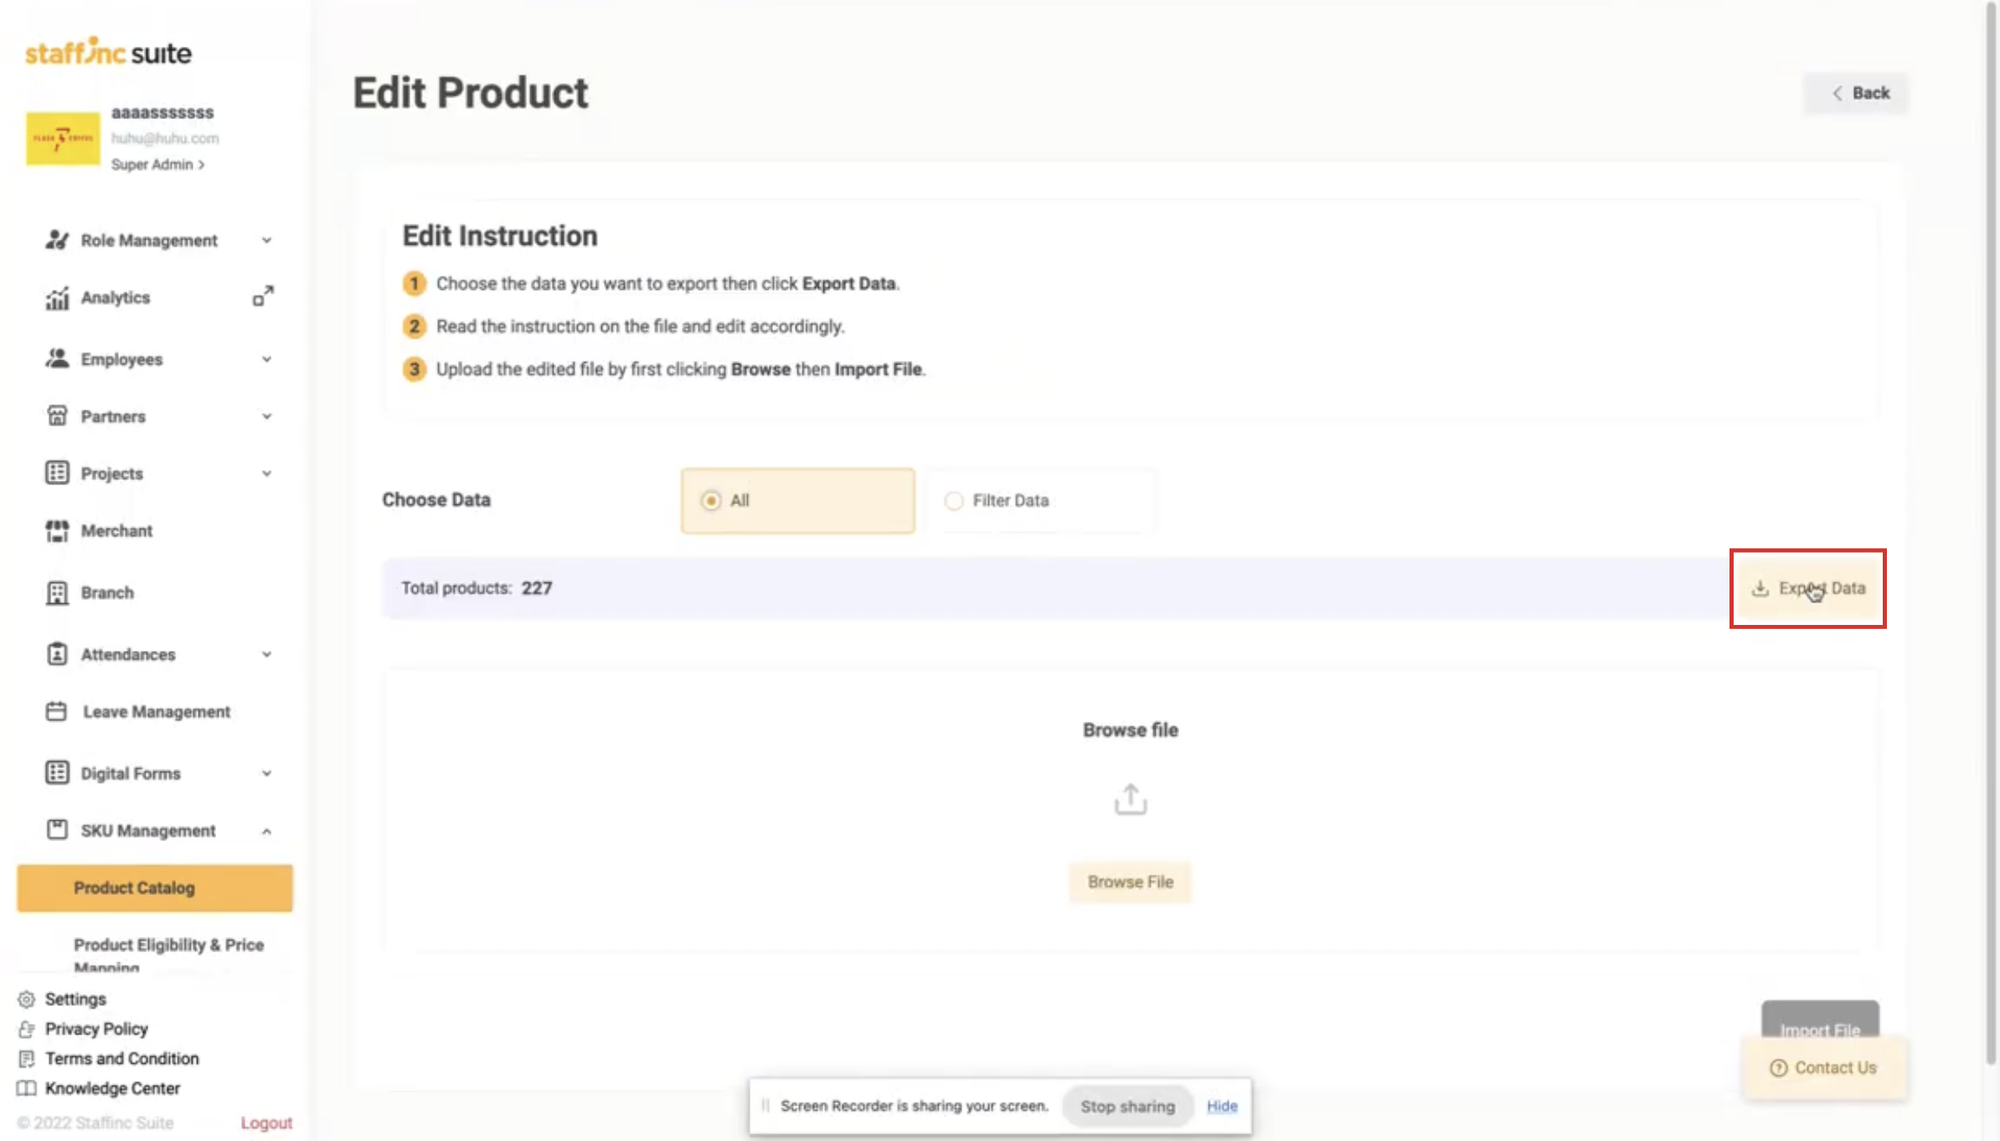
B. Edit Product
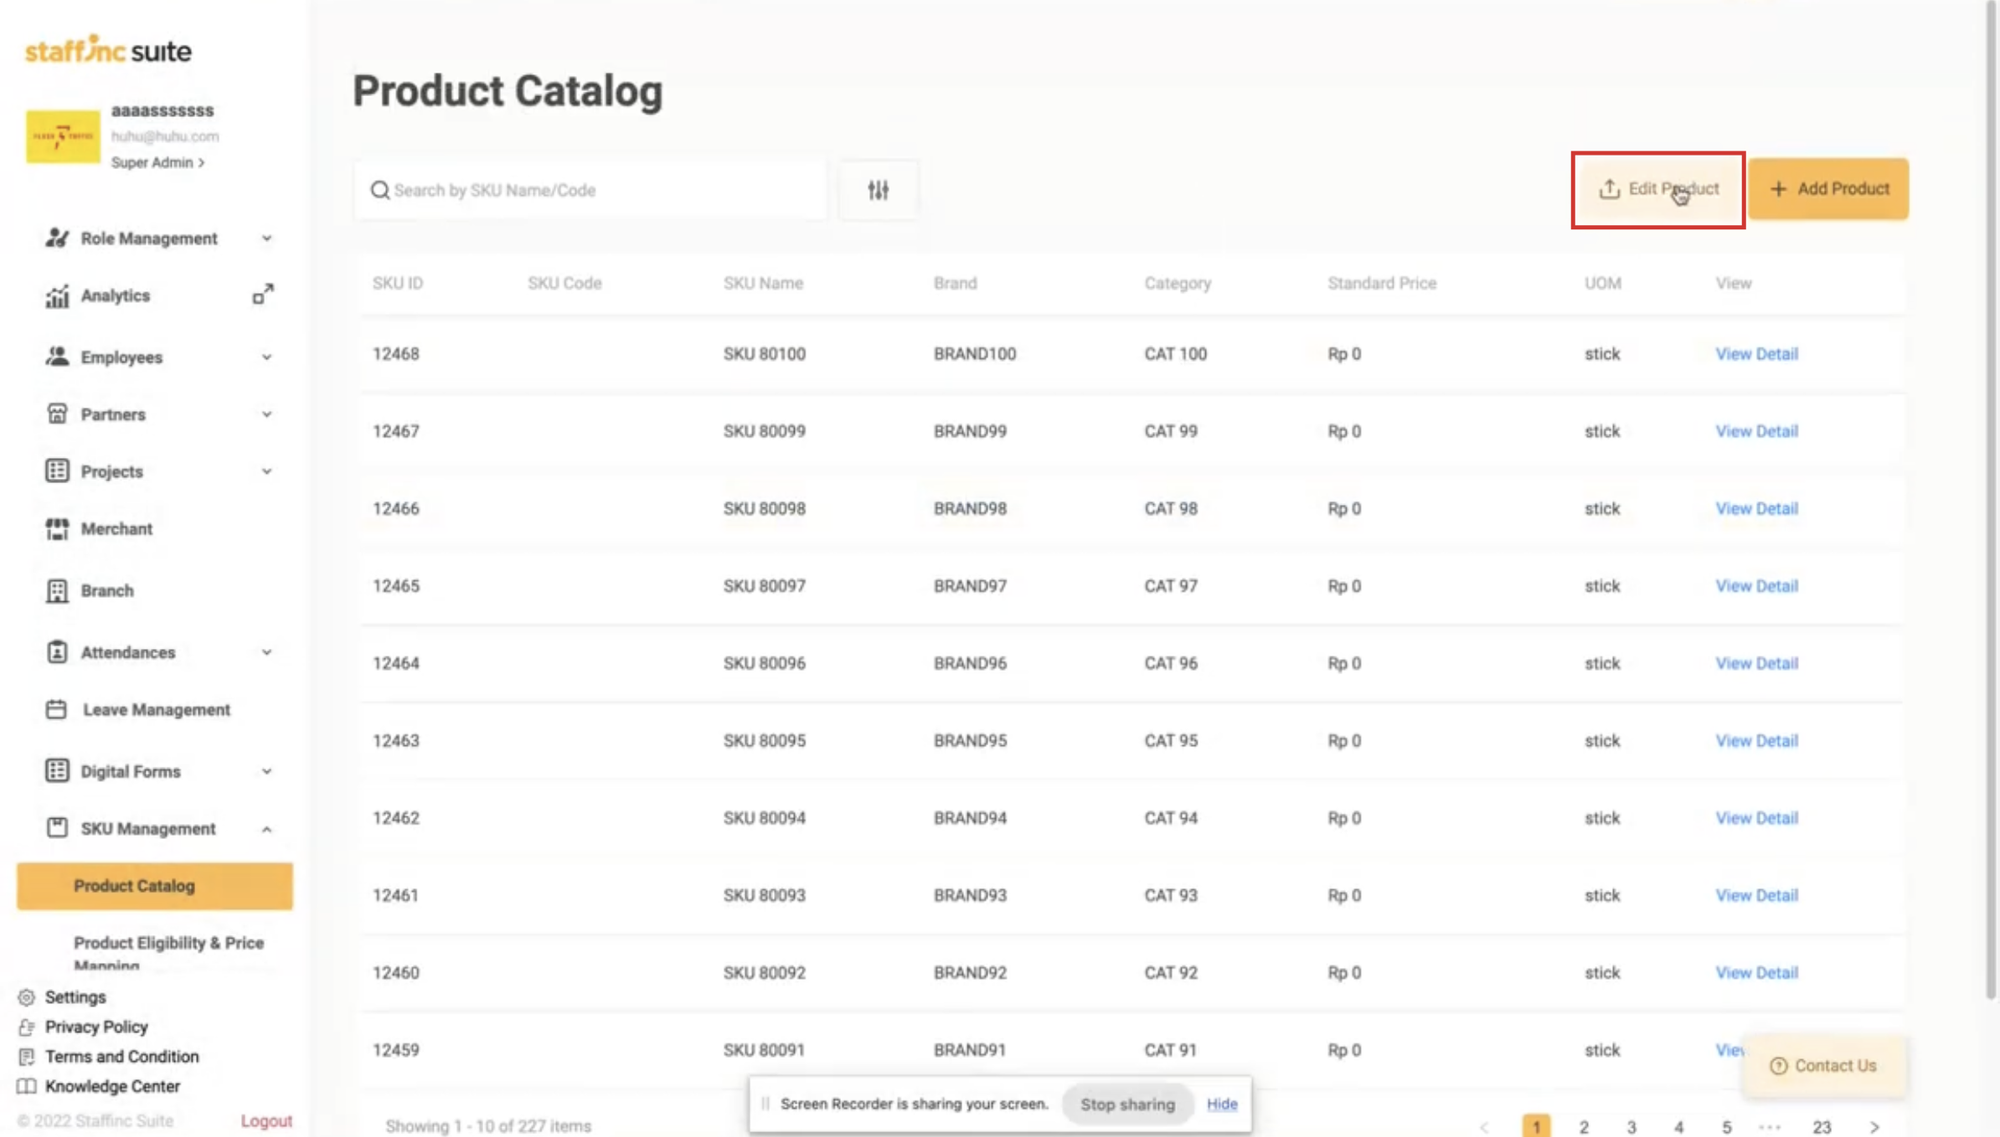
1. Click Edit Product
- Click the Edit Product button.
2. Choose Data
- To download all data, select All. Select Filter Data if you only want to download a specific data set.
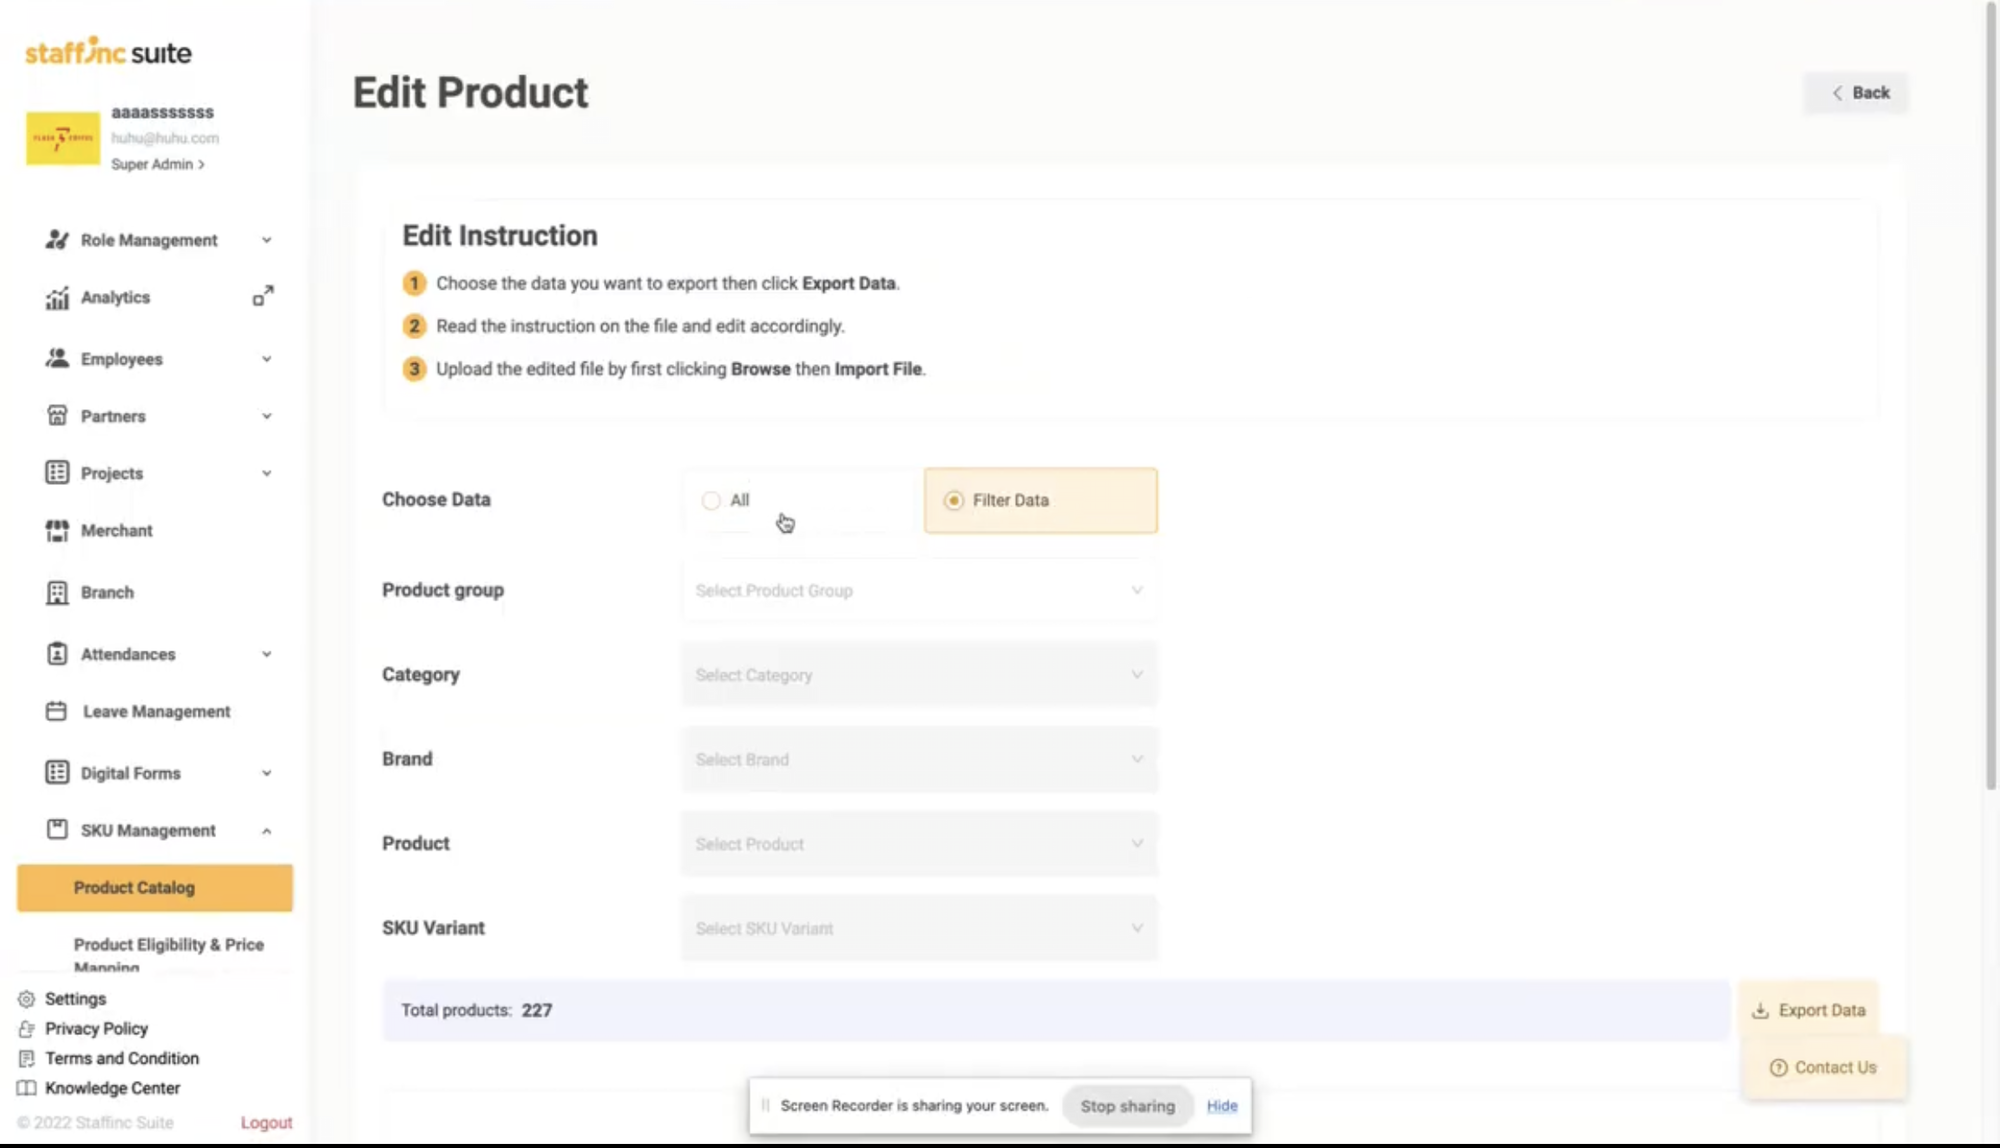
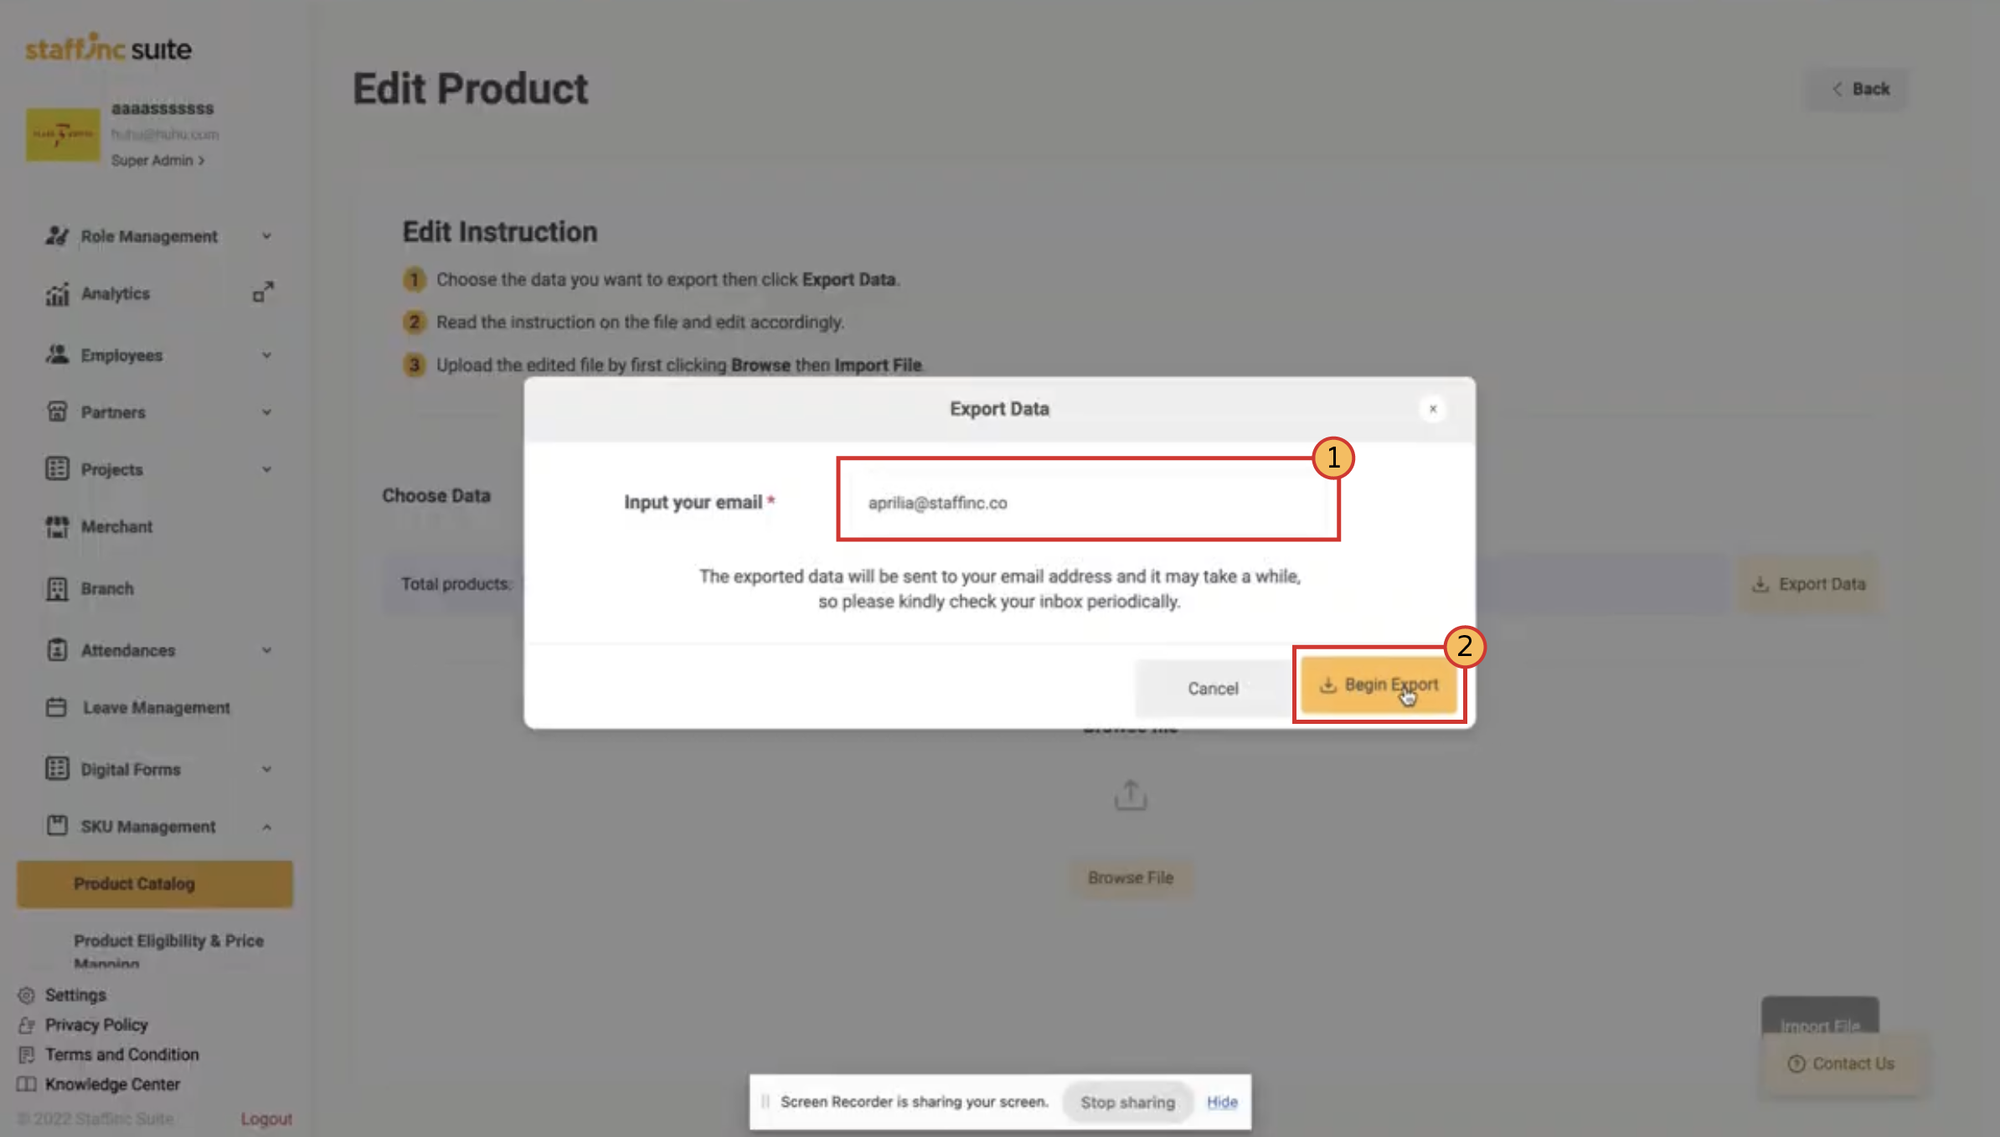
3. Export Data
-
Click Export Data.
-
Enter your email. The template will be sent to your email.
-
Open your email and download the received file. The file will be in ZIP format.
-
Extract the ZIP file.
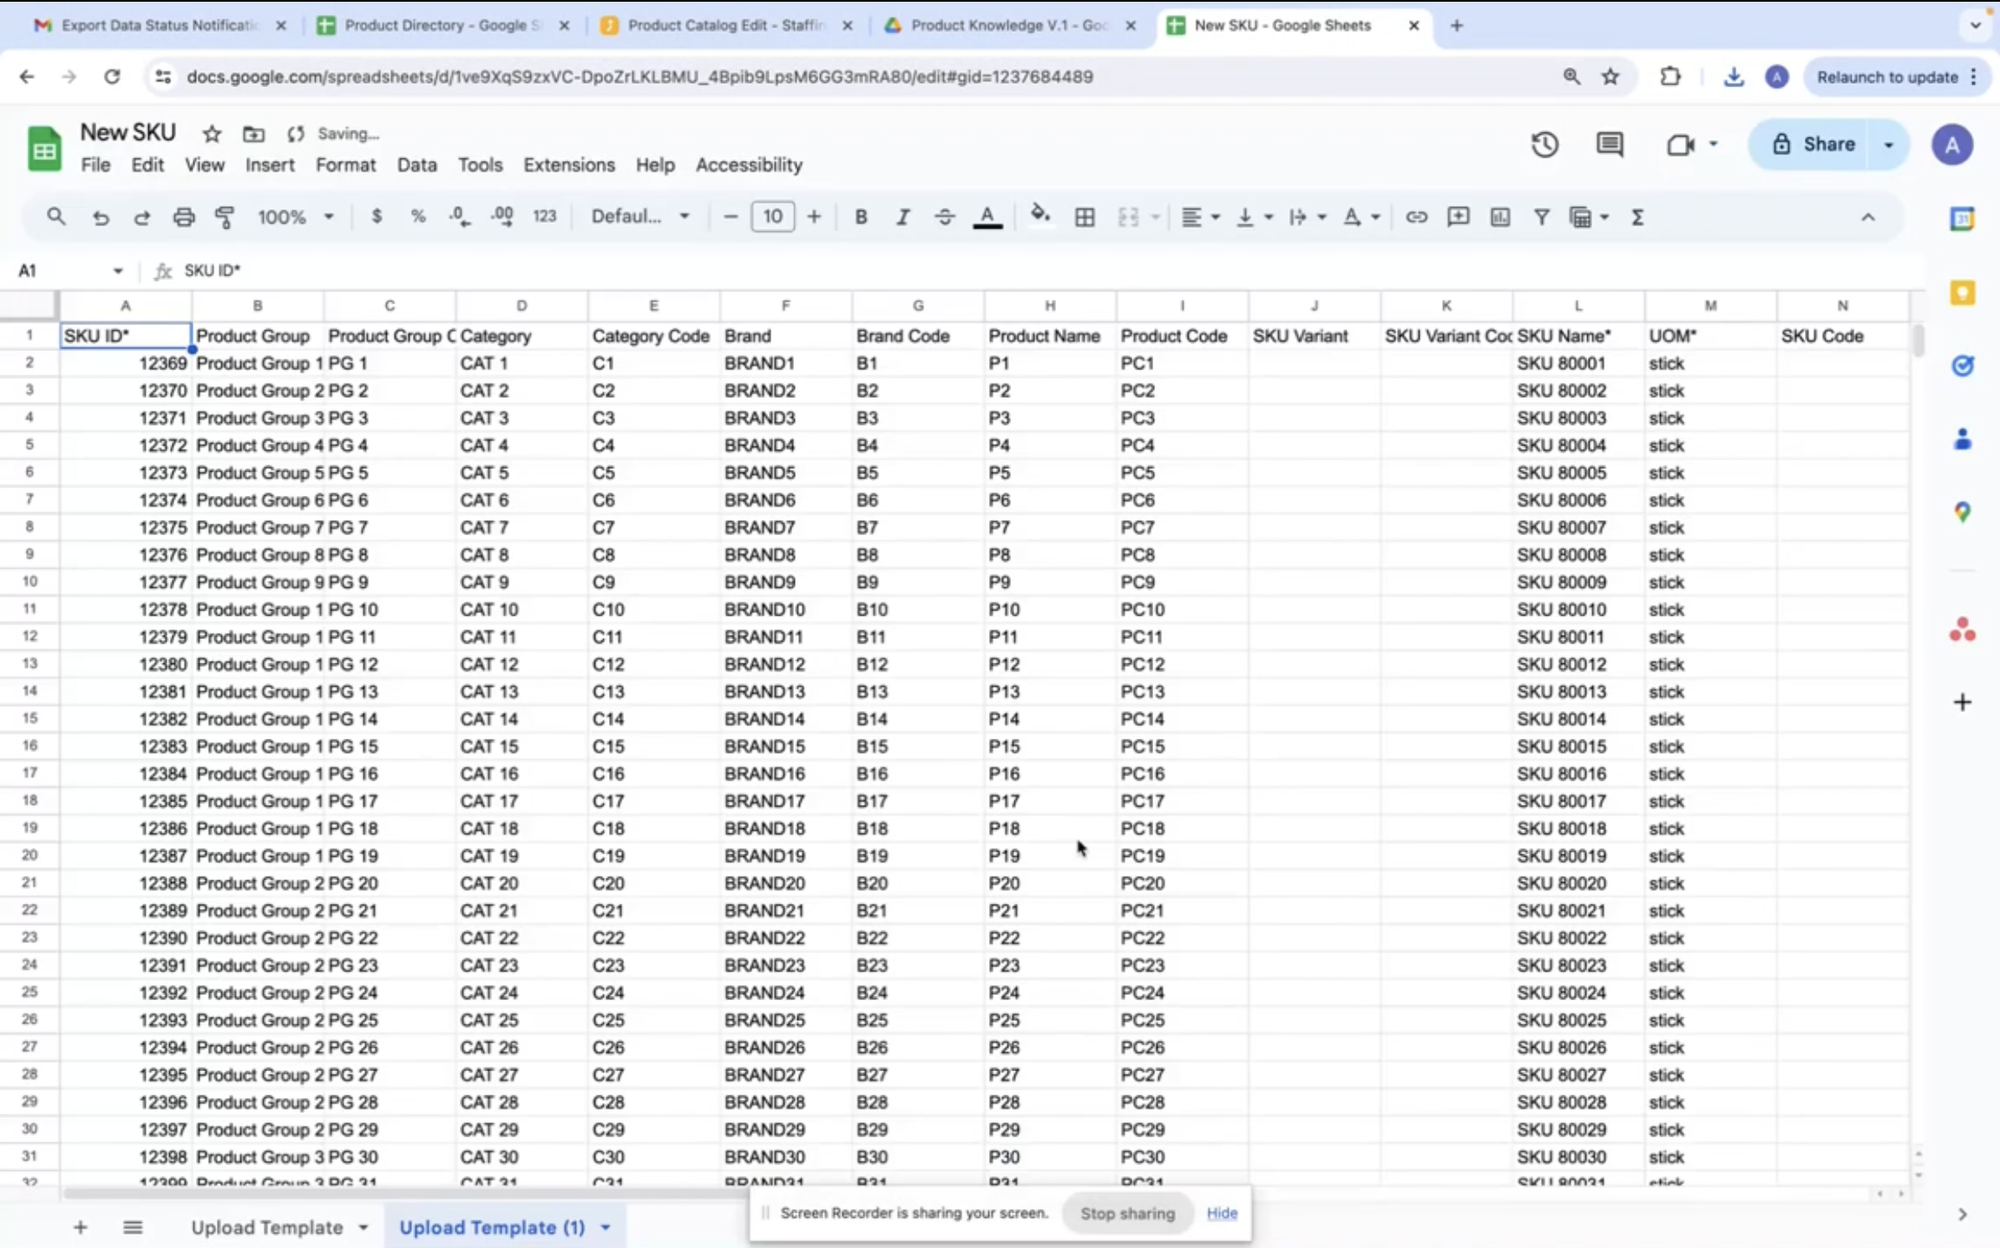
4. Edit Template
-
Open the template file with Microsoft Excel or spreadsheet application.
-
Edit the template content according to your product information. You can change, add, or delete data on the sheet.
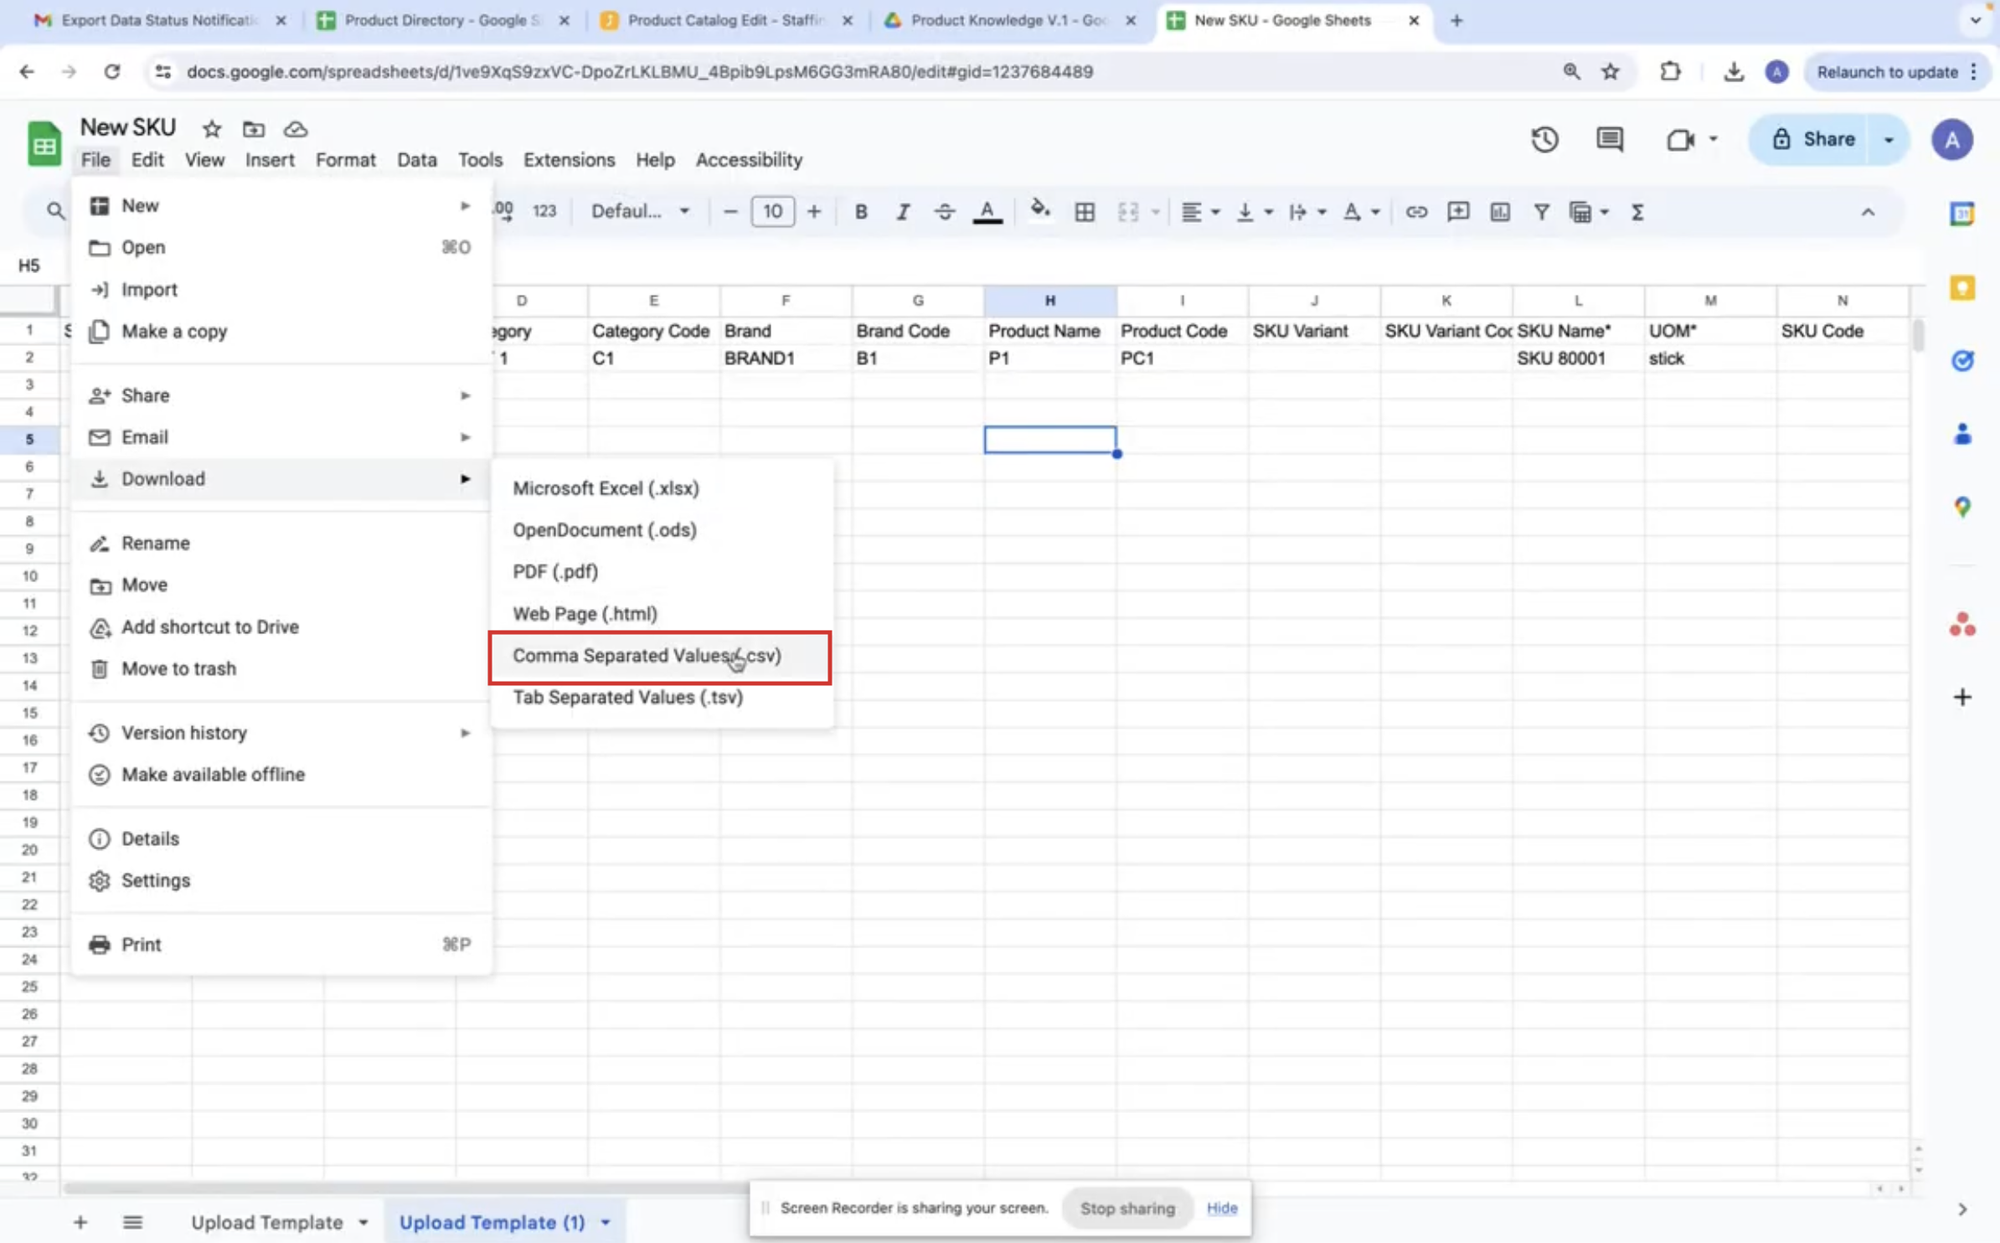
-
After completing the template, save the file in CSV format.
5. Upload Template
-
Return to the Edit Product page, click Browse File to upload the CSV file.

-
After selecting the file, click Import File.
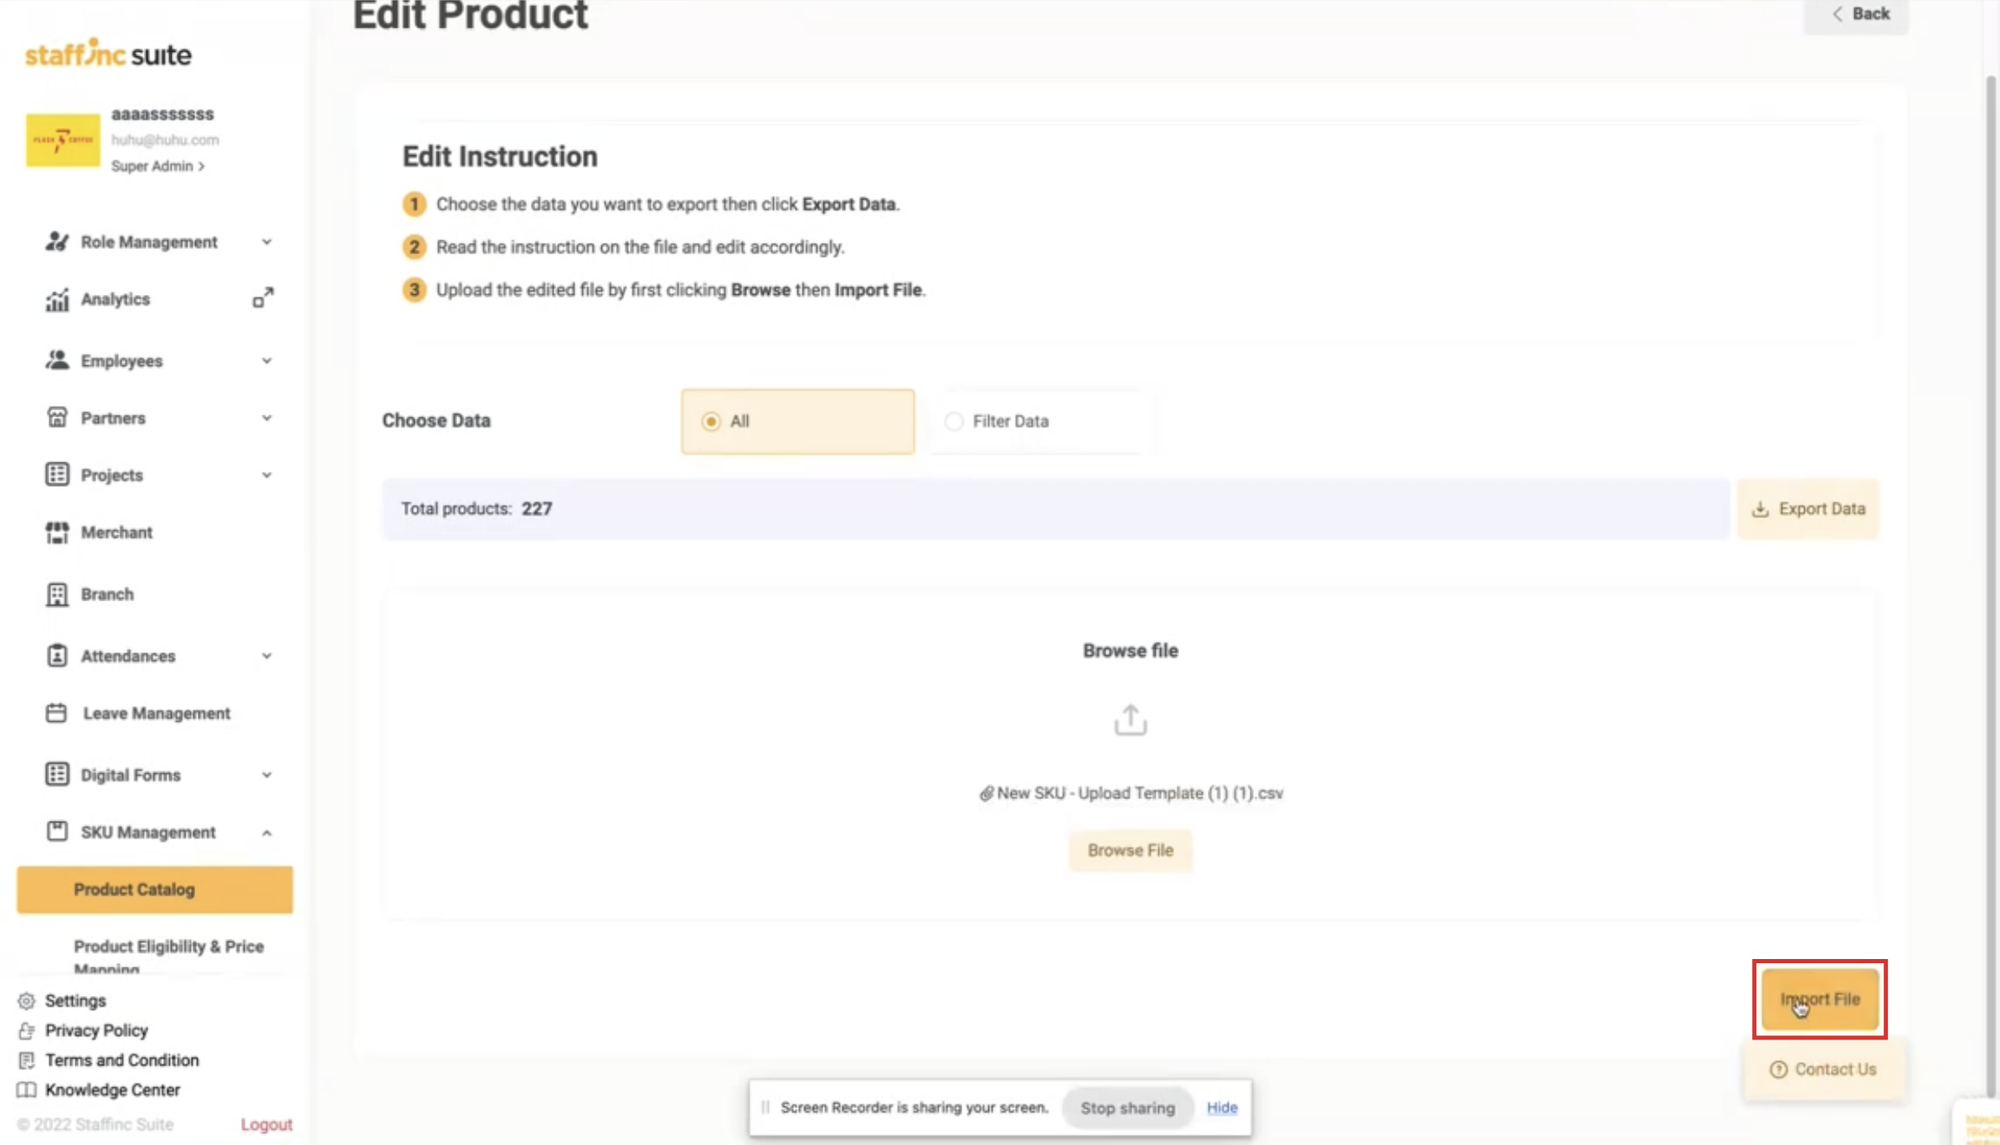
-
The Upload Results window will appear. After finishing, click the **Close **button.

By following these steps, you can efficiently manage the Product Catalog, ensuring that all product information is well-organized and easily accessible.