Product Eligibility & Price Mapping
Product Eligibility & Price Mapping is a feature that allows you to set products to be available in different branches or partners at different prices. Here are the steps to access, create, edit, and manage product eligibility and price mapping in your system:
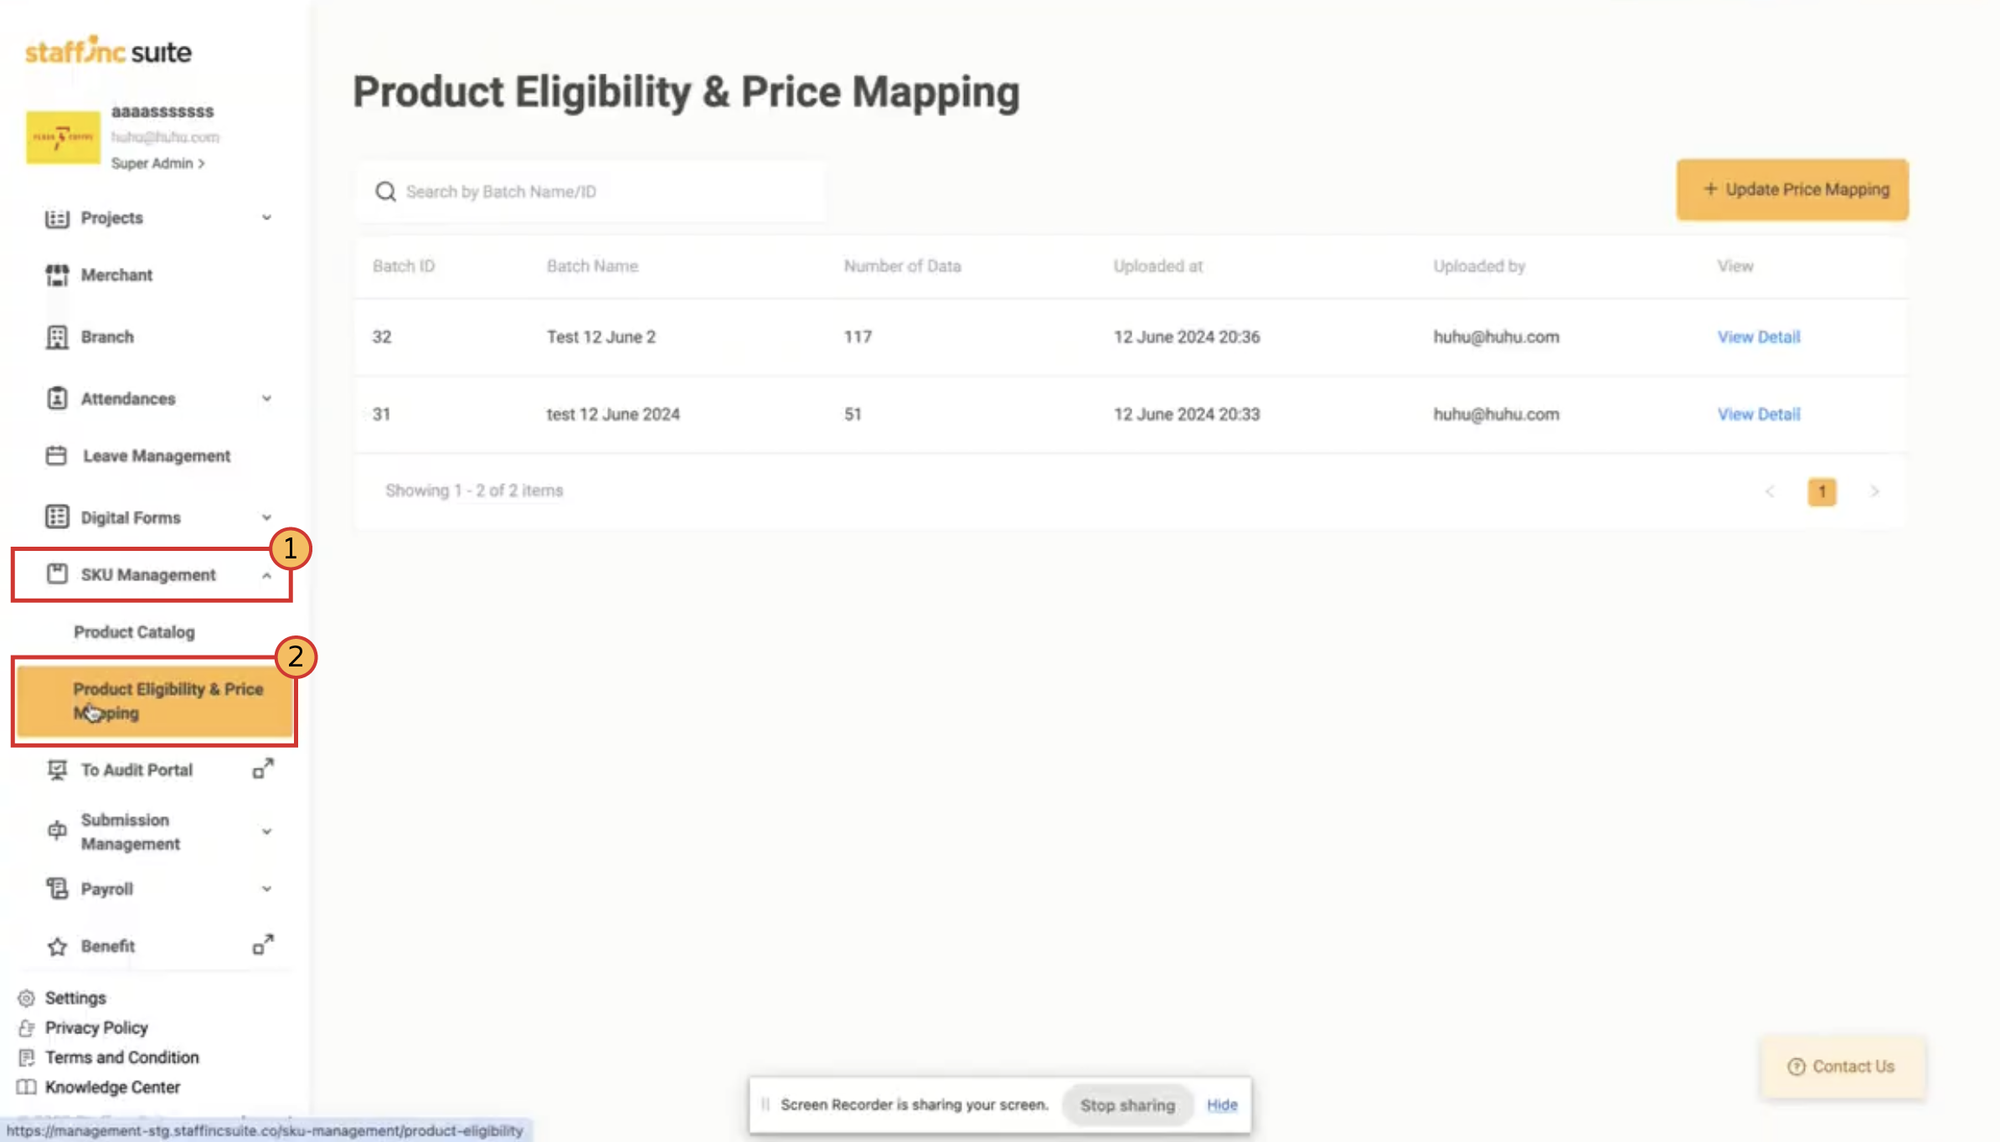
Accessing the Product Eligibility & Price Mapping Page
- Open the application and log in to your account.
- Click on SKU Management > Product Eligibility & Price Mapping.
- You will be directed to the page containing the Product Catalog list.
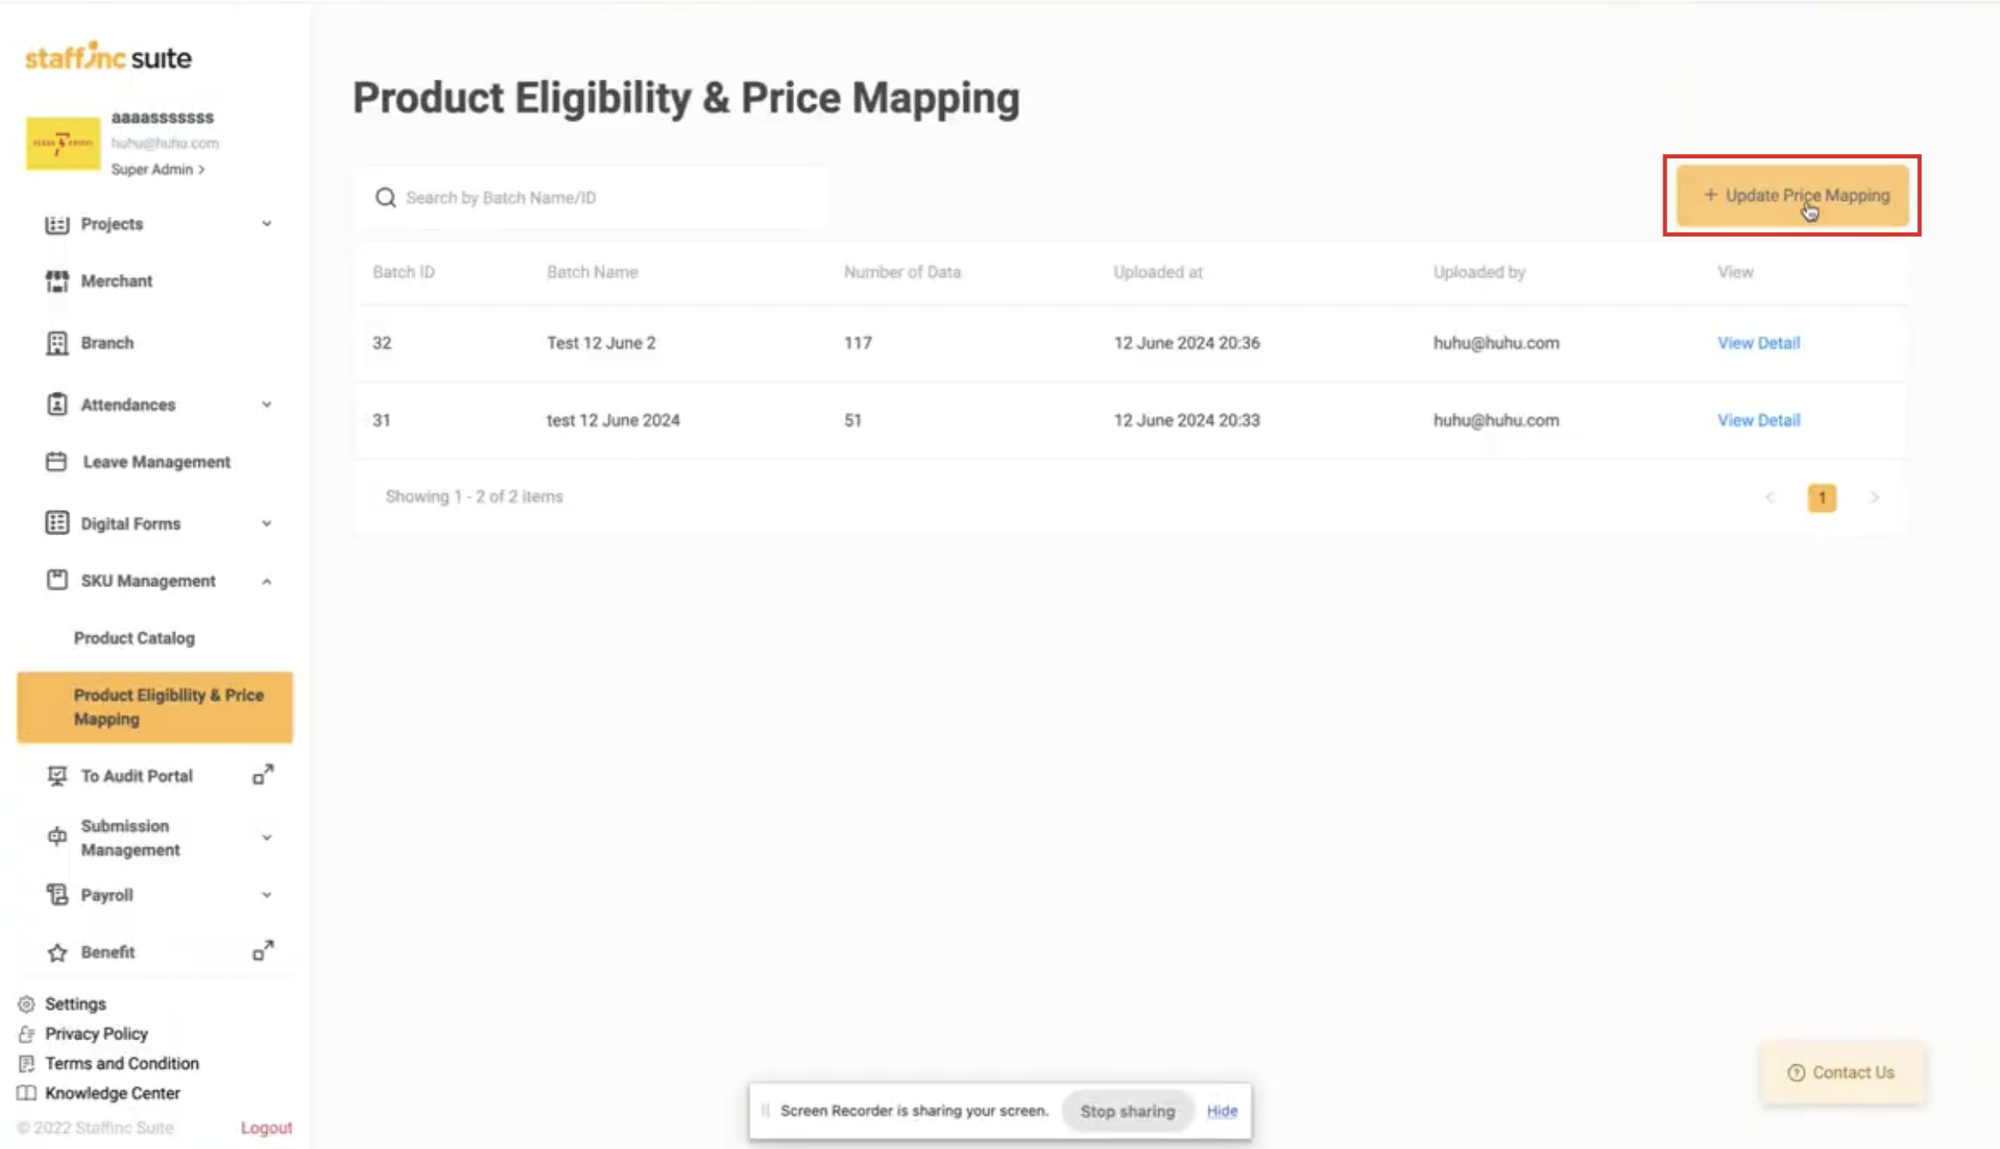
Update Price Mapping
1. Click Update Price Mapping
- Click the Update Price Mapping button.
2. Choose Data
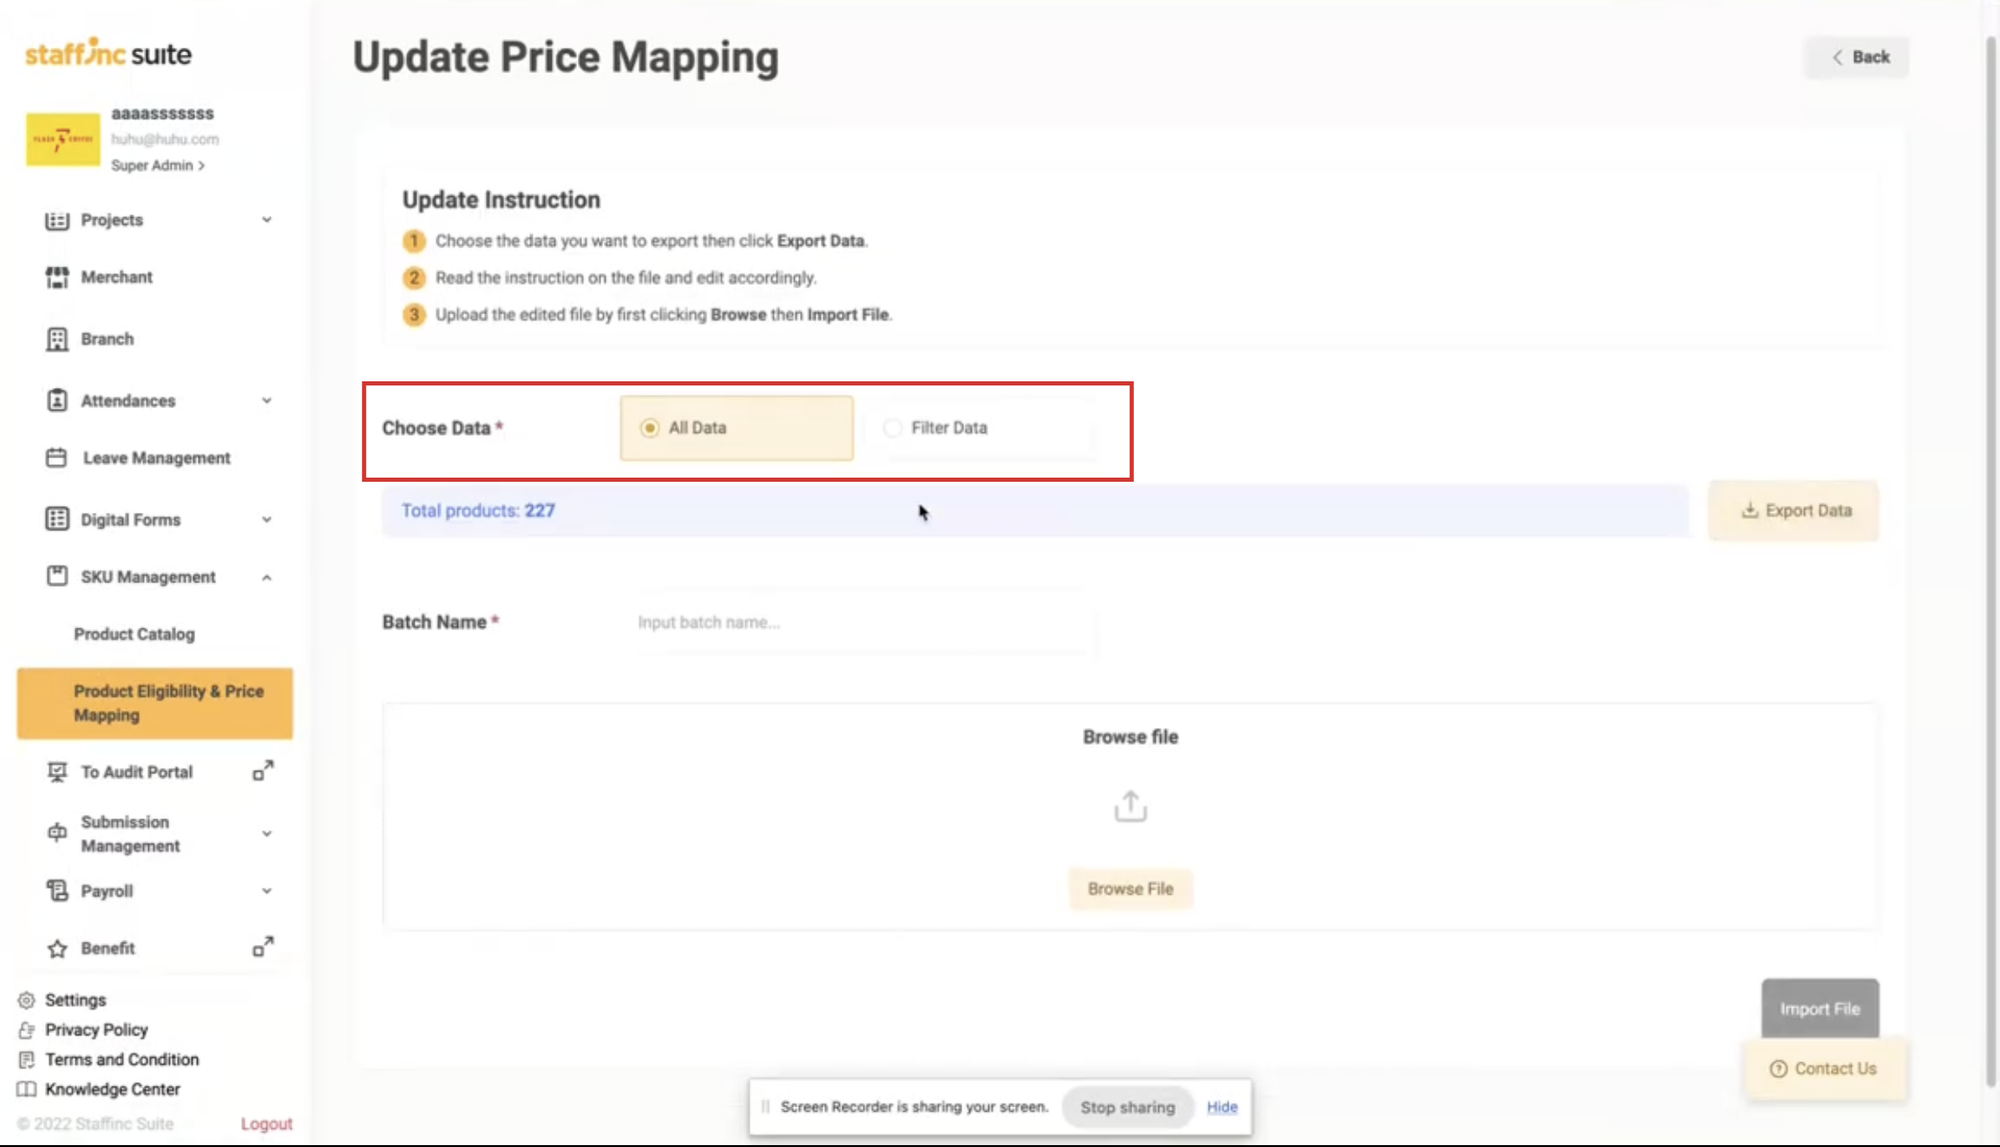
- To download all data, select All.
- Select Filter Data if you only want to download a specific set of data.
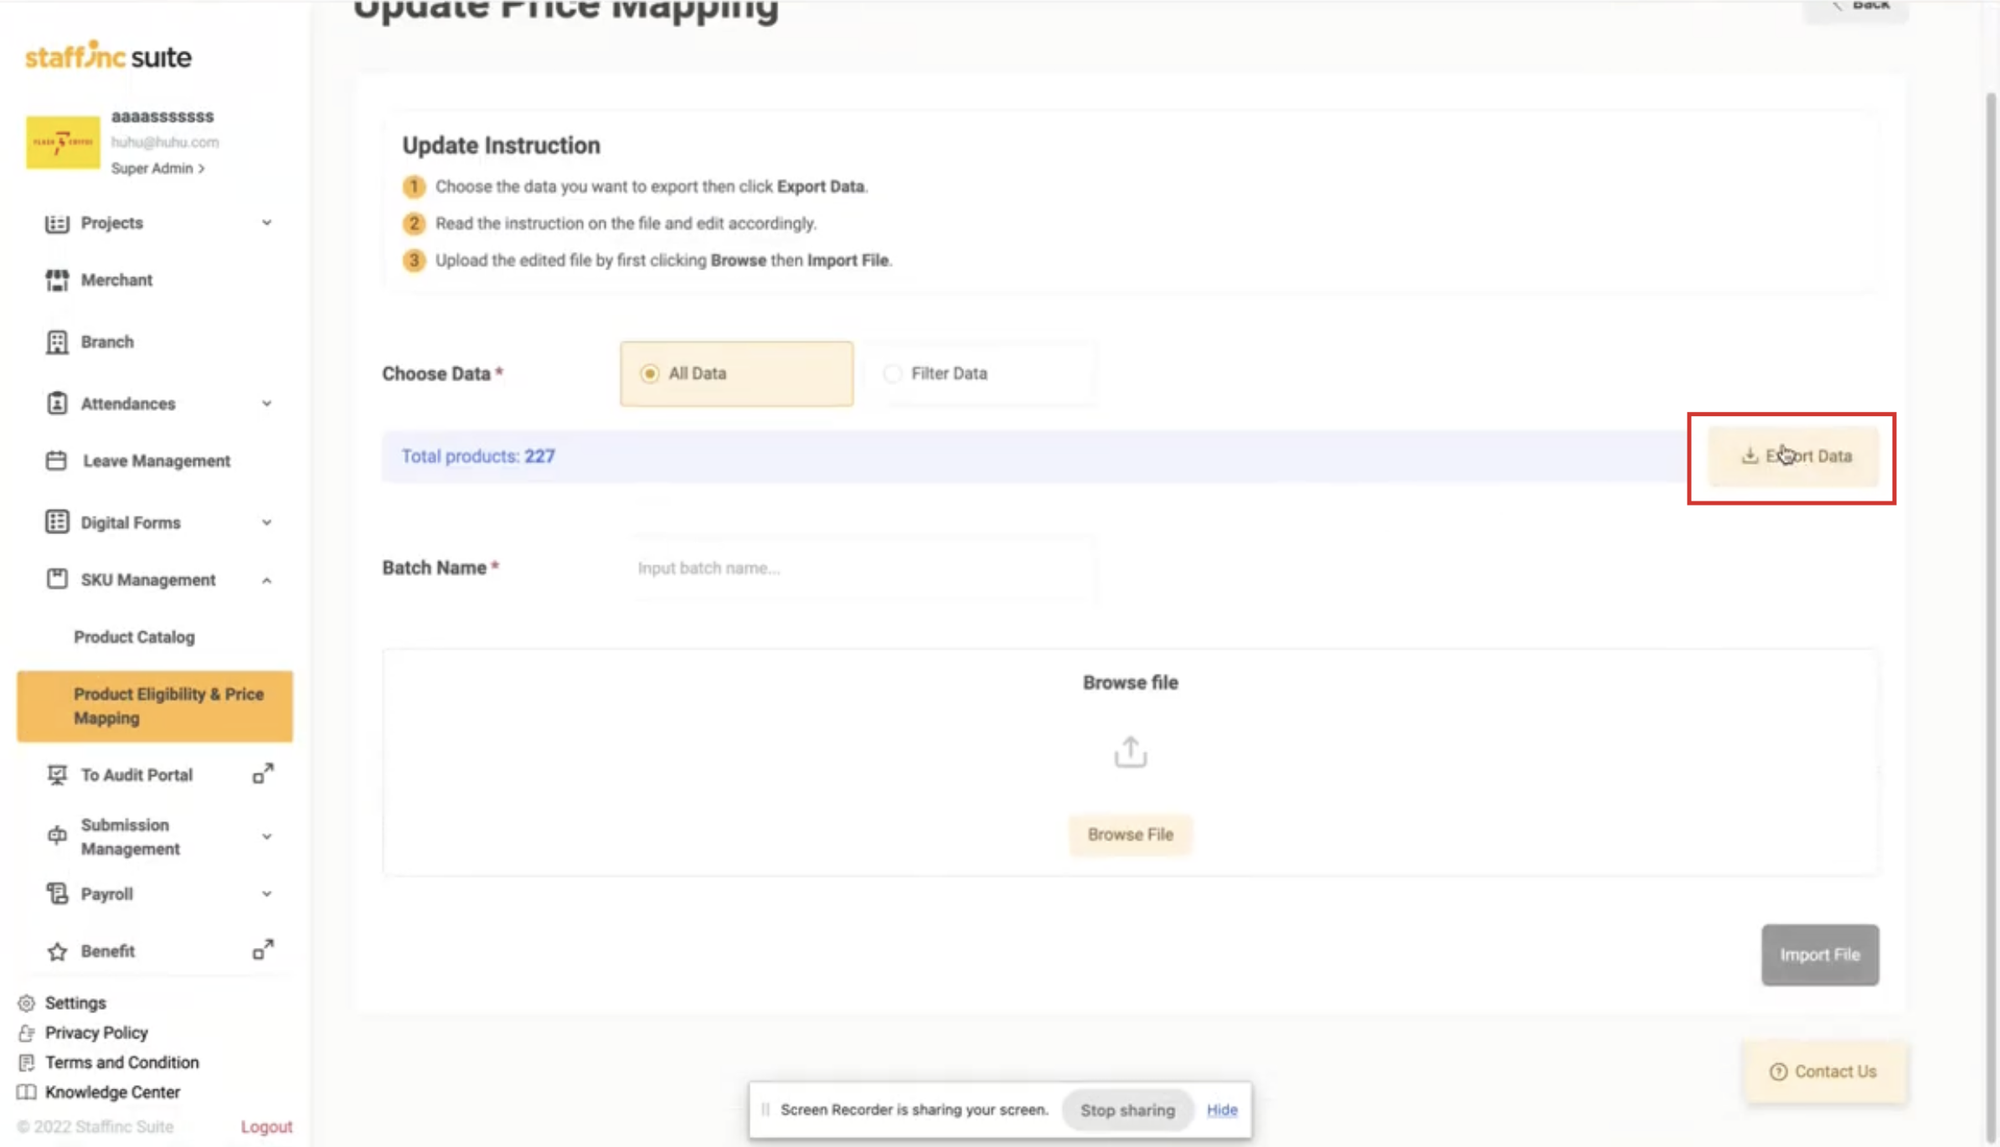
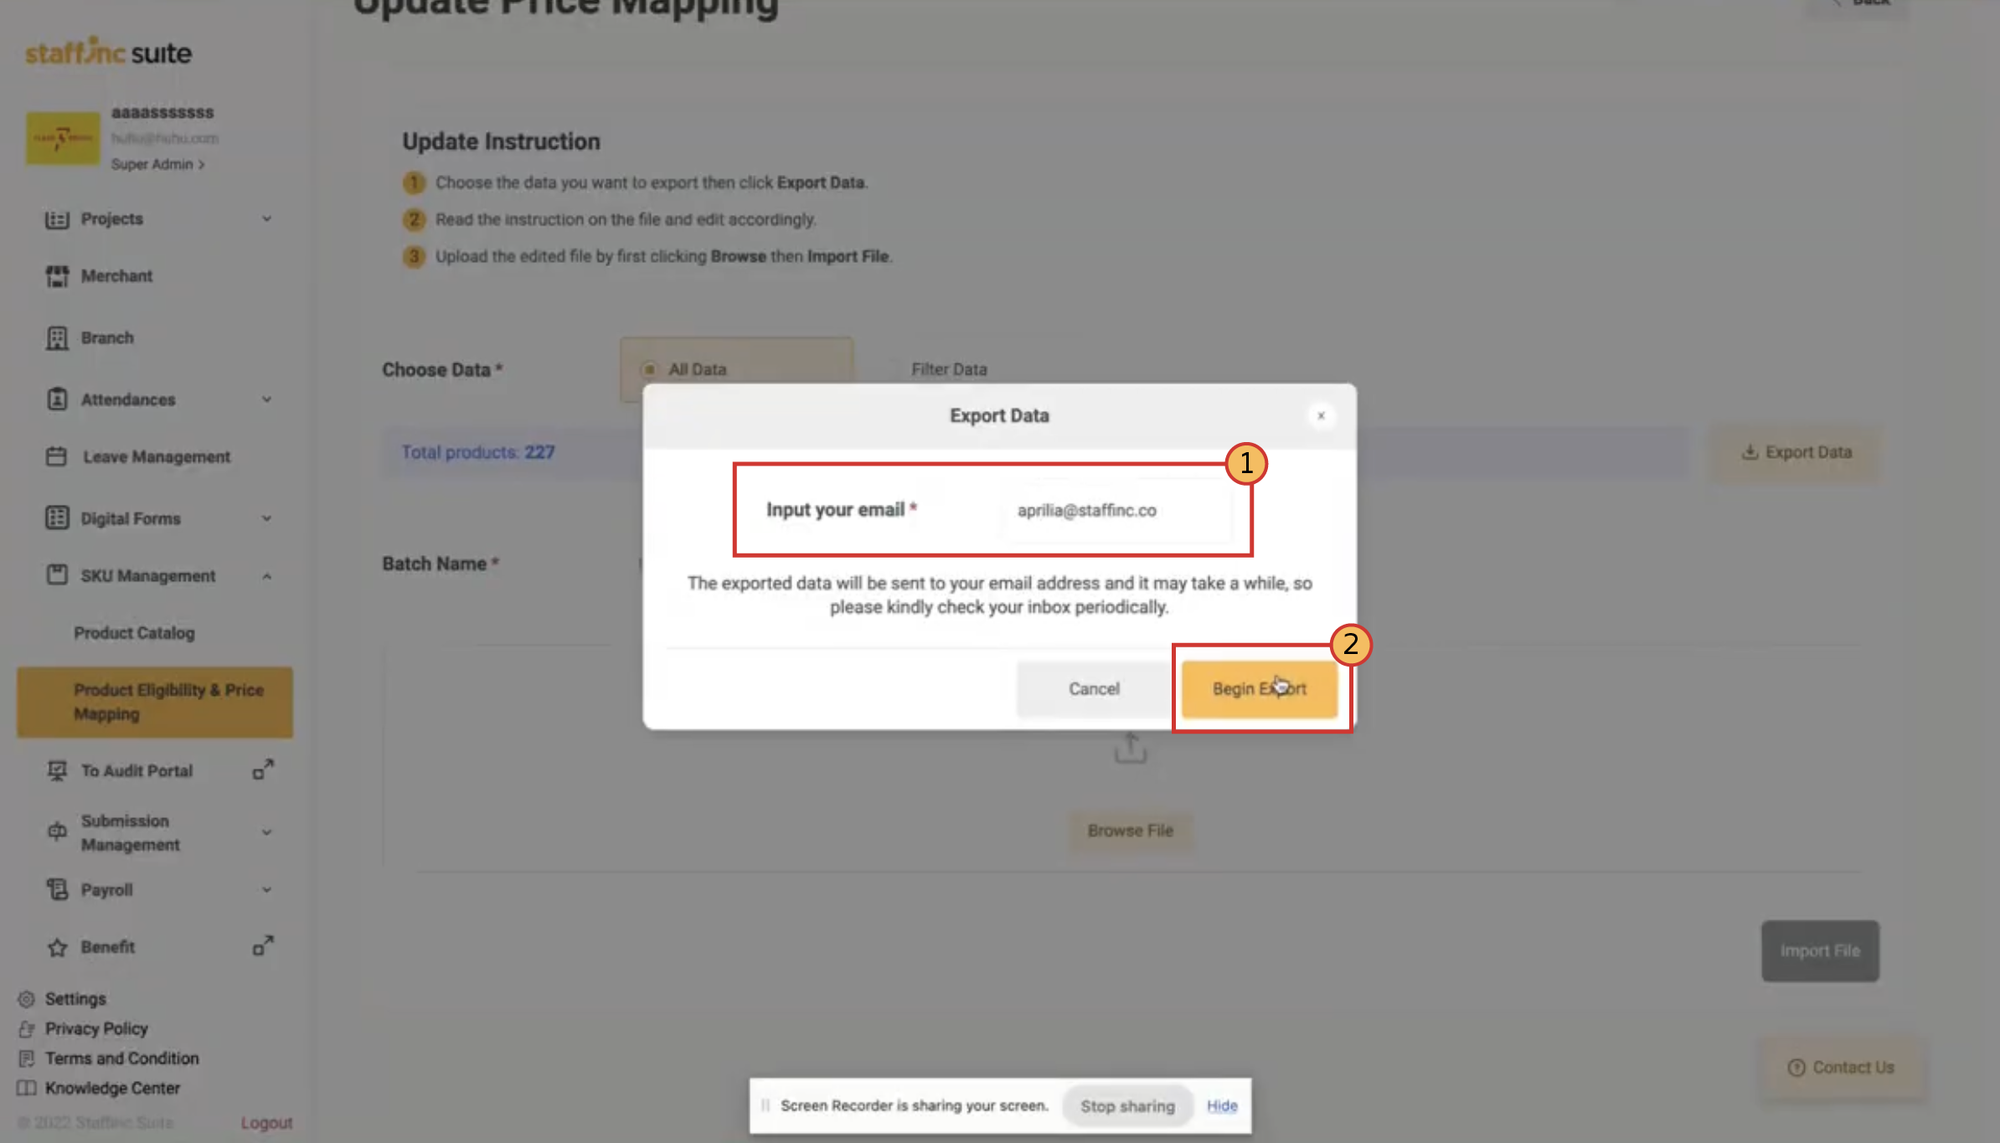
3. Export Data
-
Click Export Data.
-
Enter your email, then click Begin Export. The template will be sent to your email.
-
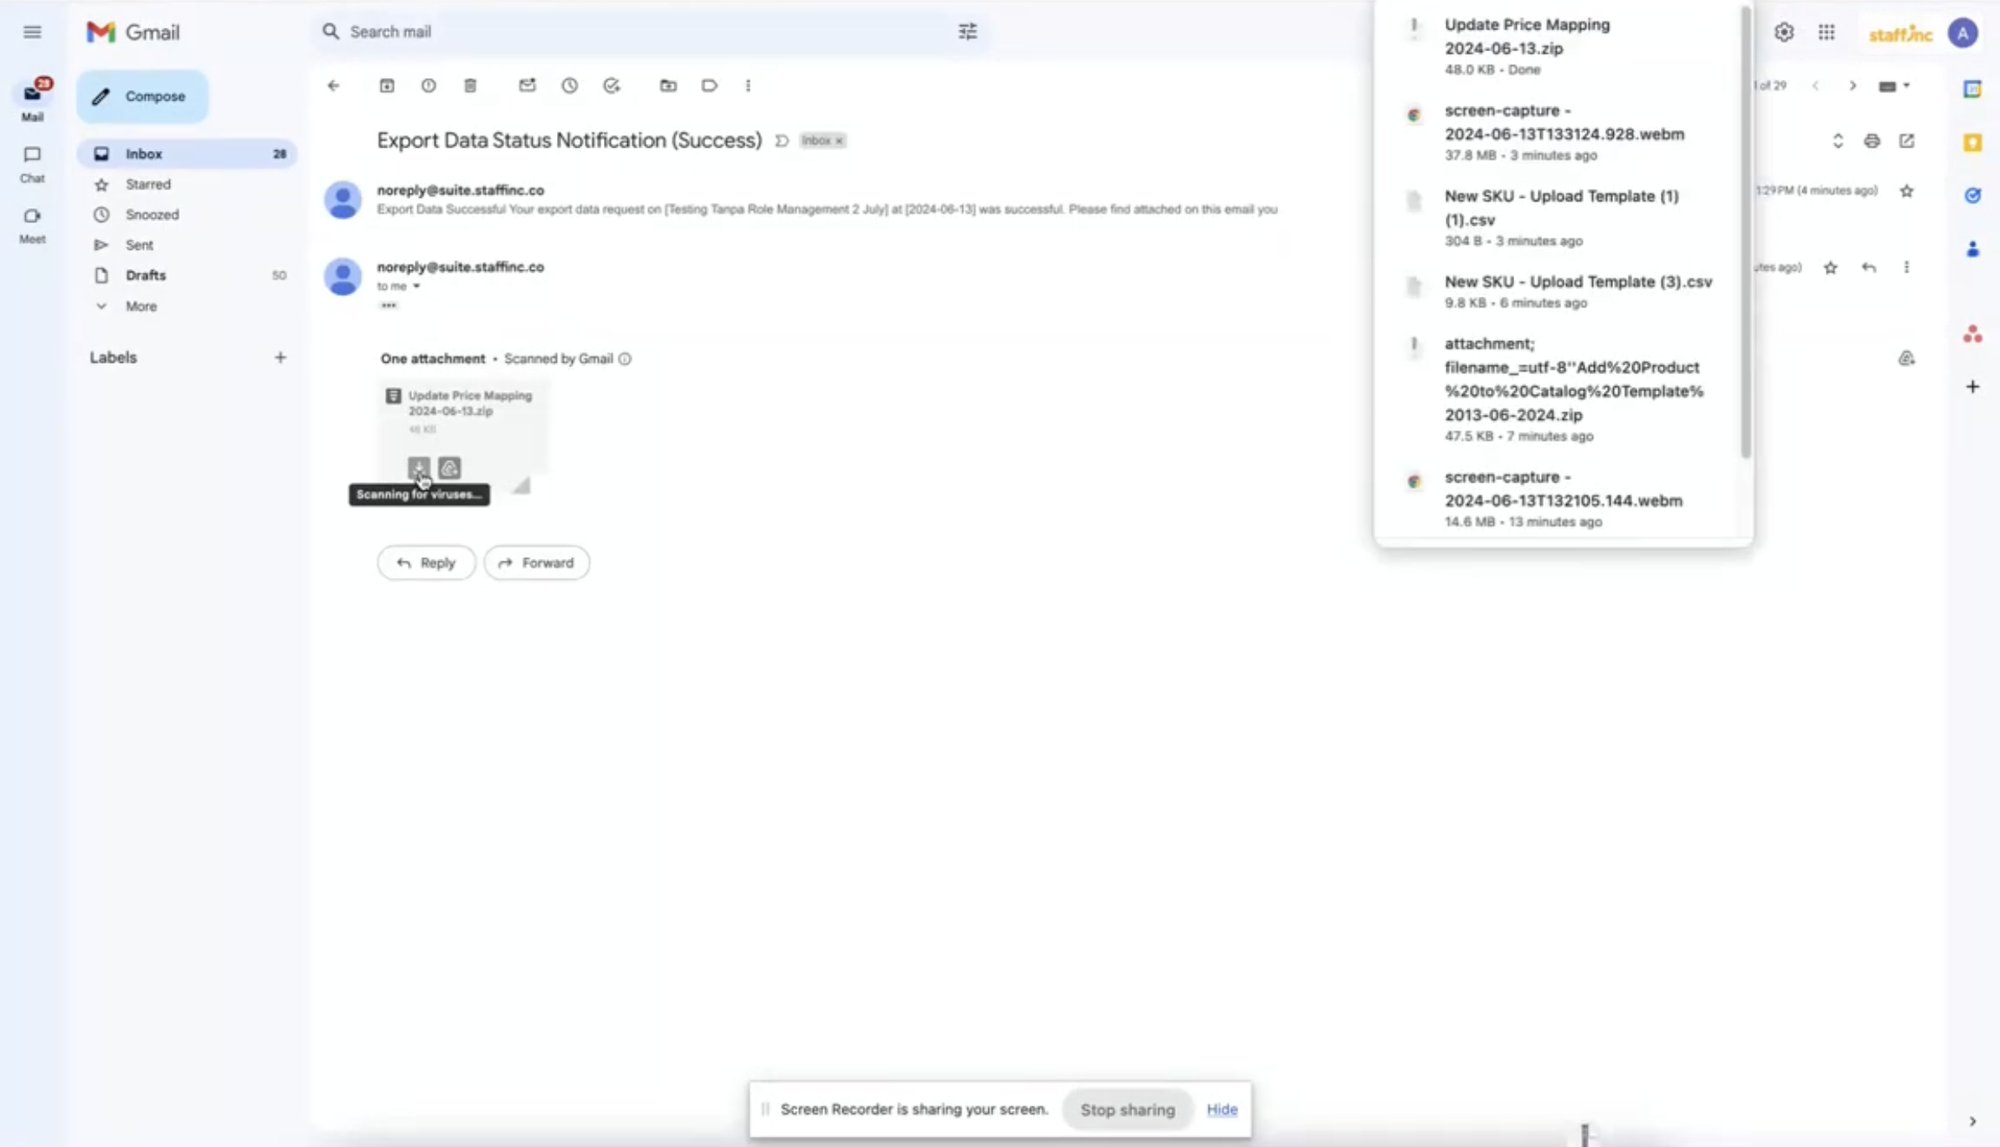
Open your email and download the received file. The file will be in ZIP format.
-
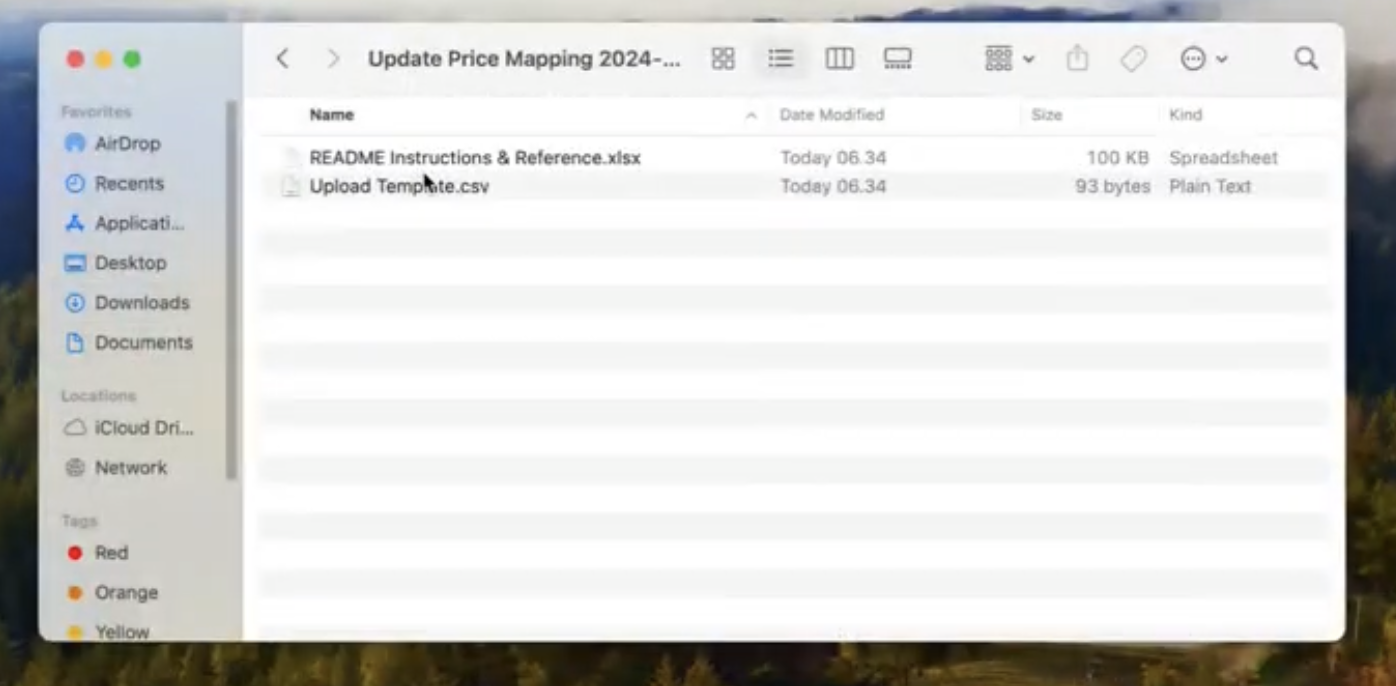
Extract the ZIP file.
4. Edit Template
-
Open the template file with Microsoft Excel or spreadsheet application.
-
Read the sheet Instruction to avoid errors in filling out data and follow the given instructions.
-
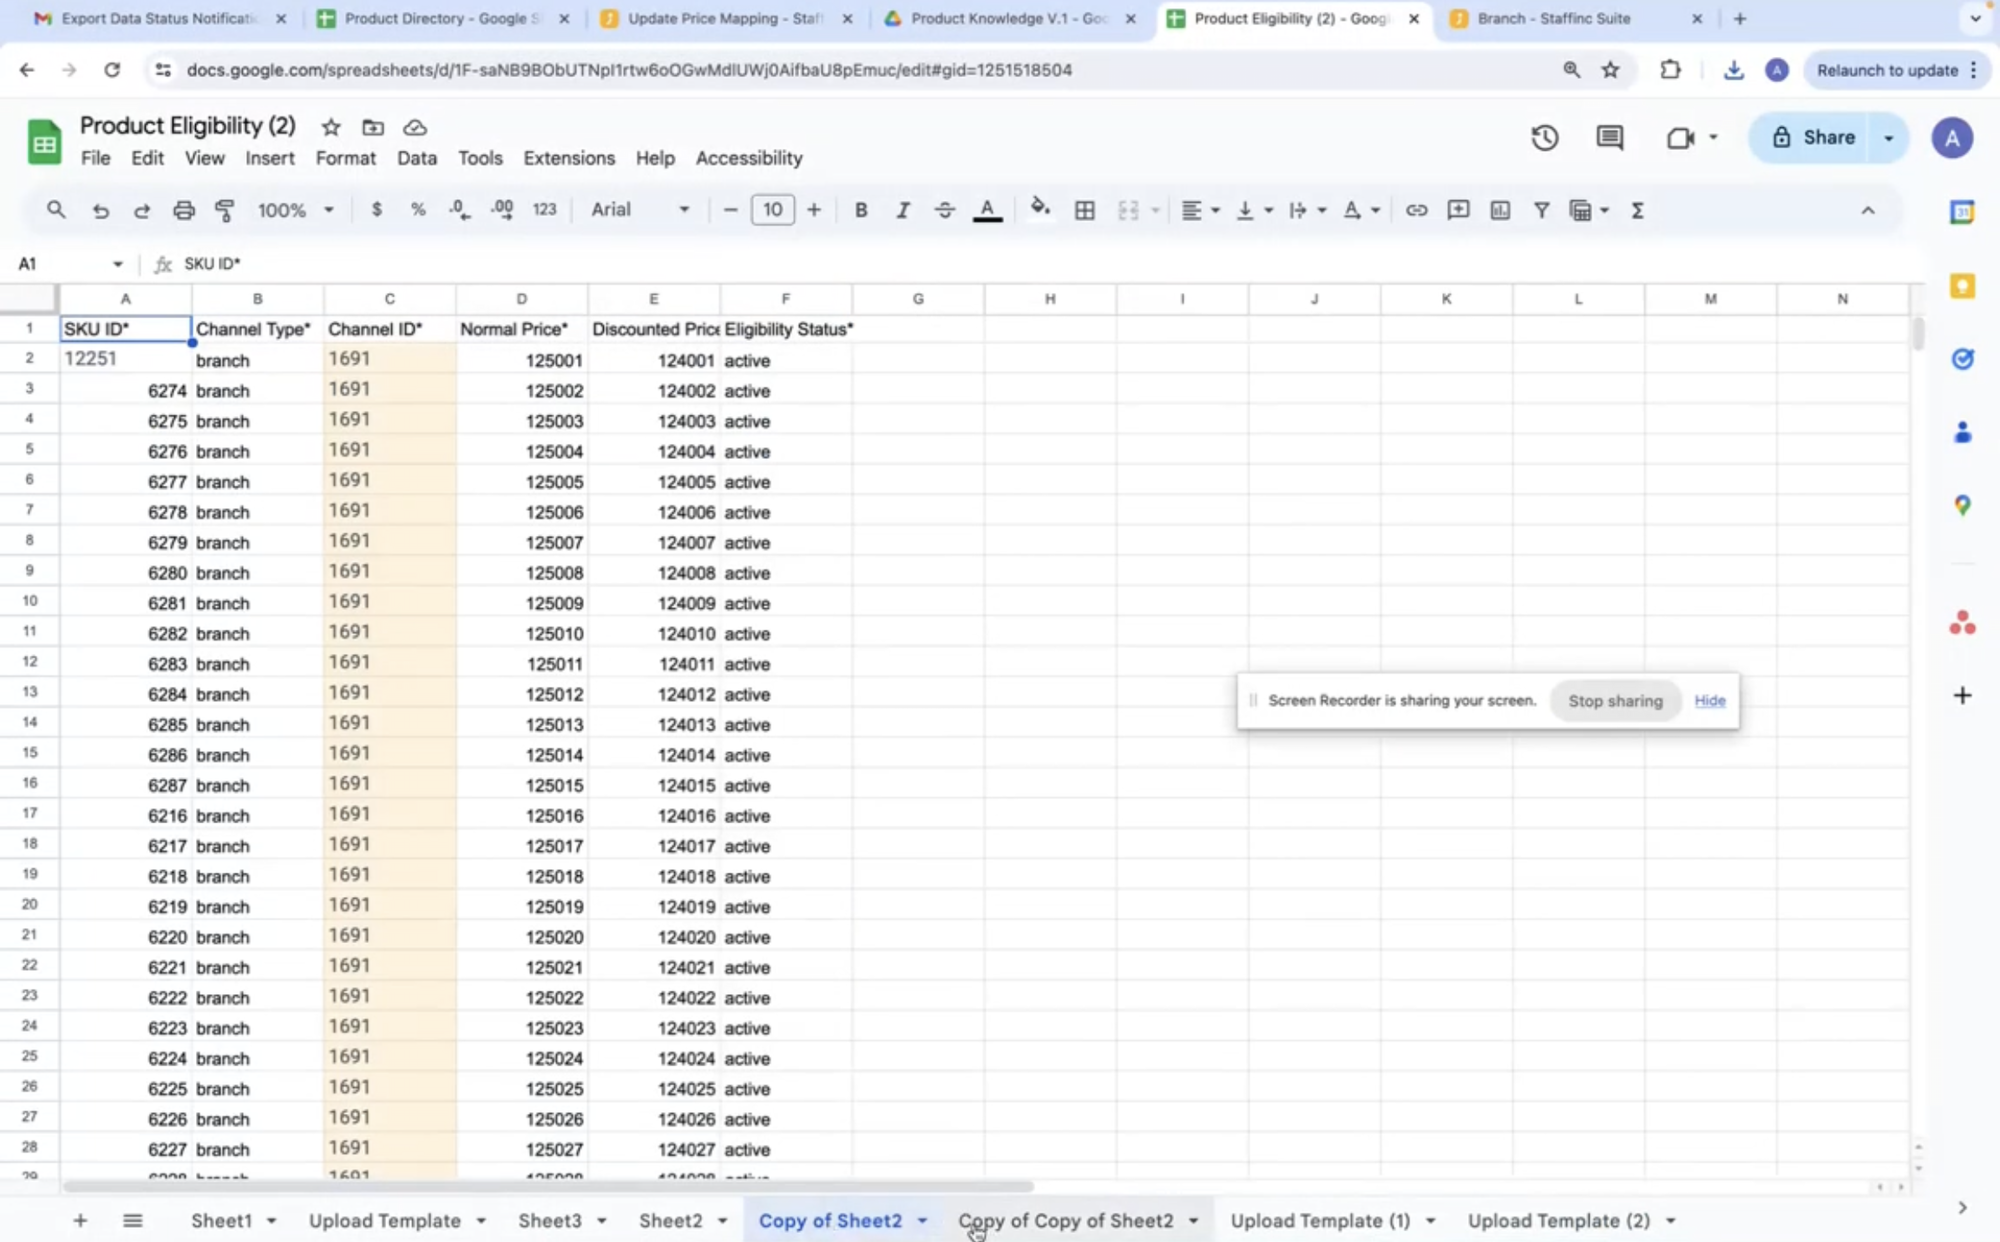
Edit the template according to your product information on the Upload Template sheet. Data points on the template include:
-
SKU ID: Copy the appropriate product SKU ID. -
Channel: Enter the branch or partner. -
Channel ID: Copy the ID corresponding to the target channel. -
Normal Price: The normal price of the product. -
Discounted Price: The product price after the discount. -
Eligibility Status: Information on whether the product is available or not.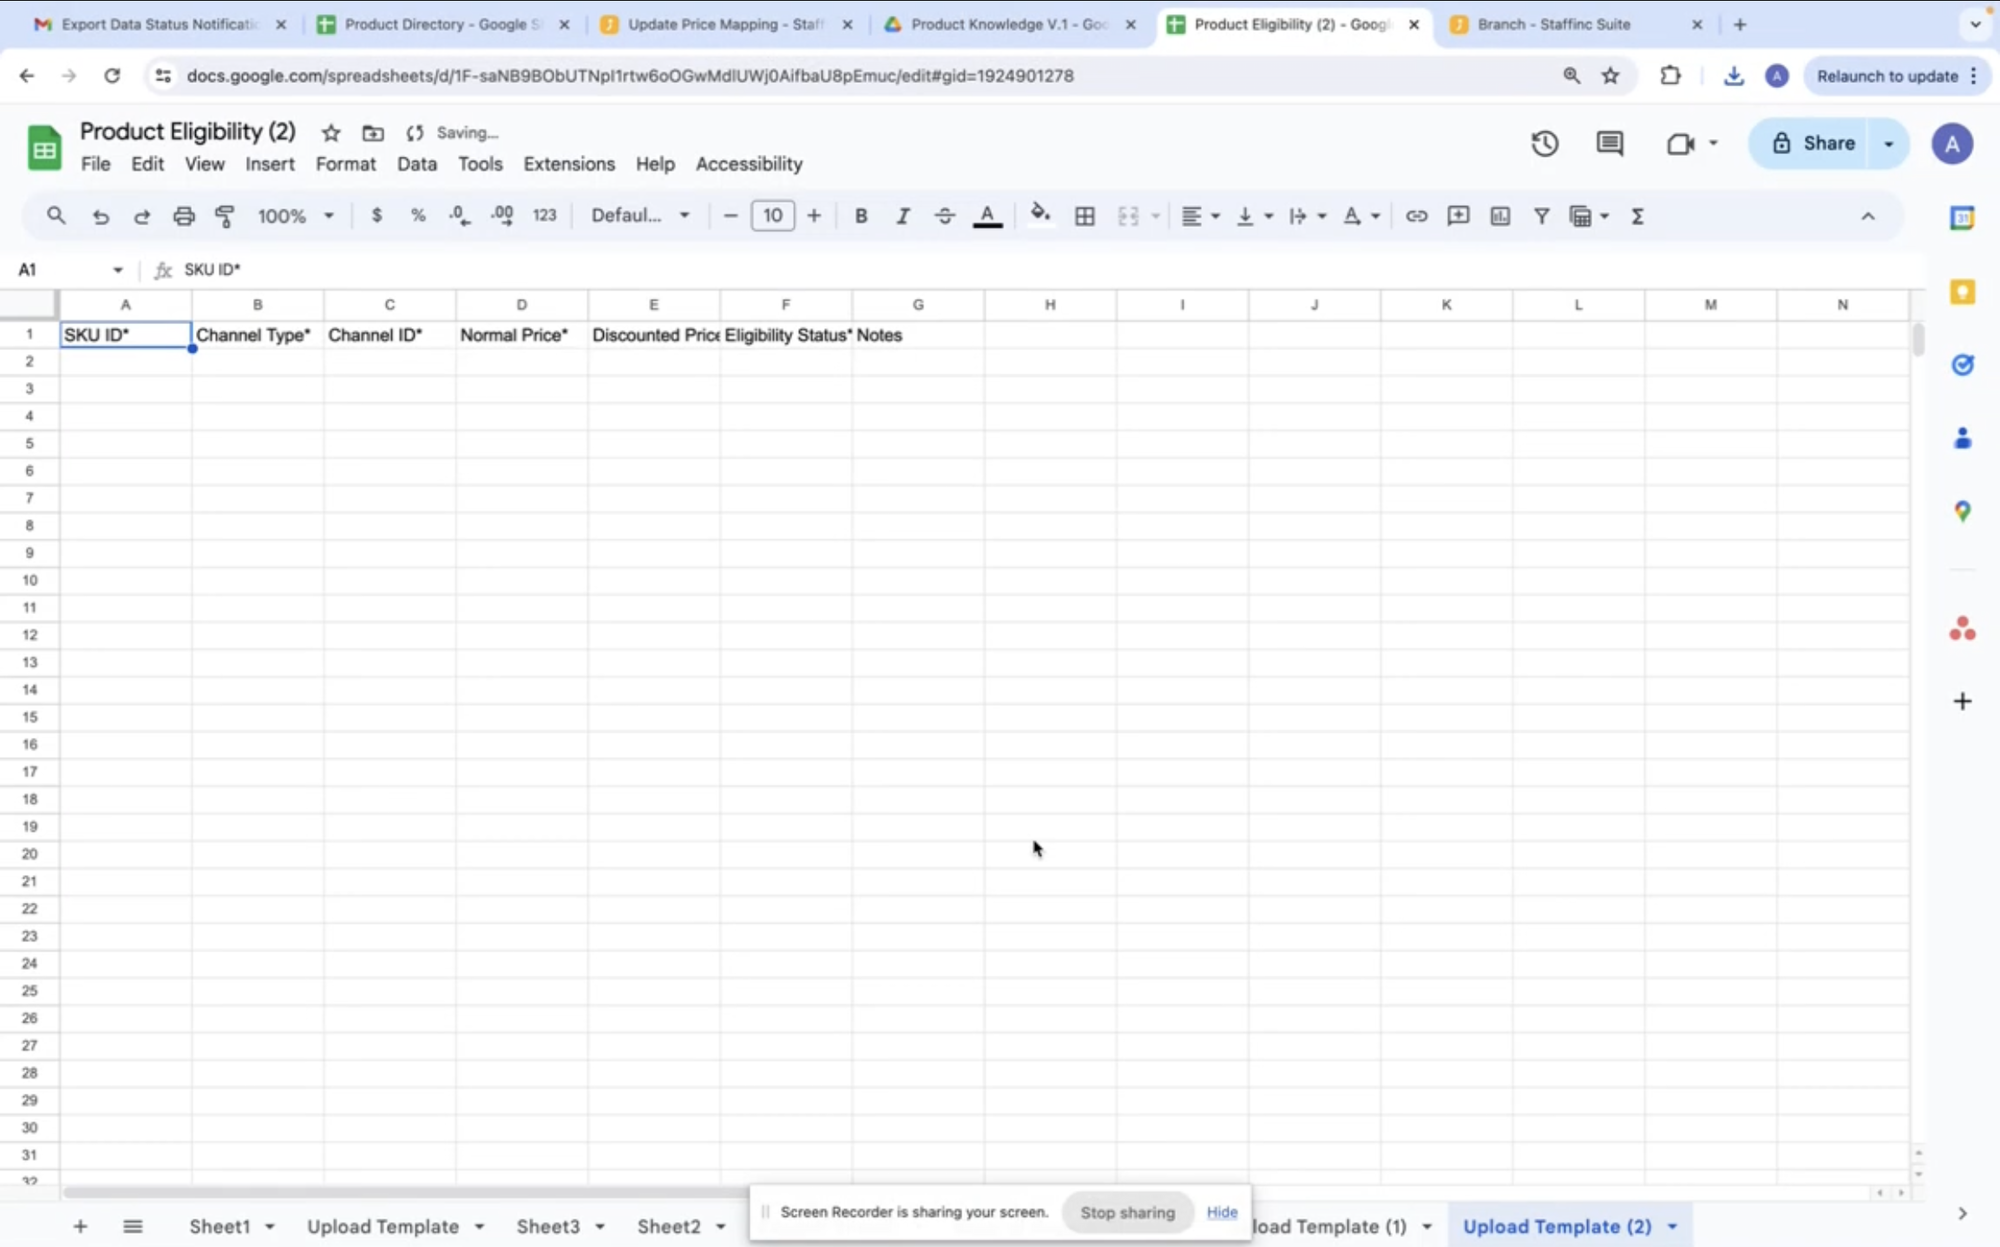
-
-
You can change, add, or delete data on the sheet.
-
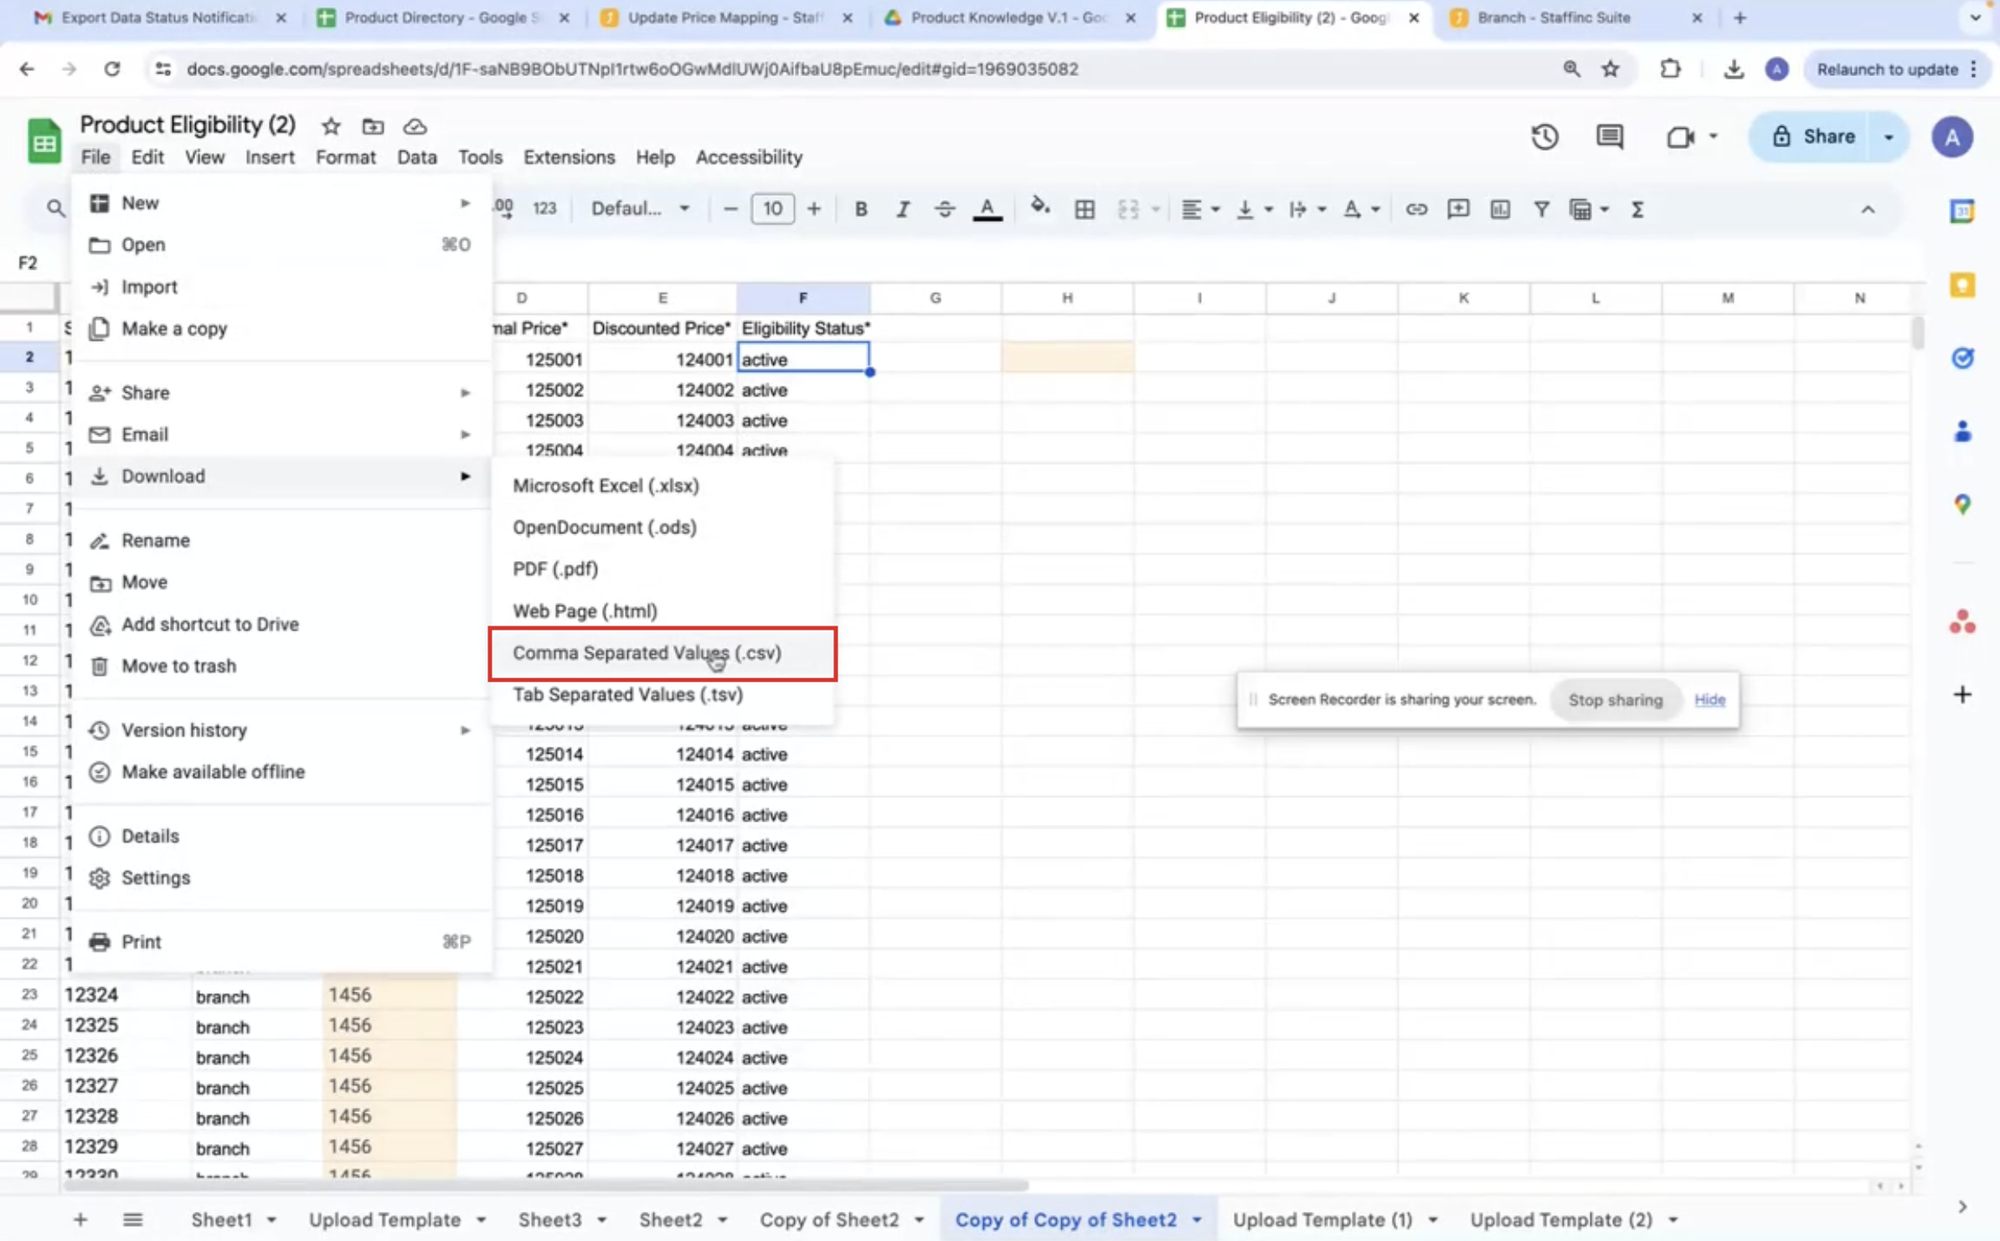
After completing the template, save the file in CSV format.
5. Upload Template
-
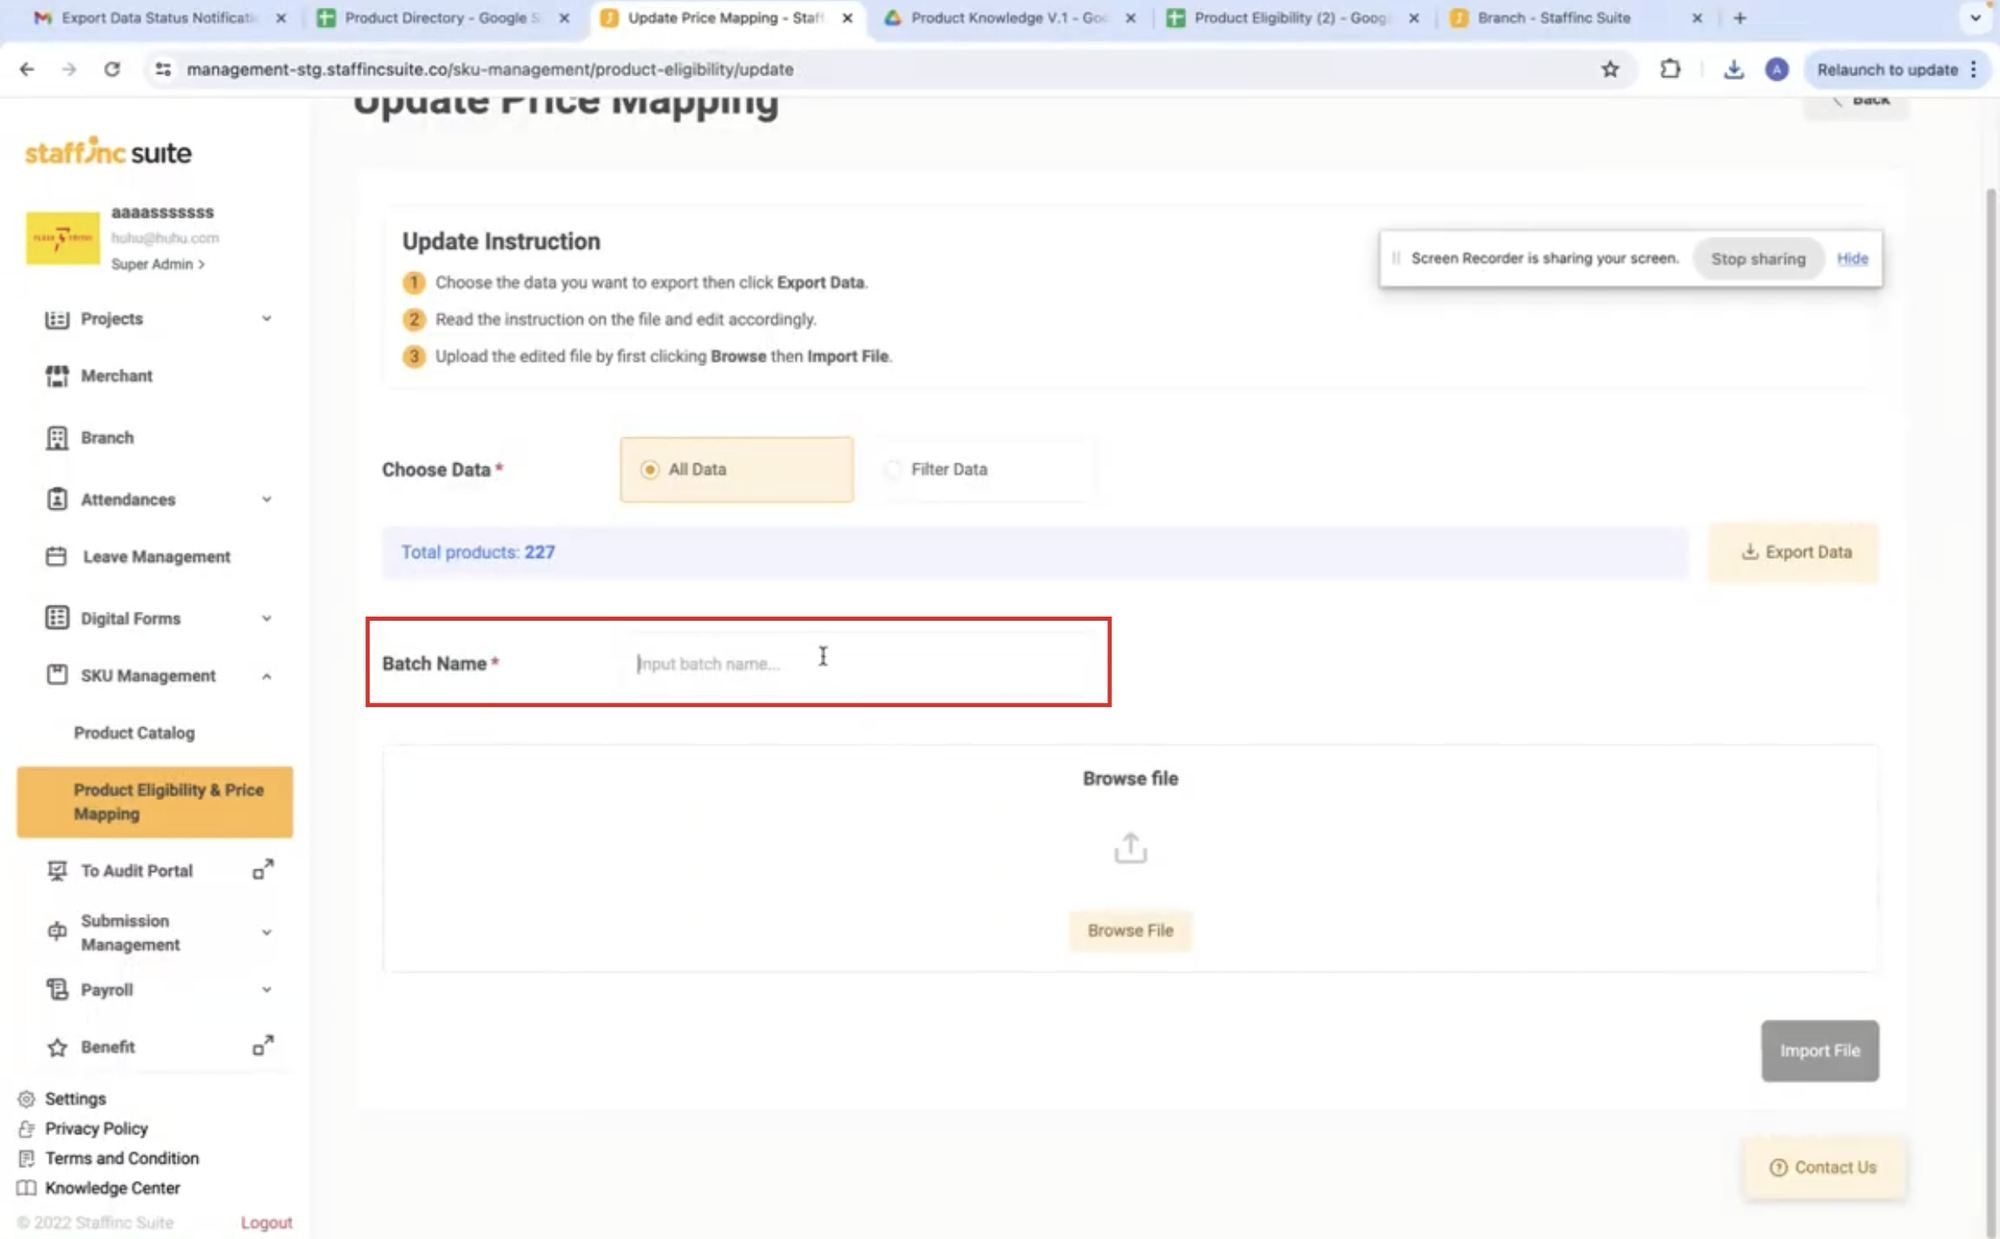
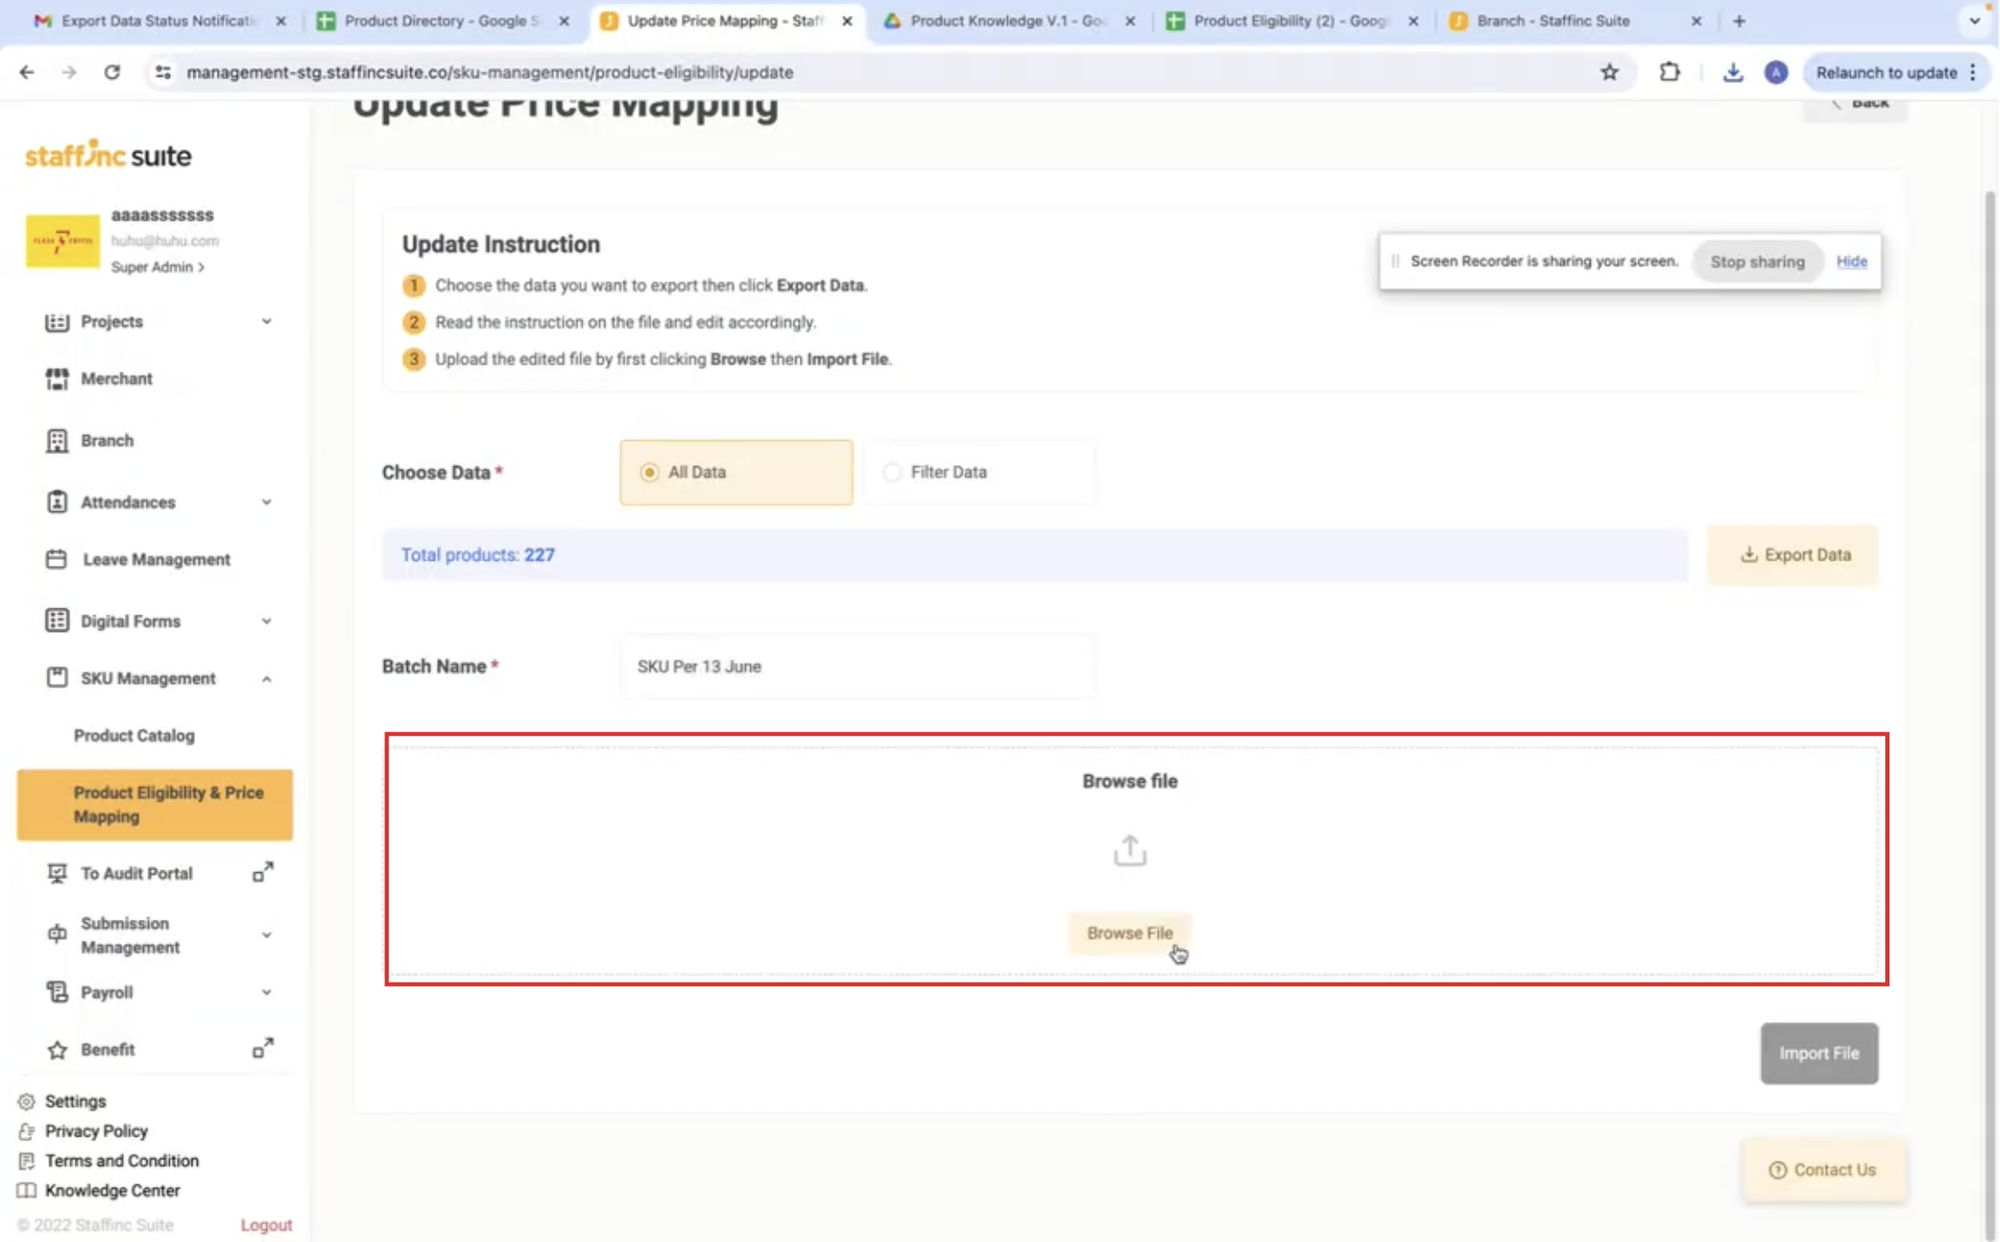
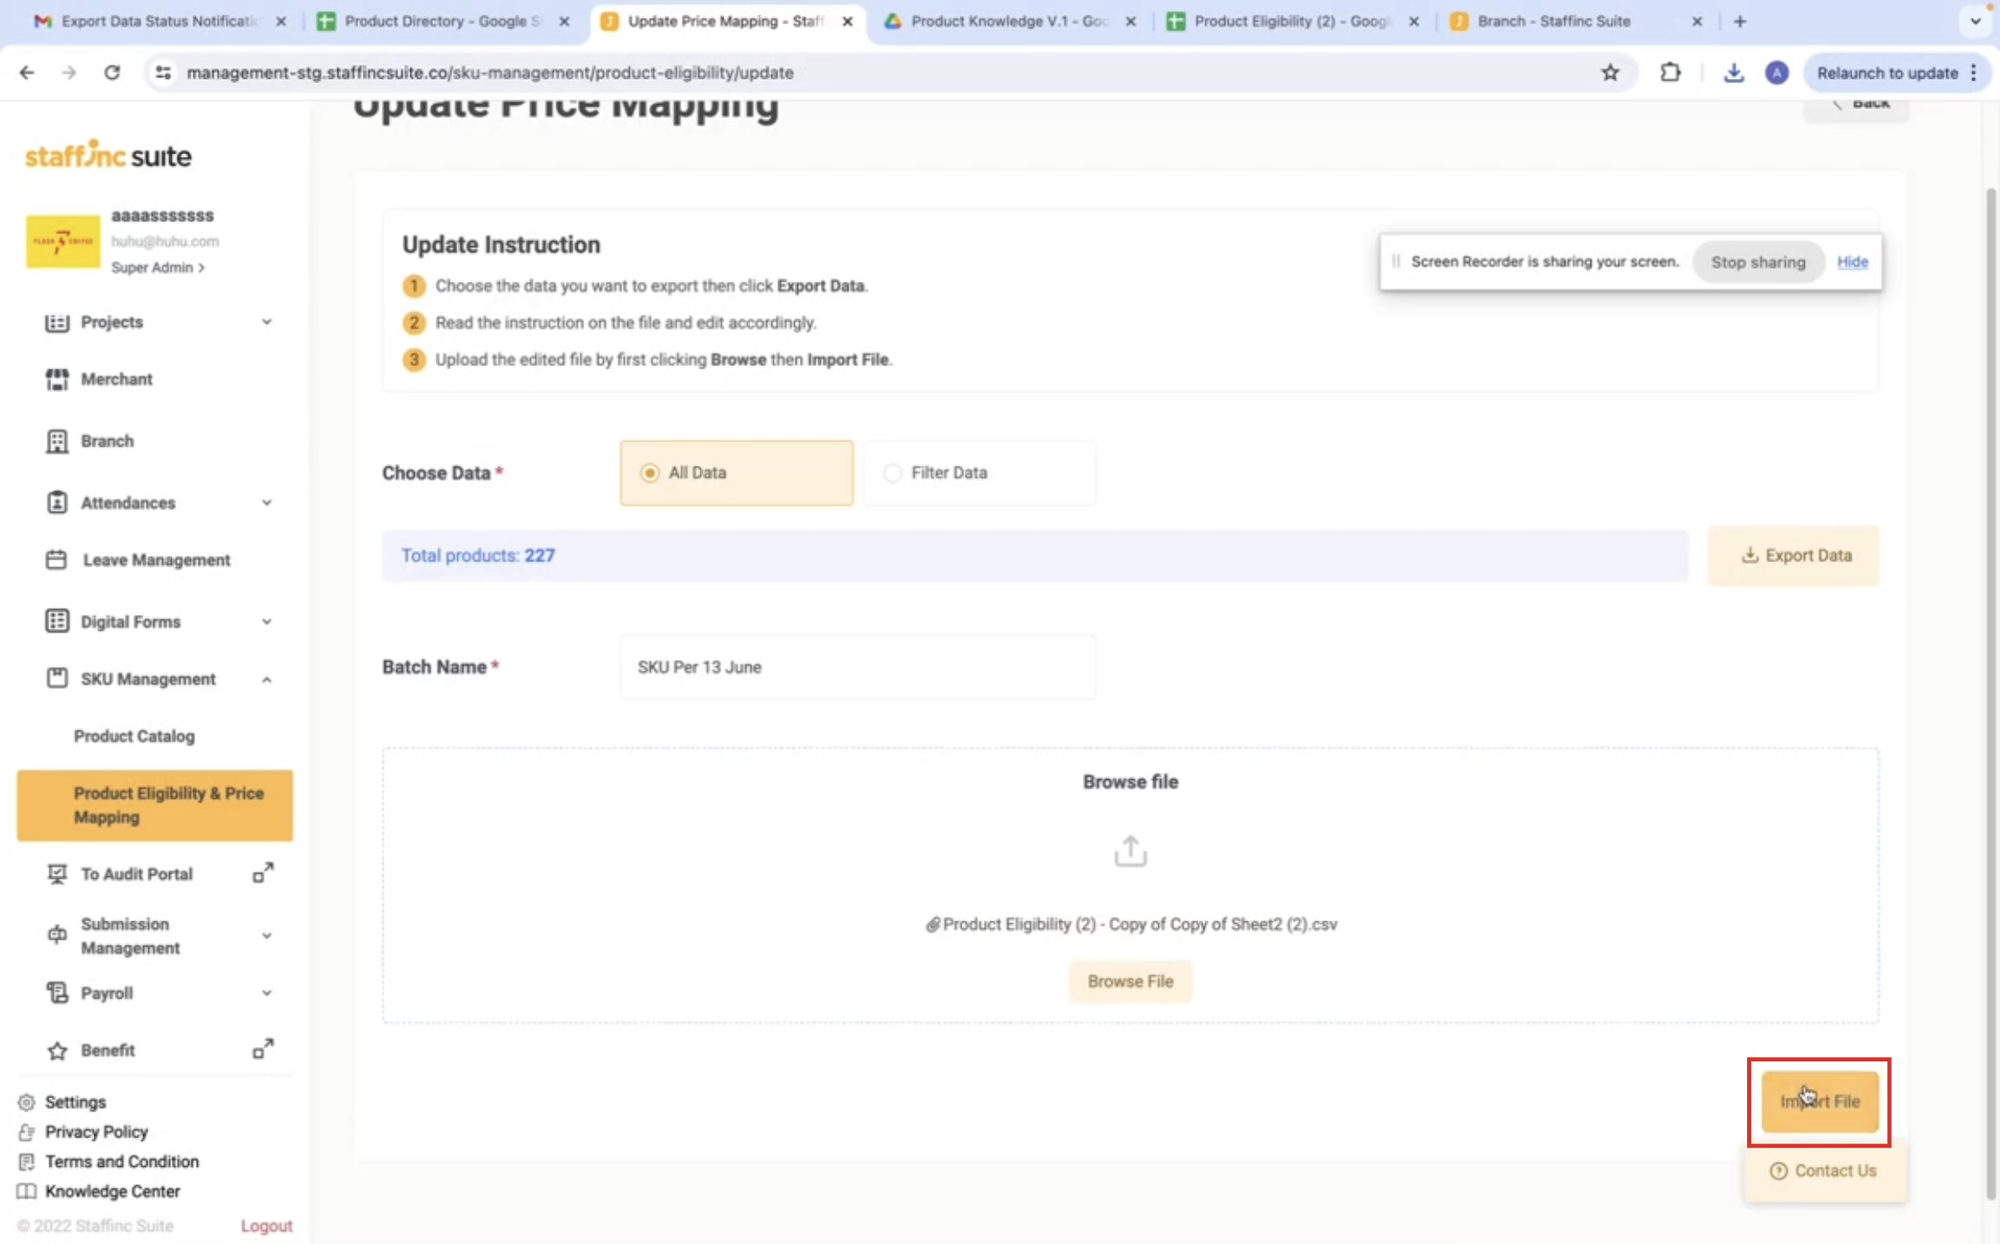
Return to the Edit Product page, then fill in the batch name.
-
Click Browse File to upload the CSV file.
-
After selecting the file, click Import File.
-
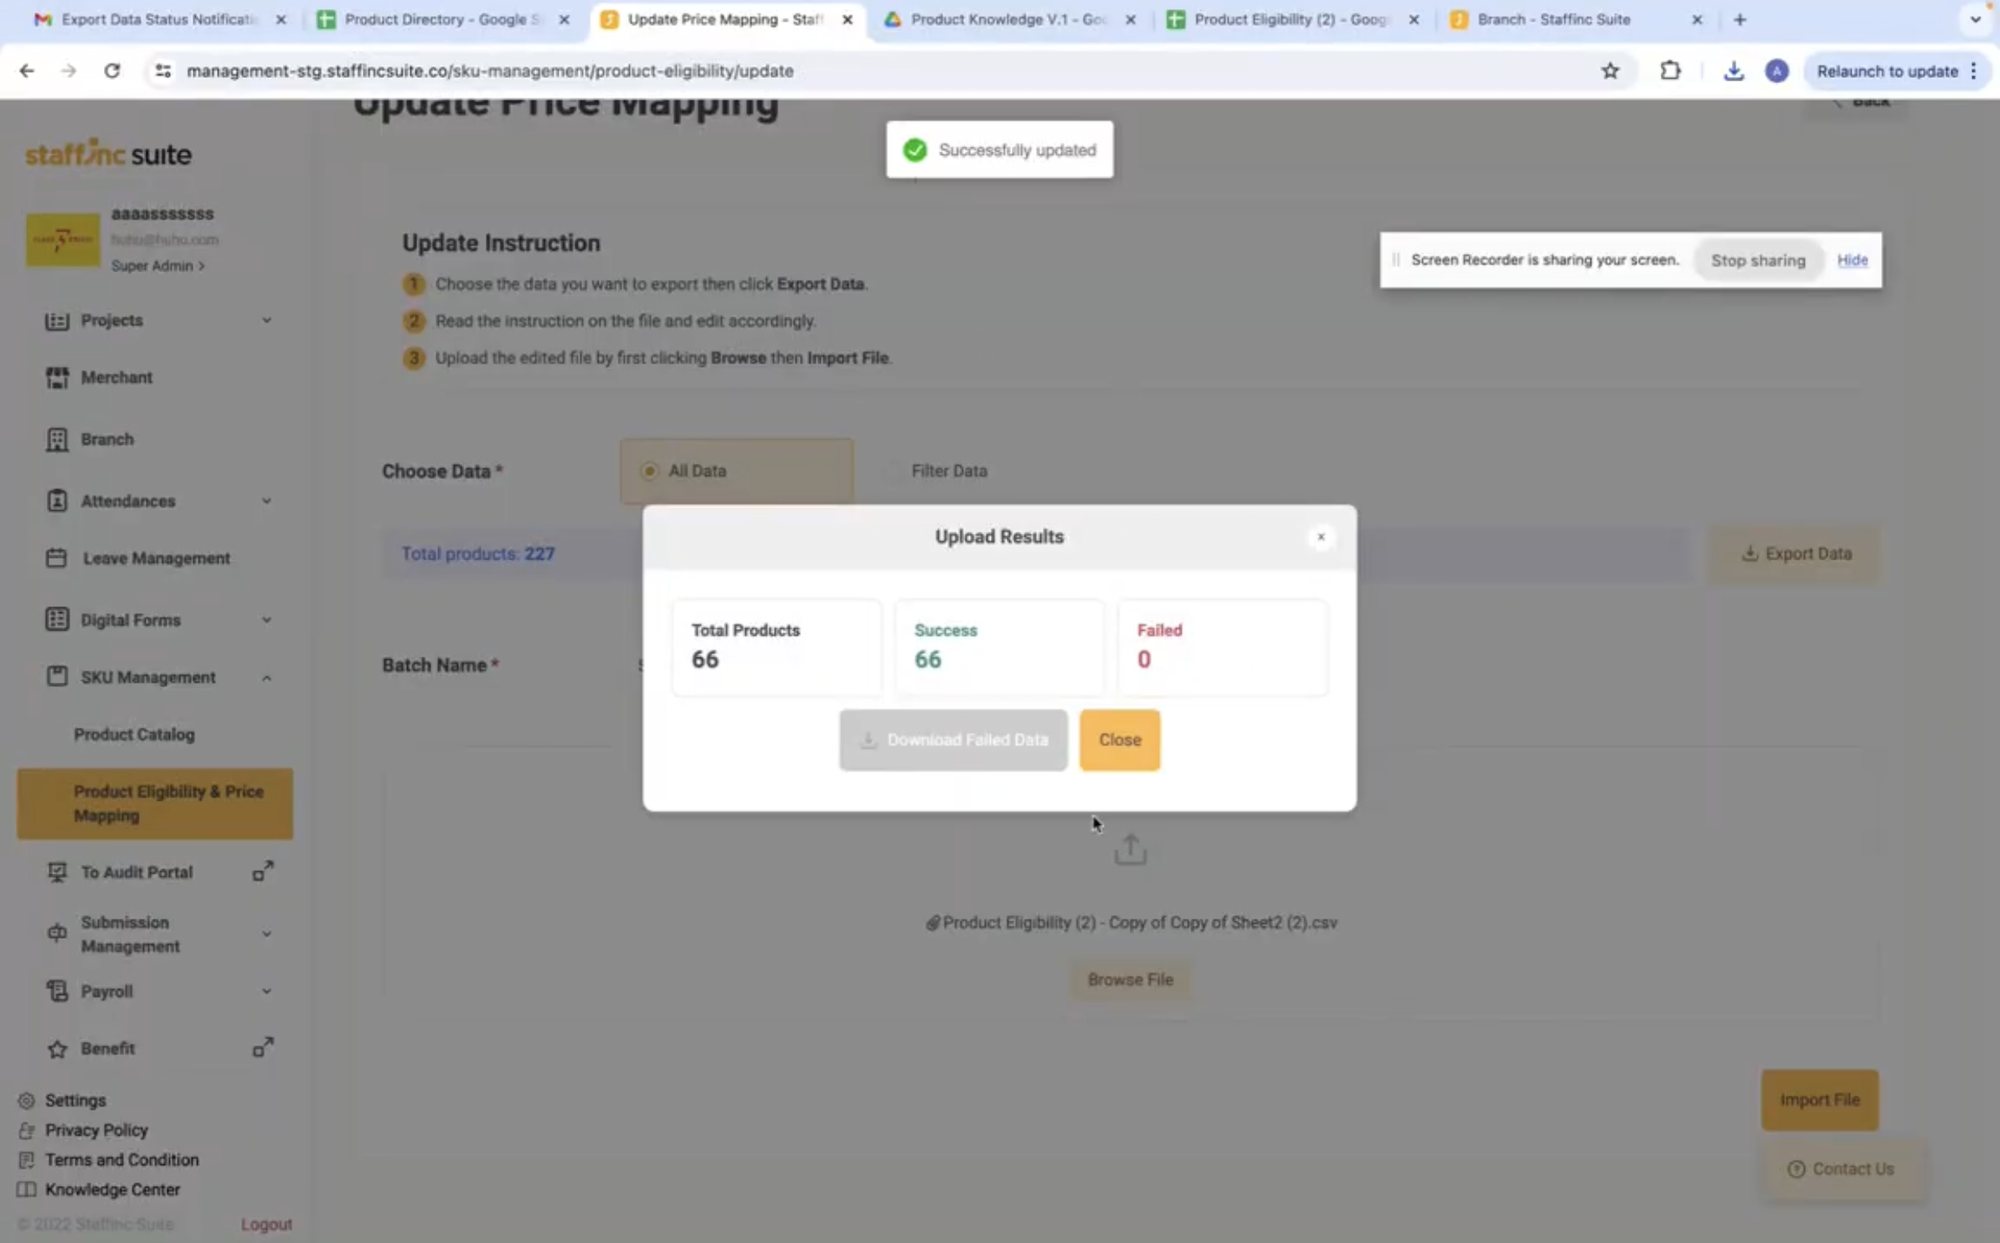
The Upload Results window will appear. After finishing, click the Close button.
-
The new Product Eligibility & Price Mapping you created will appear in the list.
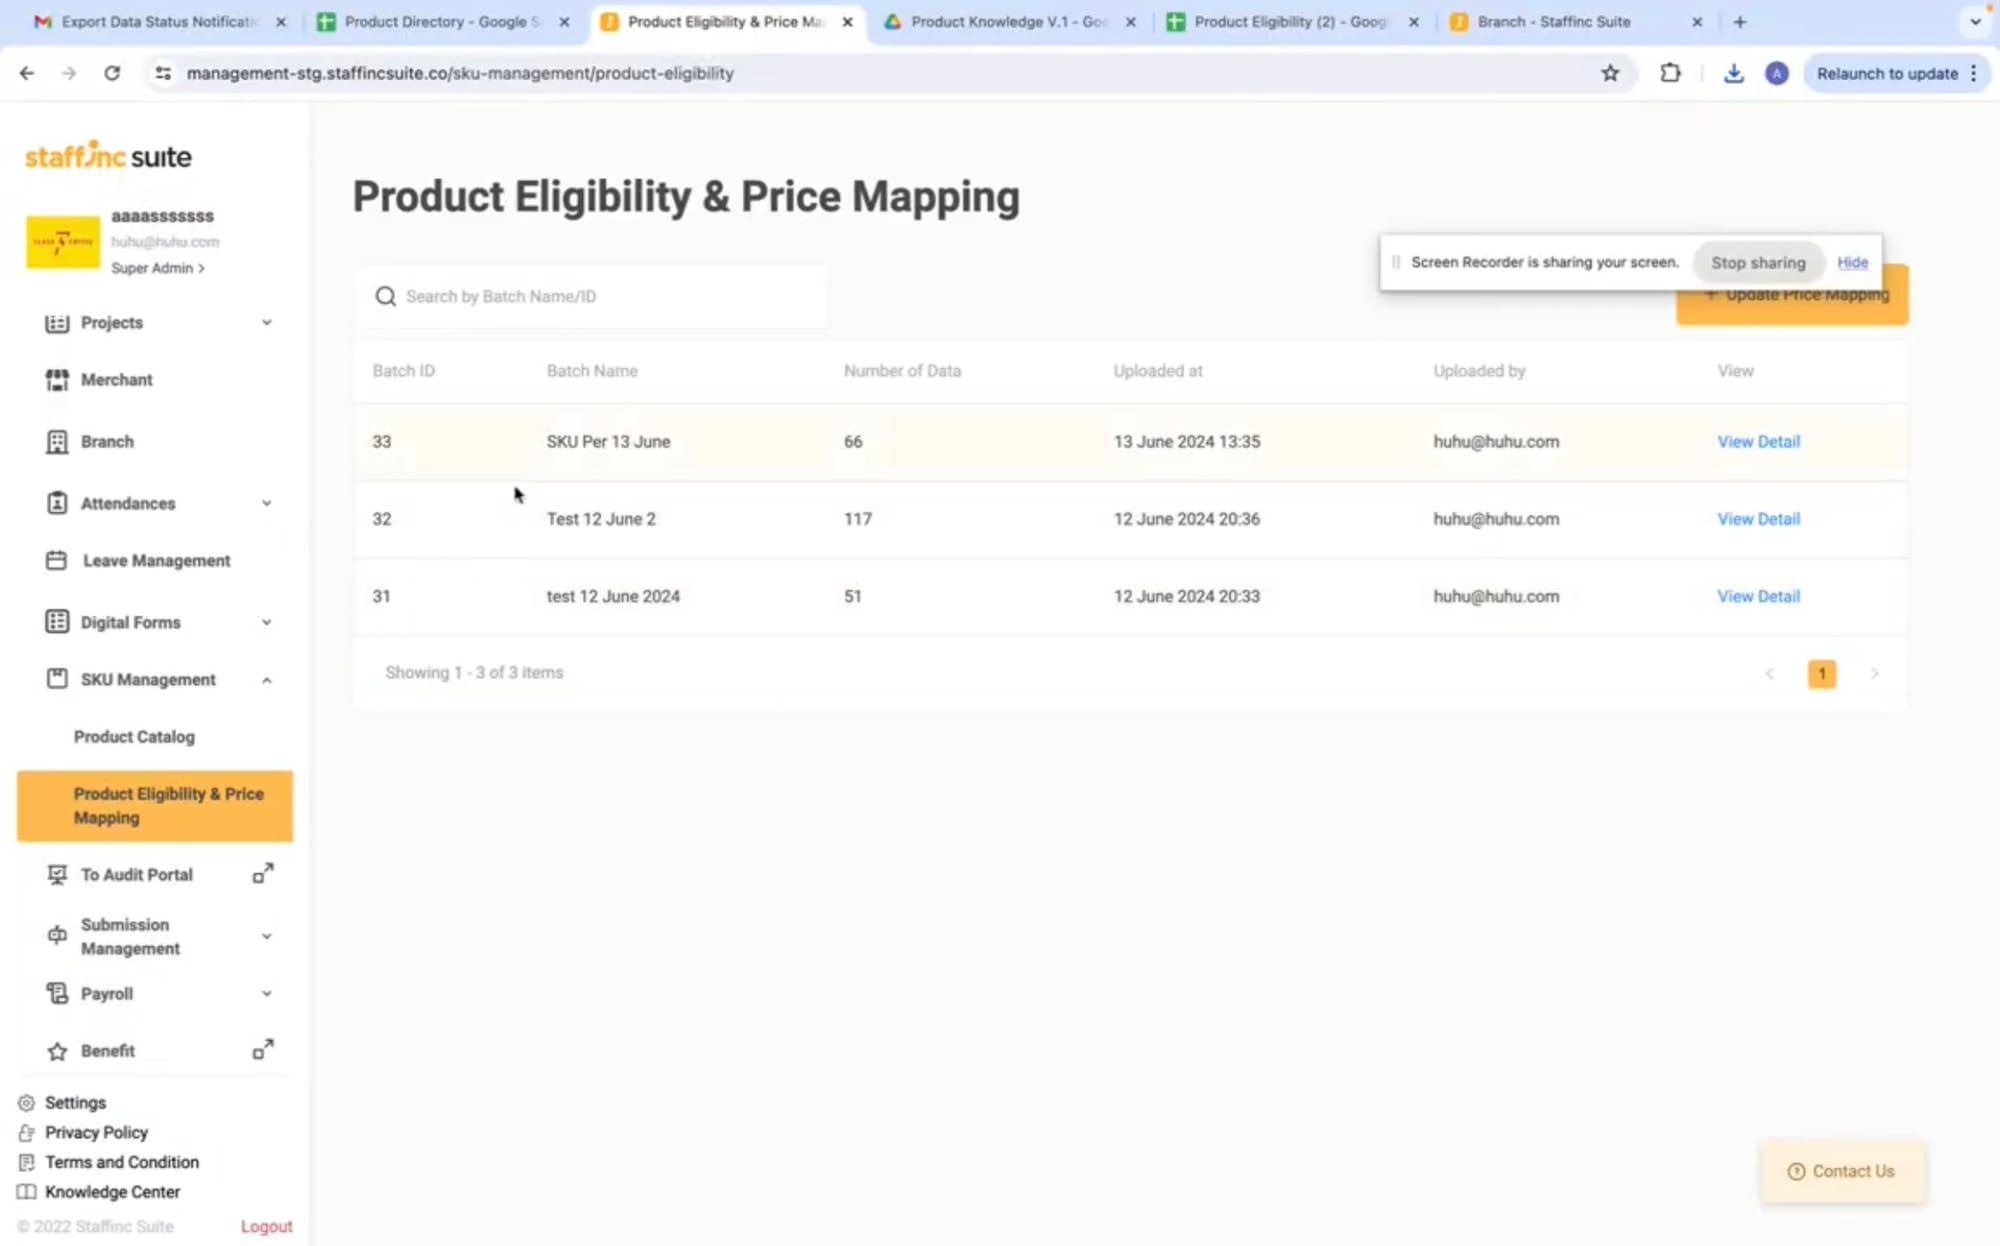
By following these steps, you can efficiently manage Product Eligibility & Price Mapping, ensuring all product and price information is well-organized and easily accessible.